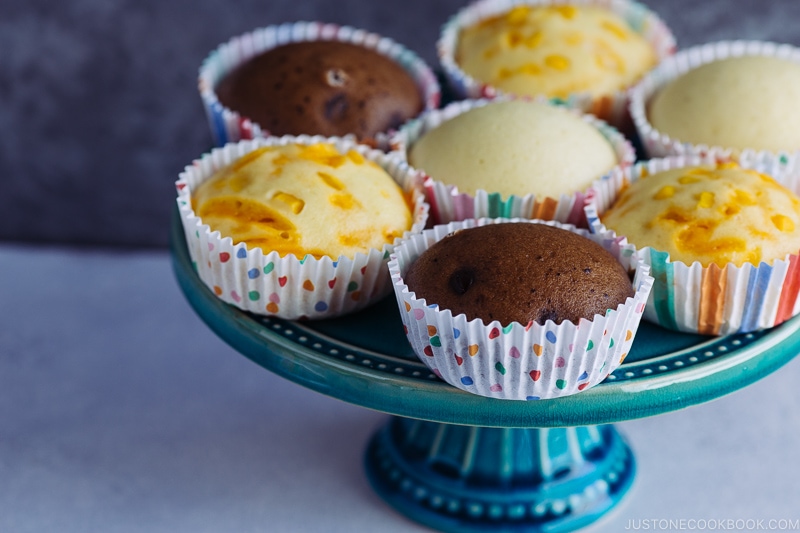
Soft, light, and spongy, Japanese Steamed Cake (Mushi-pan) is surprisingly easy to make at home with this recipe. You can enjoy them as a healthy breakfast or after-school snack. Choose savory or sweet based on the ingredients you use.
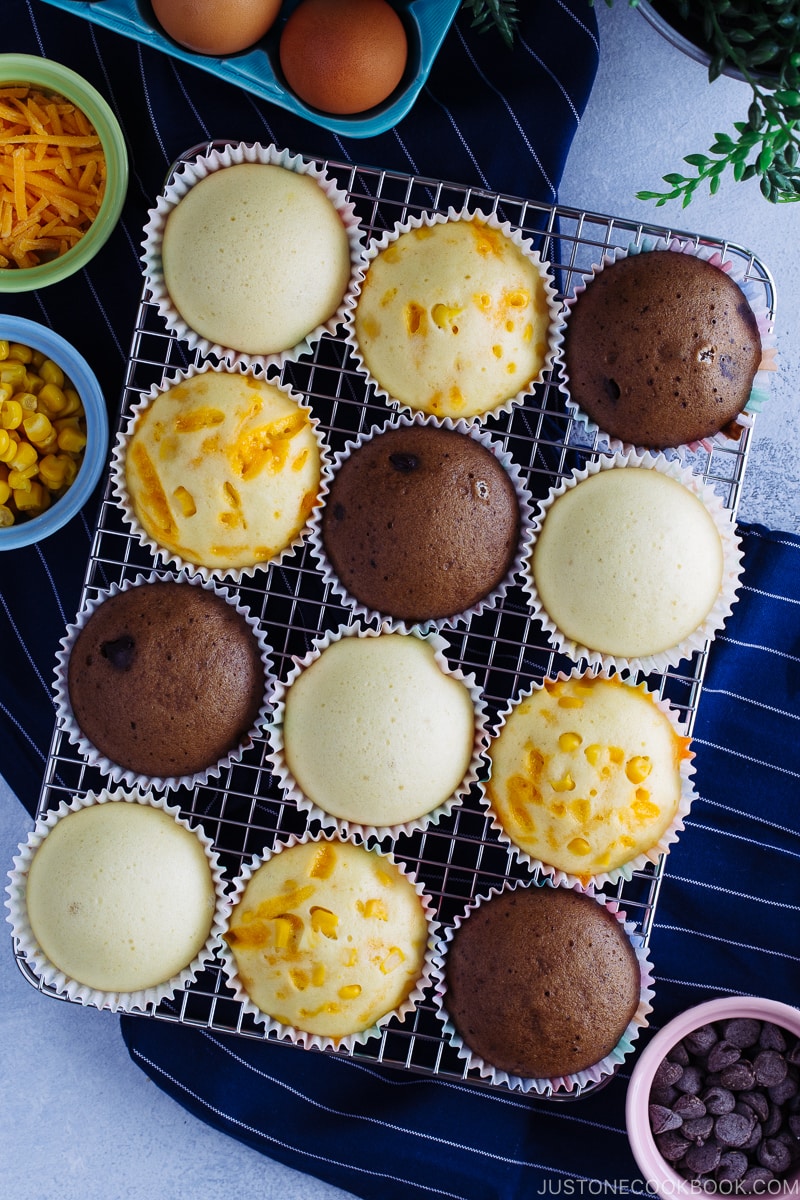
These treats may look like muffins, but as you might have guessed – they’re not. We call these Steamed Cakes “Mushi-pan” (蒸しパン) in Japanese. The biggest difference between these cakes and muffins is that these delicious little treats are steamed instead of baked.
What is Steamed Cake (Mushi-pan)?
The Japanese steamed cakes are made with very simple ingredients: flour (all-purpose flour or cake flour), baking powder, eggs, milk, sugar, and neutral-flavored oil (such as vegetable oil). While Chinese steamed bun called Mantou (饅頭) uses yeast as a leavening agent, Japanese steamed cakes use baking powder.
After WWII, when a massive amount of wheat flour was imported from the U.S., and the Japanese started to eat more bread. We call it “pan” (パン) in Japanese. Around the same time, steamed cakes started to appear in Japanese kitchens. As sugar was expensive back then, the Japanese included small chunks of Japanese sweet potatoes (Satsumaimo) to sweeten the steamed cakes. These Satsumaimo Steamed Cakes are still the most popular flavor today.
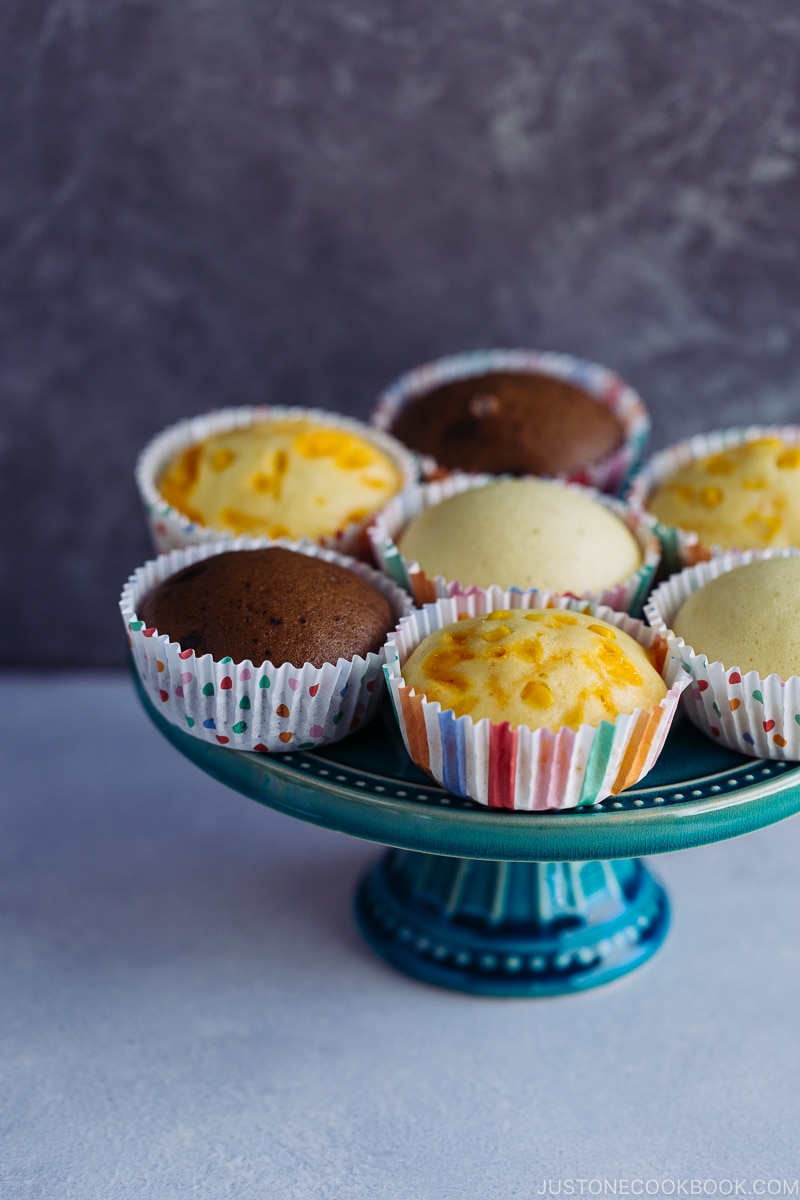
In the late 1980s, convenience stores in Japan started to sell Cheese Mushi-pan and Chocolate Mushi-pan that became really popular. I remember being addicted to Cheese Mushi-pan. The savory cheesy flavor was really too hard to resist.
My homemade steamed cakes are not the same as those Cheese Mushi-pans. However, homemade steamed cakes are equally delicious and you can play around with various flavors. Unlike store-bought cakes, there are no preservatives and additives.
These healthy steamed cakes are soft and easy to digest, so they are perfect for small children!
3 Reasons To Make Mushi-Pan (Japanese Steamed Cakes)
1. Quick and easy to make
This recipe is so quick and easy to make! Even my children can make them as long as I help with the steaming. It only takes 20 minutes from start to finish. You can make them fresh whenever you want to eat them.
2. Versatile
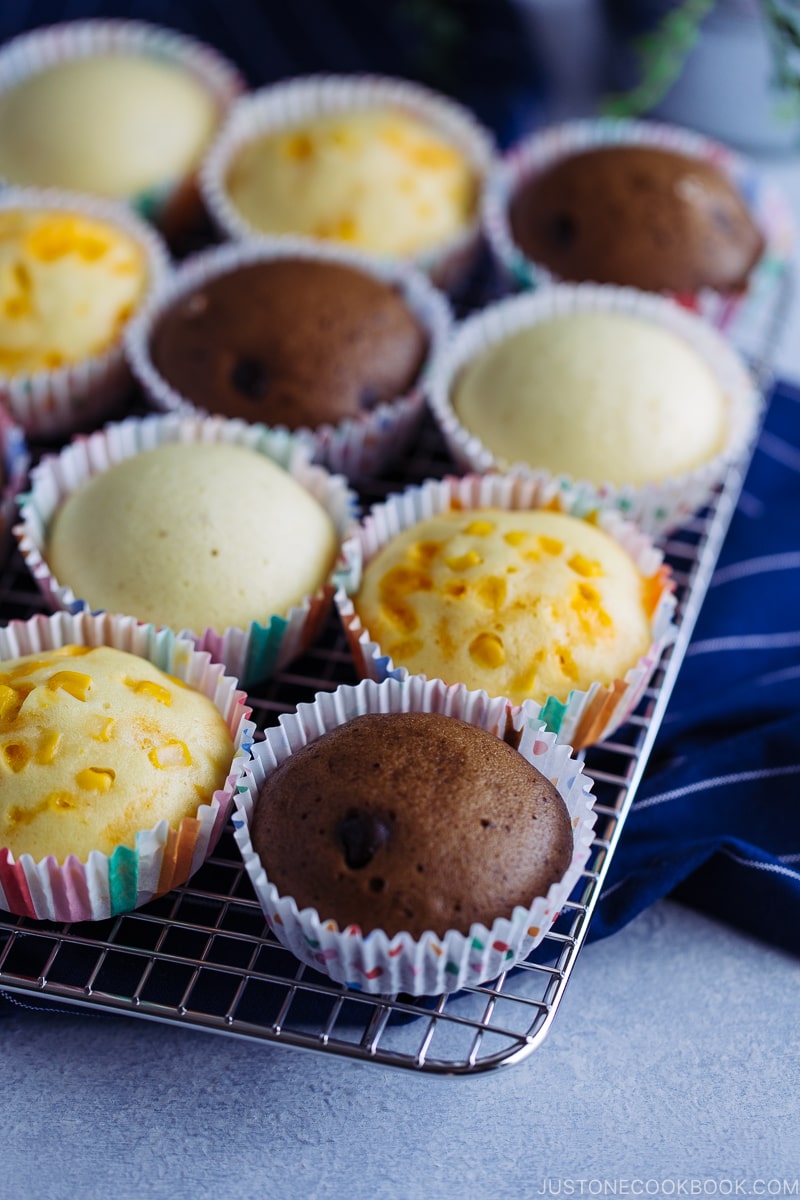
The best part of steamed cakes is that they can be easily changed to either savory or sweet flavor. My Basic Steamed Cake recipe below is the standard where you can adapt to sweet or savory as you please.
For sweet steamed cakes, you can add vanilla extract. I didn’t add it so the recipe can be changed to a savory one. I recommend keeping the sugar for the savory version as a slight sweetness helps to enhance flavor.
3. Re-steam to make it fluffy
You can store it in the refrigerator or freezer for later and re-steam it when you want to eat for a quick snack. The steamed cakes will be soft and spongy again!
If you give my Mushi-Pan recipe a try, let me know. I’d love to hear about your variations and results in the comments!
Love Matcha (Green Tea)?
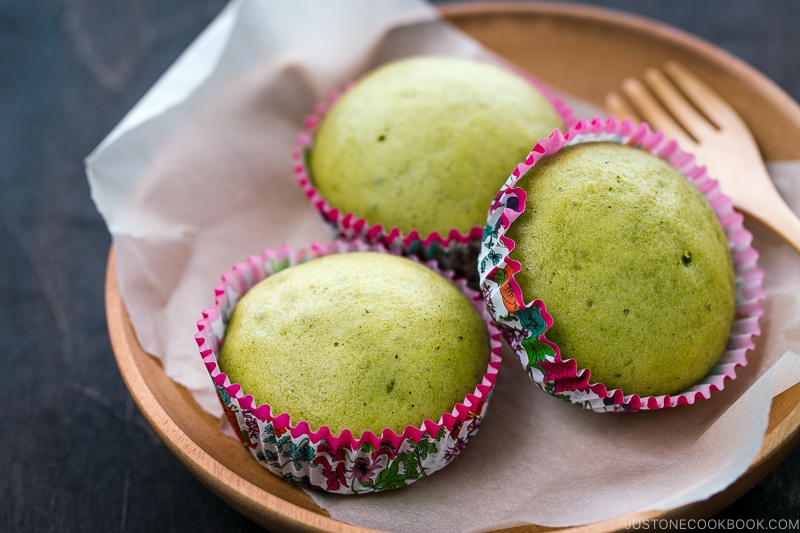
Check out my Green Tea Steamed Cake too!
Wish to learn more about Japanese cooking? Sign up for our free newsletter to receive cooking tips & recipe updates! And stay in touch with me on Facebook, Pinterest, YouTubeand Instagram.
Steamed Cake
Soft, light, and spongy, Japanese Steamed Cake (Mushi Pan) is surprisingly easy to make at home with this recipe. You can enjoy them as a healthy breakfast or after-school snack. Choose savory or sweet based on the ingredients you use.
Servings: 4 steamed cakes
Ingredients
For the Basic Steamed Cake
For the Corn and Cheese Steamed Cake
For the Double Chocolate Steamed Cake
Prevent your screen from going dark
Instructions
-
Cover the lid with a kitchen towel to prevent condensation (please don’t skip!). Fill a large frying pan with water about ½ inch (1.3 cm) deep. Cover the pan with the lid and slowly bring water to a boil. STEAMER: You can also use a regular steamer, but the cooking time will be slightly longer than my method here. Please read the storage and reheating information at the end of the recipe.
To Make the Basic Steamed Cake
To Make the Corn and Cheese Steamed Cake
-
Gather all the ingredients.
-
In a medium bowl, combine ½ cup all-purpose flour (plain flour) and 1 tsp baking powder and whisk well to combine (shortcut for sifting).
-
In a small bowl, whisk 1 large egg (50 g each w/o shell), 2 Tbsp milk, 2 Tbsp sugarand 1 Tbsp neutral oil together until combined and sugar is dissolved.
-
Pour the egg mixture into the flour mixture and mix until just combined and smooth. Do not overmix.
-
Add ¼ cup frozen or canned corn and ¼ cup shredded cheese and mix until combined. Put a cupcake liner in each glass ramekin and divide the batter into the cupcake liners.
-
Place the glass ramekins in the boiling water and cook covered on the lowest heat for 12–13 minutes. They’re done when a skewer inserted comes out clean without wet batter.
-
Turn off the heat and remove the ramekins from the pan and let them cool on a wire rack. Serve warm or at room temperature.
To Make the Double Chocolate Steamed Cake
-
Gather all the ingredients.
-
In a medium bowl, combine ½ cup all-purpose flour (plain flour), 1 tsp baking powderand 1½ Tbsp unsweetened cocoa powderand whisk well to combine (shortcut for sifting).
-
In a small bowl, whisk 1 large egg (50 g each w/o shell), 3 Tbsp milk, 2 Tbsp sugarand 2 Tbsp neutral oil together until combined and sugar is dissolved.
-
Pour the egg mixture into the flour mixture and mix until just combined and smooth. Do not overmix.
-
Add 2 Tbsp chocolate chips and mix until combined. Put a cupcake liner in each glass ramekin and divide the batter into the cupcake liners.
-
Place the glass ramekins in the boiling water and cook covered on the lowest heat for 8 minutes. They‘re done when a skewer inserted comes out clean without wet batter. Turn off the heat and remove the ramekins from the pan and let them cool on a wire rack. Serve warm or at room temperature.
To Store and Reheat
-
You can store the steamed cakes in the airtight container for up to 2–3 days or freeze them for up to 1 month. You can reheat the steamed cake with one of 2 methods: 1) Cover the steamed cake with a damp paper towel and reheat in the microwave (but be careful not to overheat; it‘ll become very hard). If you reheat the frozen steamed cake, defrost first before microwaving. 2) Use the same steaming method above or a steamer or to reheat refrigerated/frozen steamed cake till warm.
Nutrition
Nutrition Facts
Steamed Cake
Amount per Serving
% Daily Value*
* Percent Daily Values are based on a 2000 calorie diet.
©JustOneCookbook.com Content and photographs are copyright protected. Sharing of this recipe is both encouraged and appreciated. Copying and/or pasting full recipes to any website or social media is strictly prohibited. Please view my photo use policy here.
Editor’s Note: This post was originally published on May 4, 2011. The new images were added in April 2017. The post was edited and republished in May 2020.

