Served in an individual donabe clay pot, Nabeyaki Udon is a wintertime staple in Japan. In this recipe, thick chewy udon noodles are cooked in a flavorful dashi broth along with kamaboko fish cake, deep-fried tofu pouch, scallions, and an egg. Top it up with crispy shrimp tempura to make it extra fancy or keep it simple with what you have in the fridge.
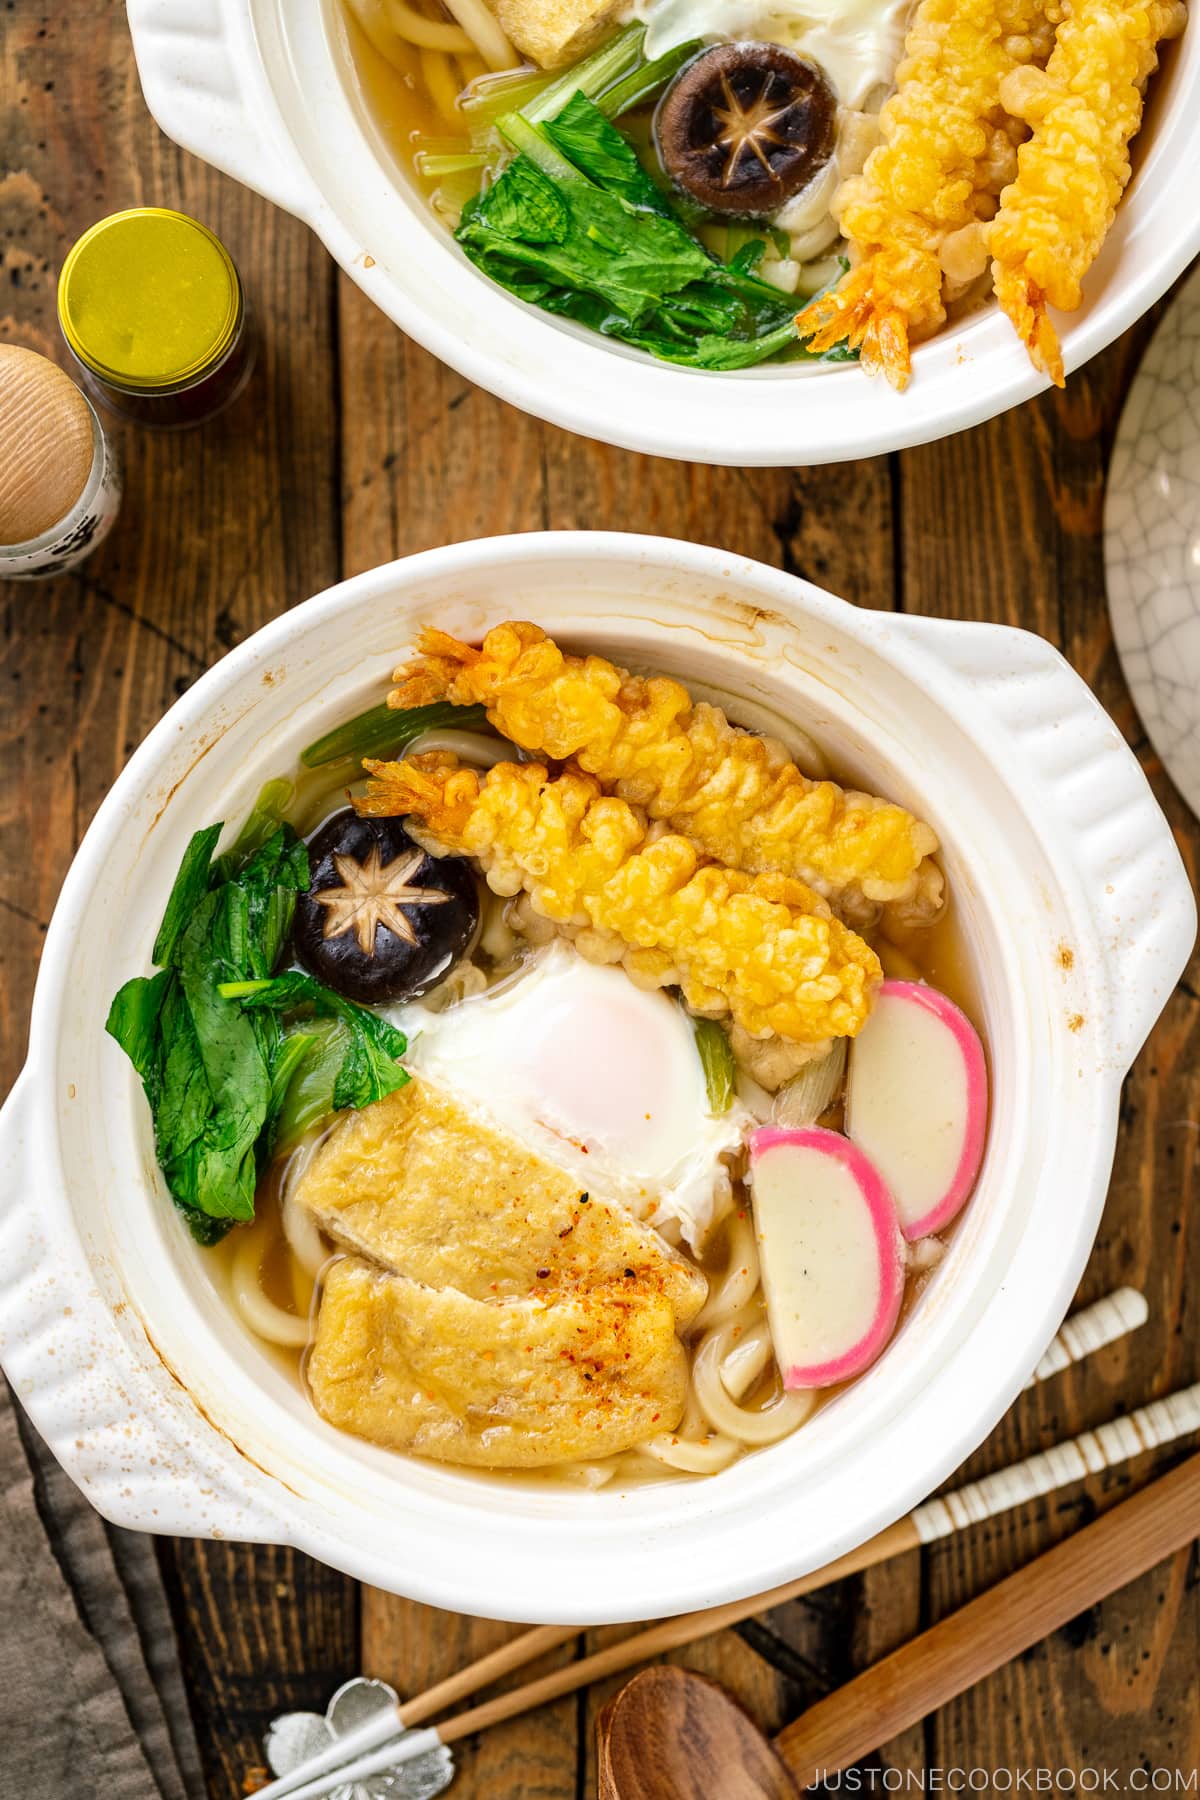
When you need a warm-up in cold weather—be it rain, snow, or blustery days, a steaming pot of Nabeyaki Udon (鍋焼きうどん) is going to bring you the ultimate comfort. This one-pot wonder with soothing soup and chewy noodles is one of my family favorites when we are staying in.
Here, I’ll show you how to make a simple version of nabeyaki udon at home. There’s plenty of room for improvisation so you can always make it your way.
What is Nabeyaki Udon?
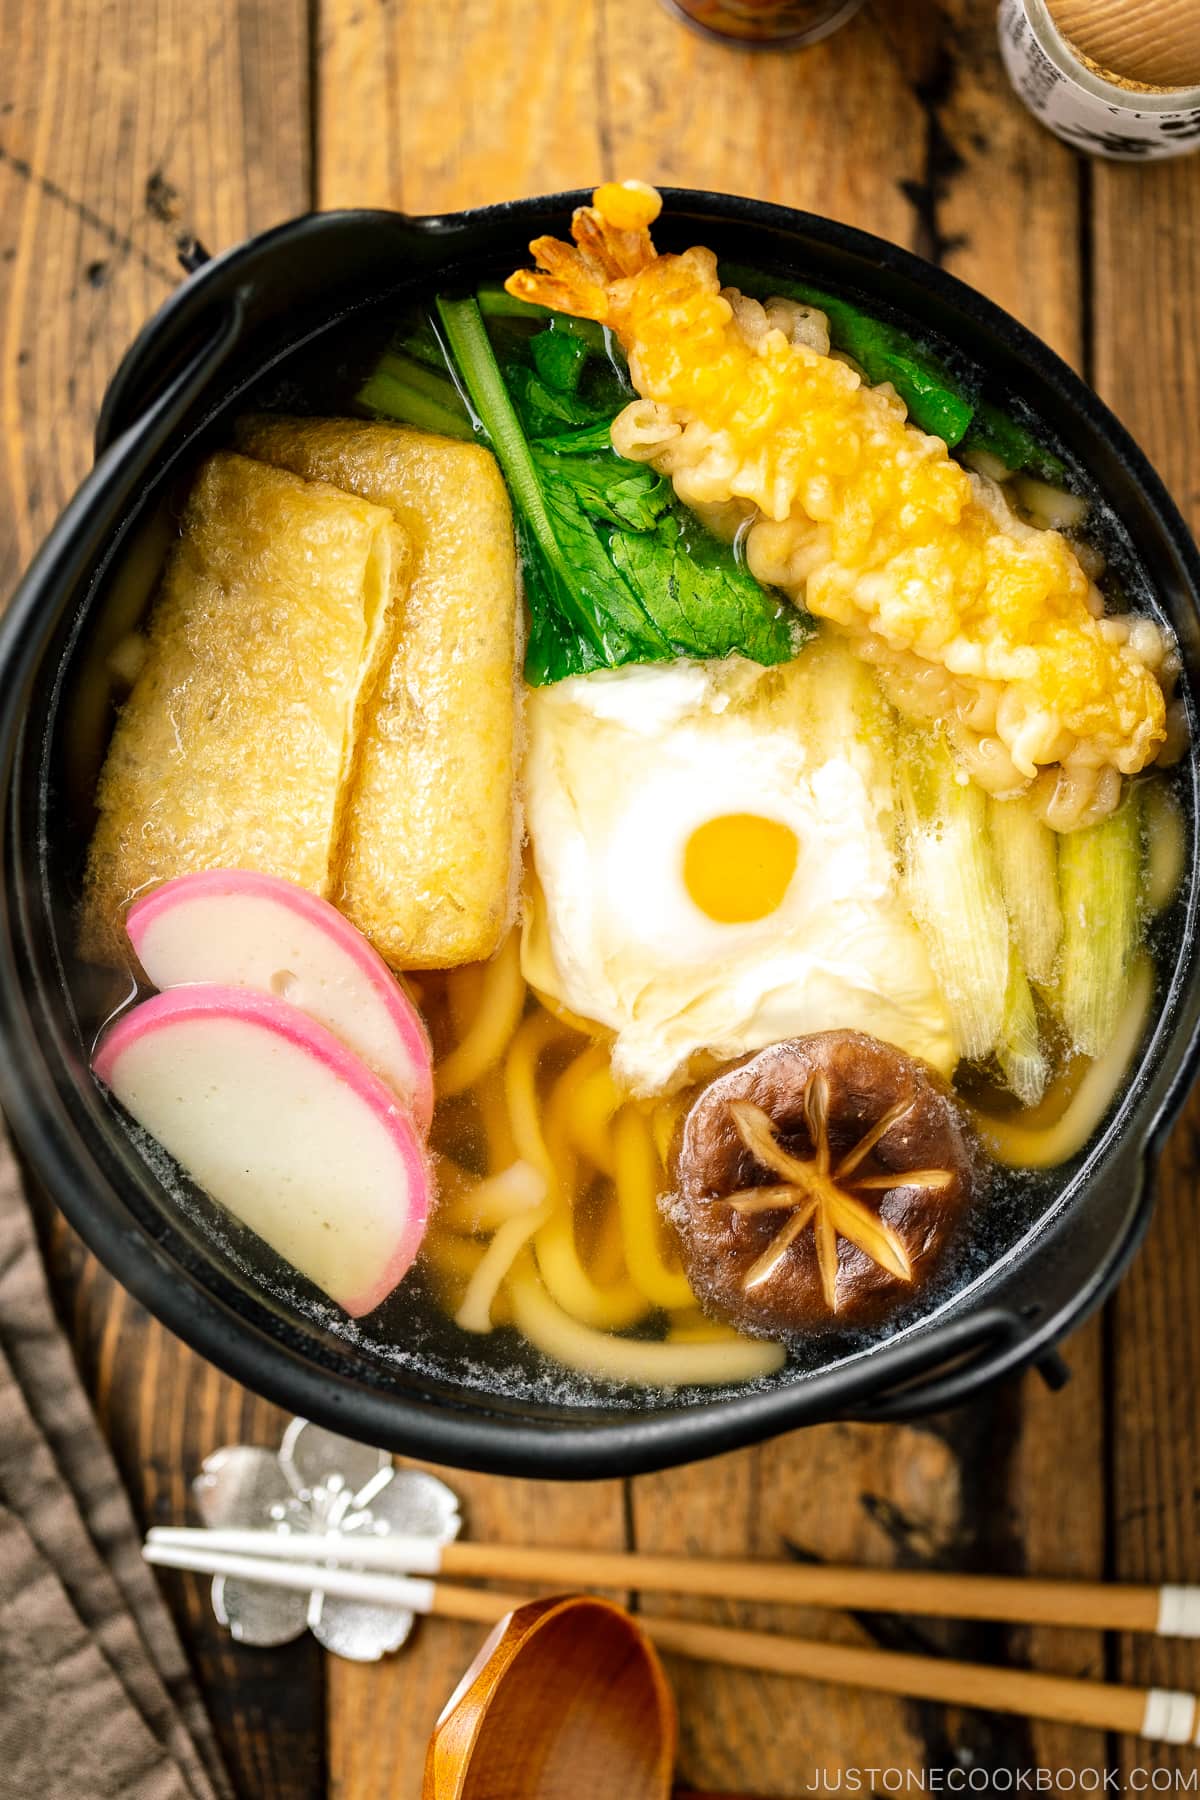
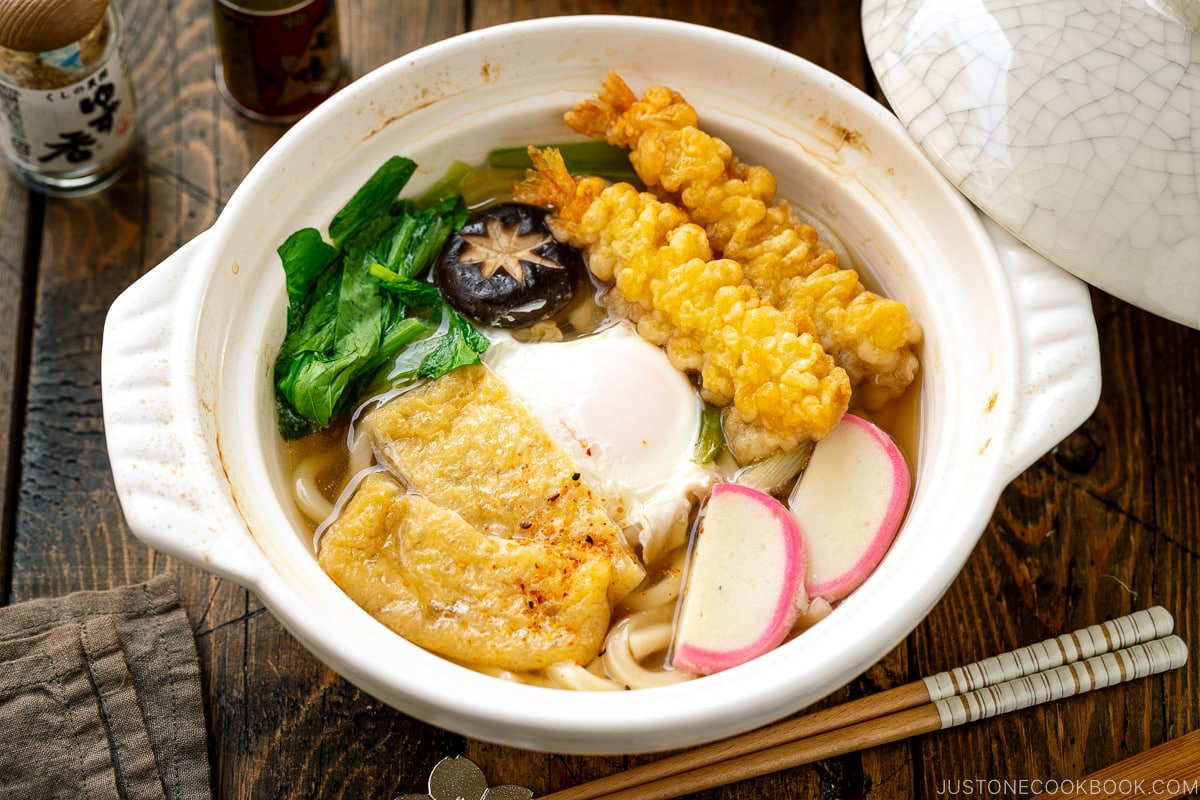
Nabeyaki udon (Nabeyaki Udon) is a hot udon noodle soup traditionally served in individual Donabeor Japanese clay pot. Here in the U.S., I see many Japanese restaurants serve nabeyaki udon in a small individual cast iron pot.
The udon noodles are cooked in dashi soup broth, typically along with kamaboko (a type of fish cake), mushrooms, scallions, and green leafy vegetables. In addition, an egg and a large shrimp tempura are placed on top and served hot.
How to Make Nabeyaki Udon
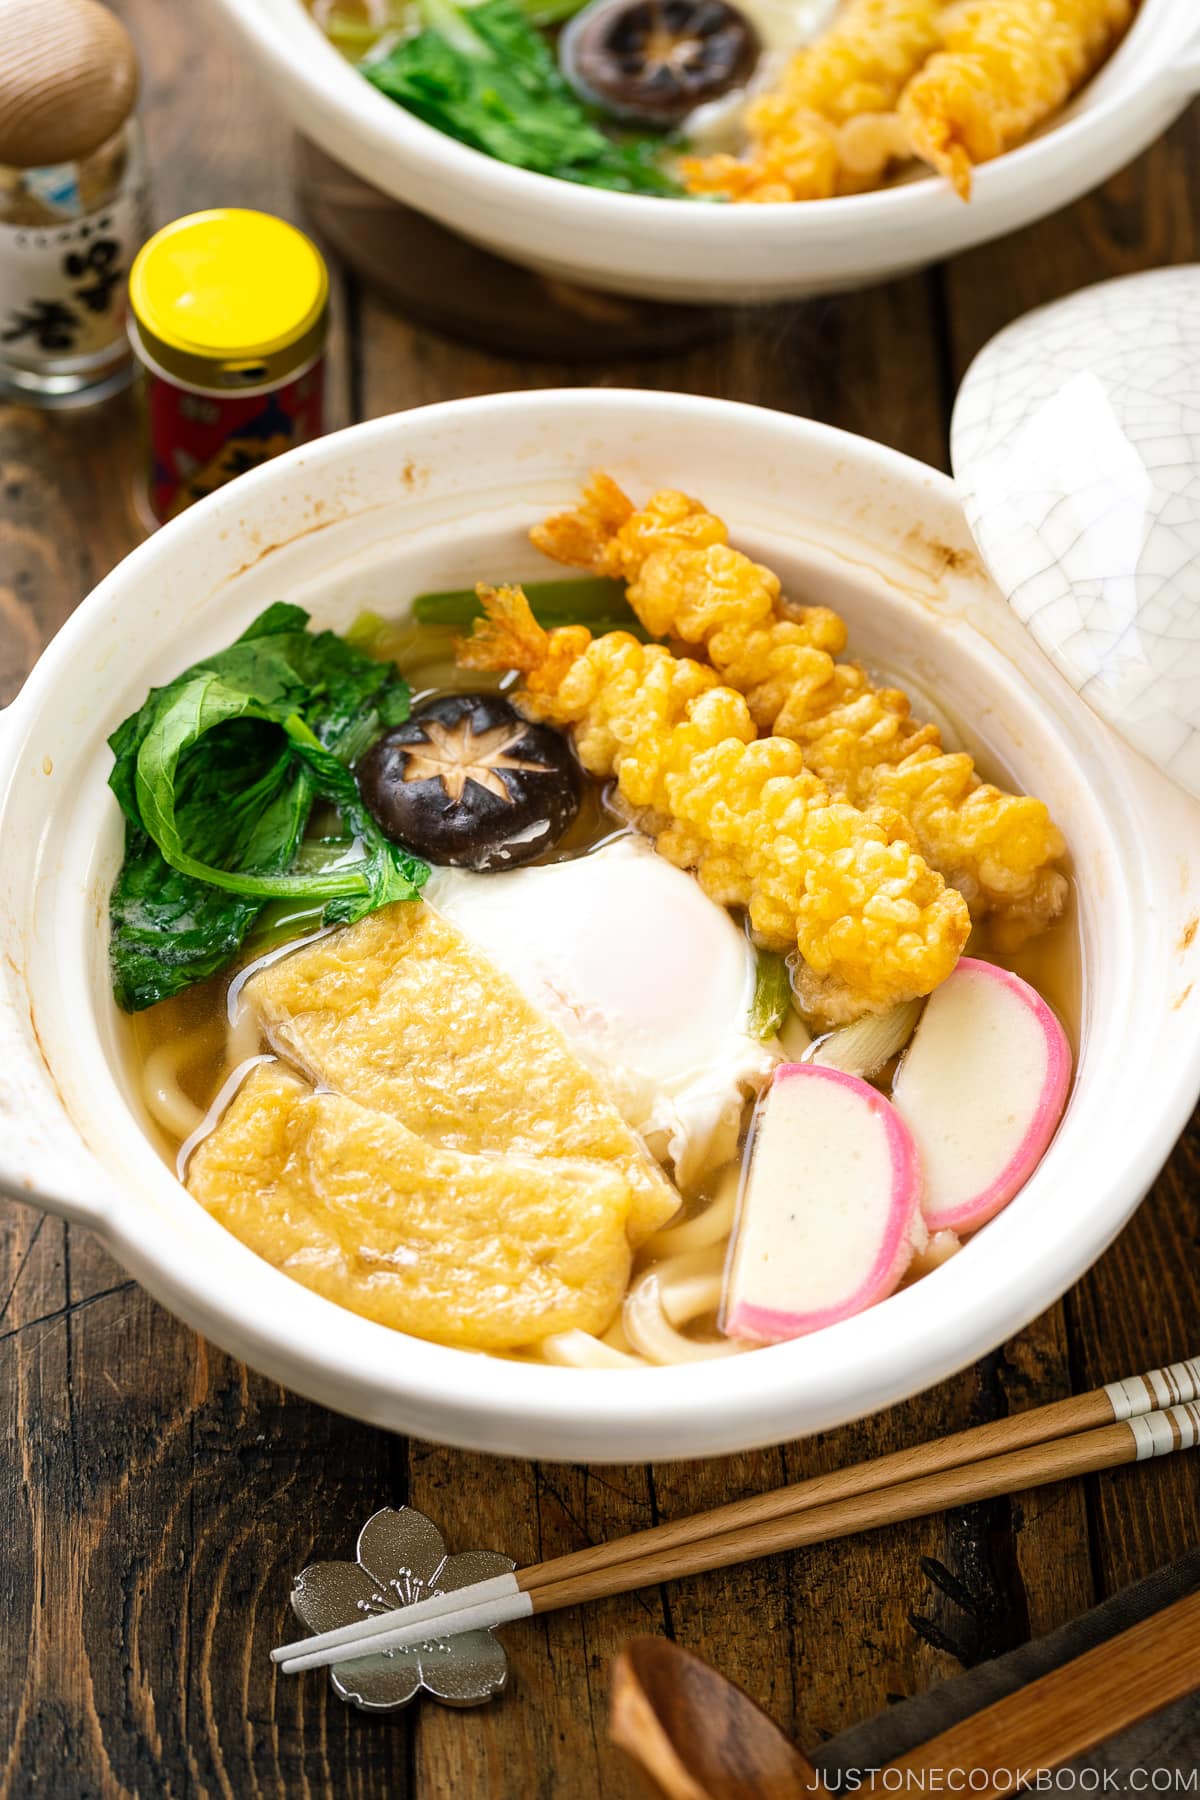
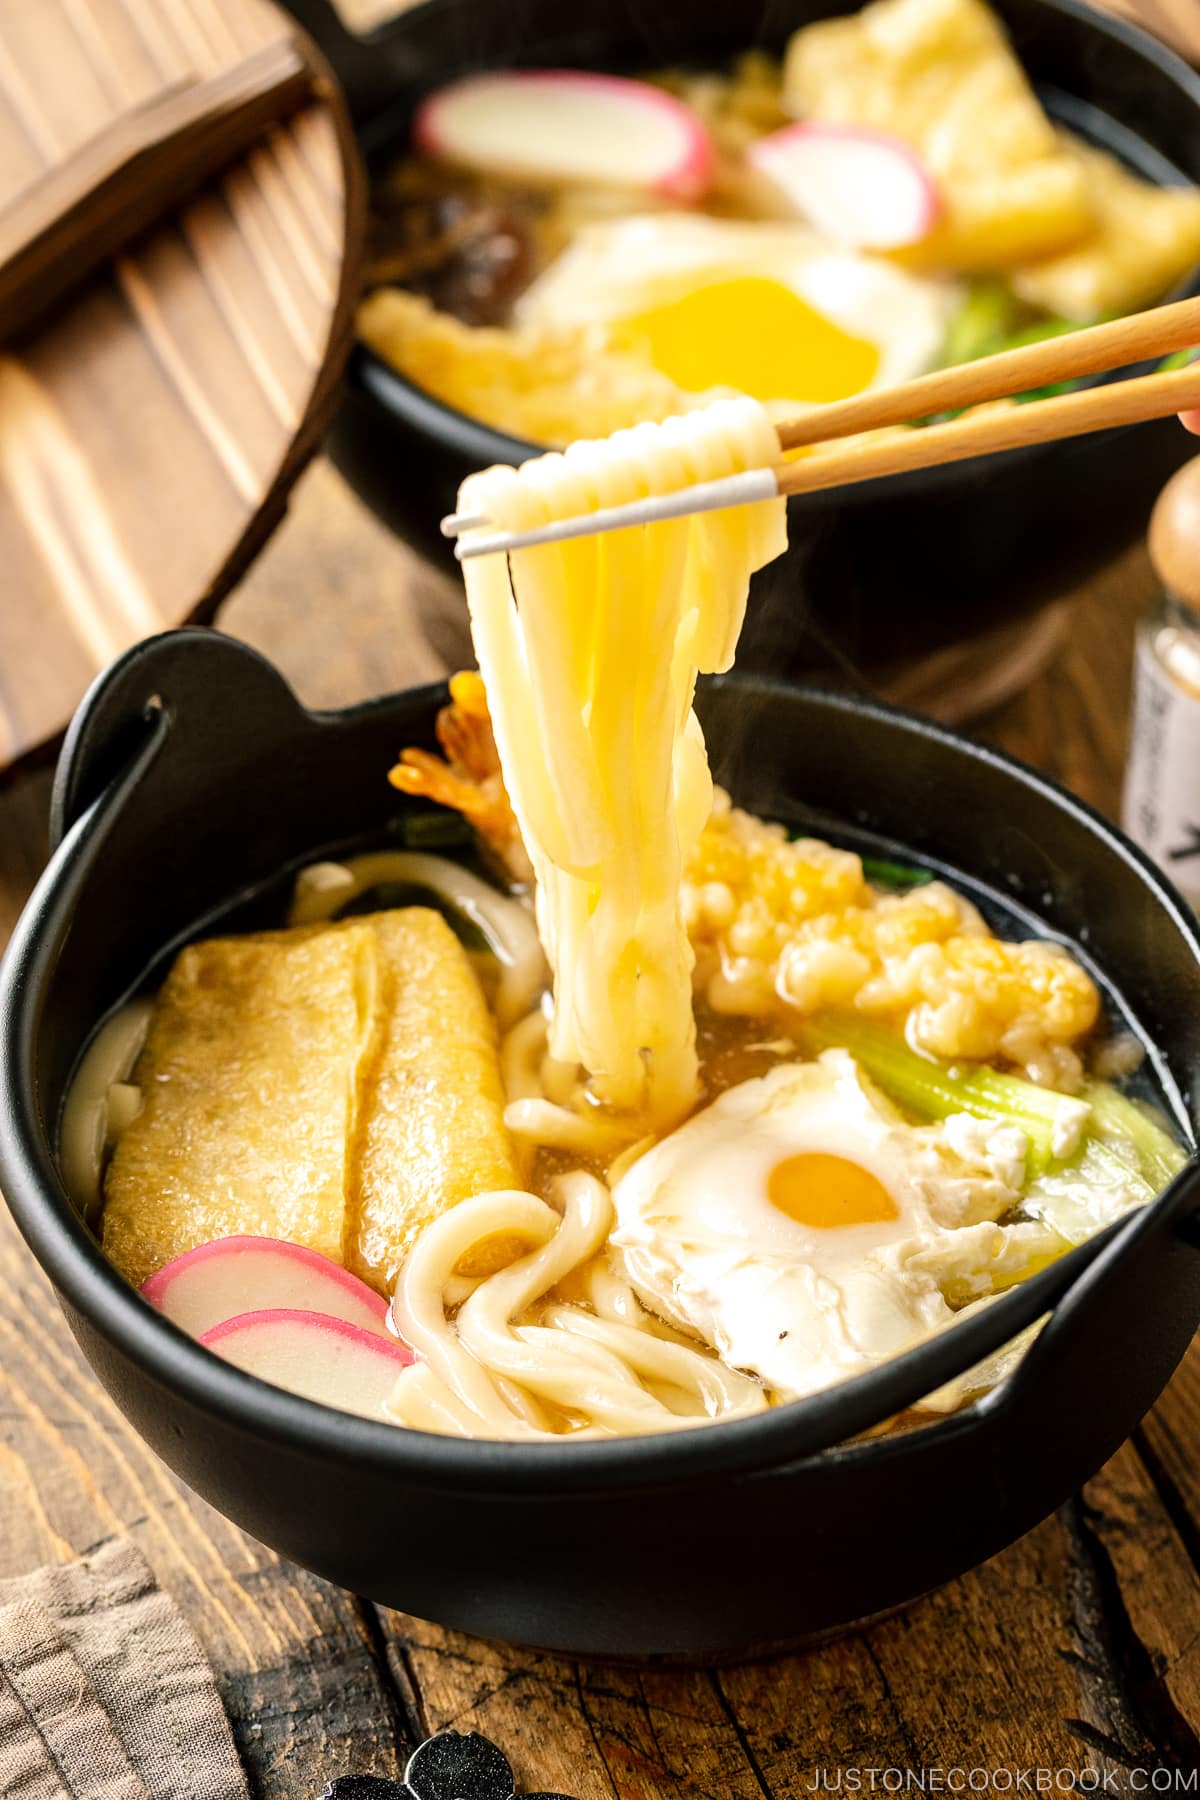
This nabeyaki udon recipe is easy and doesn’t take that much effort to make. The key is to start with a good soup broth and that is dashi (Japanese soup stock). Once you have that ready, you just need to add udon and other ingredients in a pot to cook!
Ingredients You’ll Need
- Udon soup: dashi (Japanese soup stock; regular or vegan), mirin, soy sauce, and salt
- Udon noodles
- kamaboko fish cake
- Aburaage (deep-fried tofu pouch)
- Shiitake mushrooms (or any mushrooms)
- Tokyo negi (or scallions)
- Komatsuna (or green leafy vegetable like bok choy or spinach)
- Eggs
- Shrimp tempura
All the ingredients I included for this nabeyaki udon are ones that are commonly used in Japan. If you cannot find the same ingredients such as kamaboko (fish cake), it’s okay to skip and use ingredients that are available to you.
Overview: Cooking Steps
- Make the udon soup by combining the dashi, mirin, soy sauce, and salt.
- Cut all the ingredients and cook the udon noodles according to the package instructions.
- In individual donabe clay pots, add the udon soup, udon noodles, and all the ingredients except for the egg, leafy green, and tempura. Cook until the ingredients are warm and cooked through.
- Add an egg and cook until the egg is done to your liking.
- Place the shrimp tempura and leafy green on top. Serve immediately.
Use Store-Bought Shrimp Tempura for Short Cut
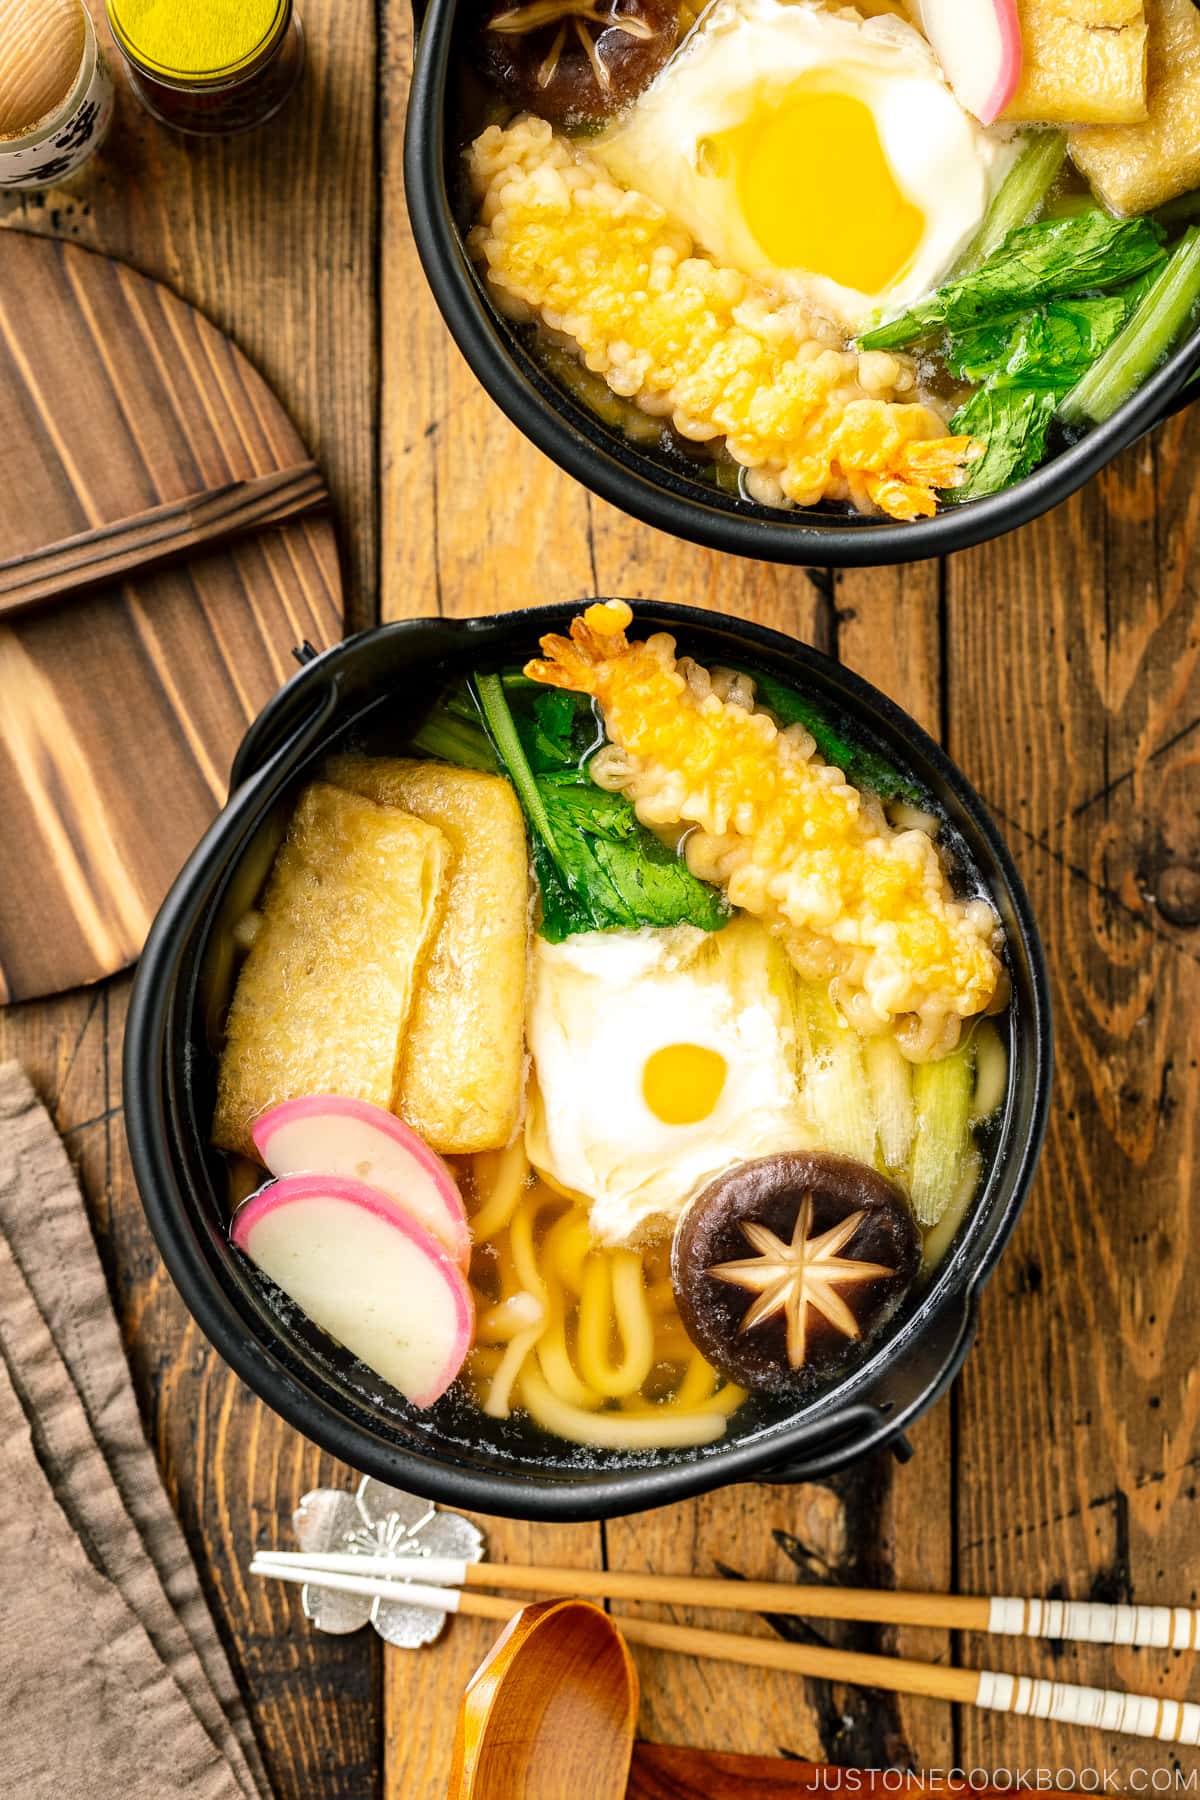
You can put together nabeyaki udon very quickly, so the only time-consuming component is the crunchy shrimp tempura if you wish to add on. While you can certainly attempt homemade shrimp tempurayou can speed things up by using frozen ones.
These days you can find frozen shrimp tempura at Costco, Trader Joe’s, Whole Foods, and regular American grocery stores. All you need to do is to bake the frozen shrimp tempura according to the package instructions.
It’s okay to take a shortcut, especially for weeknight dinners!
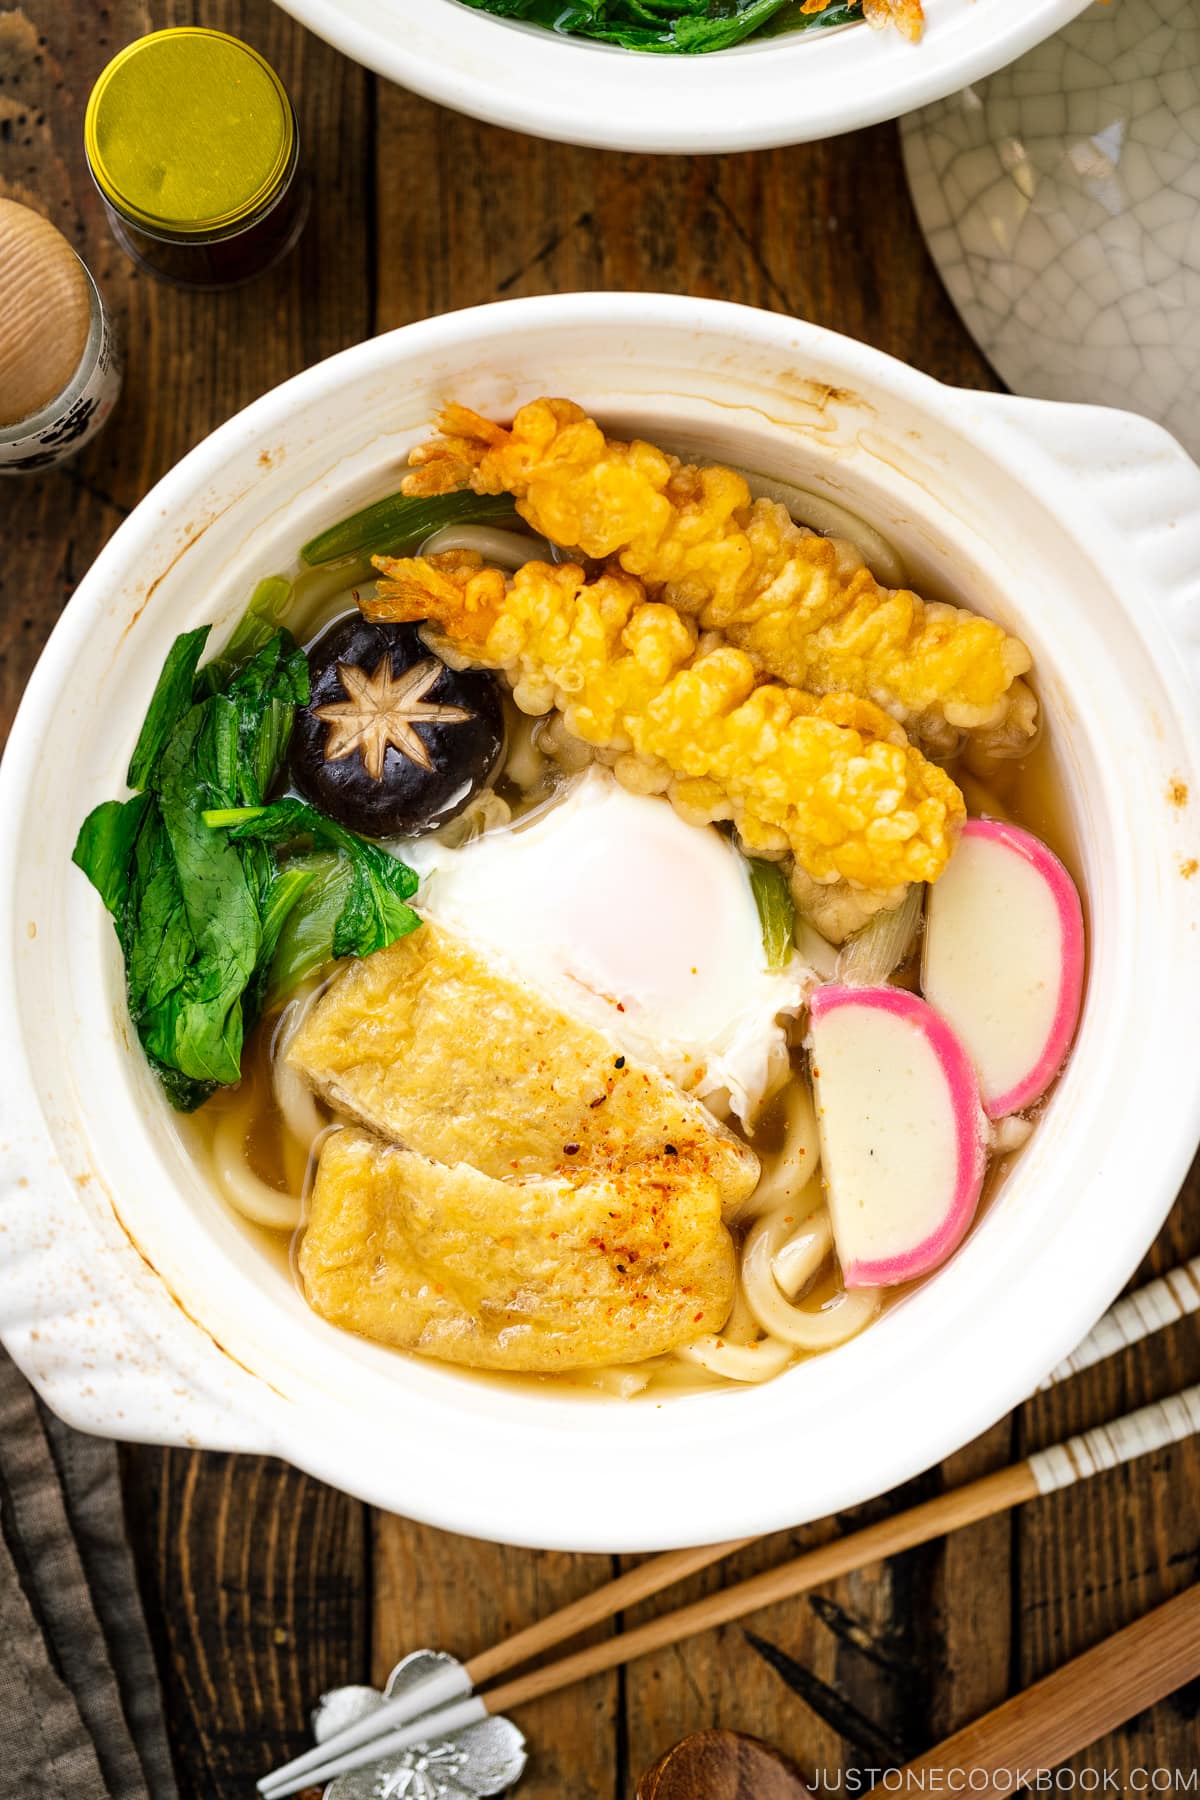
Other Ingredients You Can Add to Your Nabeyaki Udon
I love this hot pot noodle soup for weeknight dinners because I can easily throw in whatever I have in the fridge. Here are some suggestions:
- Meat – You can add bite-size chicken thigh or breast or thinly-sliced pork or beef in the broth and cook covered until no longer pink. Keep the portion small and cut them into bite-size pieces so they cook fast.
- Seafood – You can add a small amount of seafood such as shrimp or clams if you like.
- Vegetables – Thinly sliced root vegetables like carrots and daikon are great. Leafy vegetables should be added toward the end of cooking so you won’t overcook them.
- Mushrooms – Any kind of mushrooms will work.
- Tofu – Fried or non-fried tofu. Add toward the end as they just need to warm up.
- Fish cakes – They are usually precooked, so add them at the end.
- Eggs – You can crack an egg to cook in the broth, or you can add onsen tamago after being cooked.
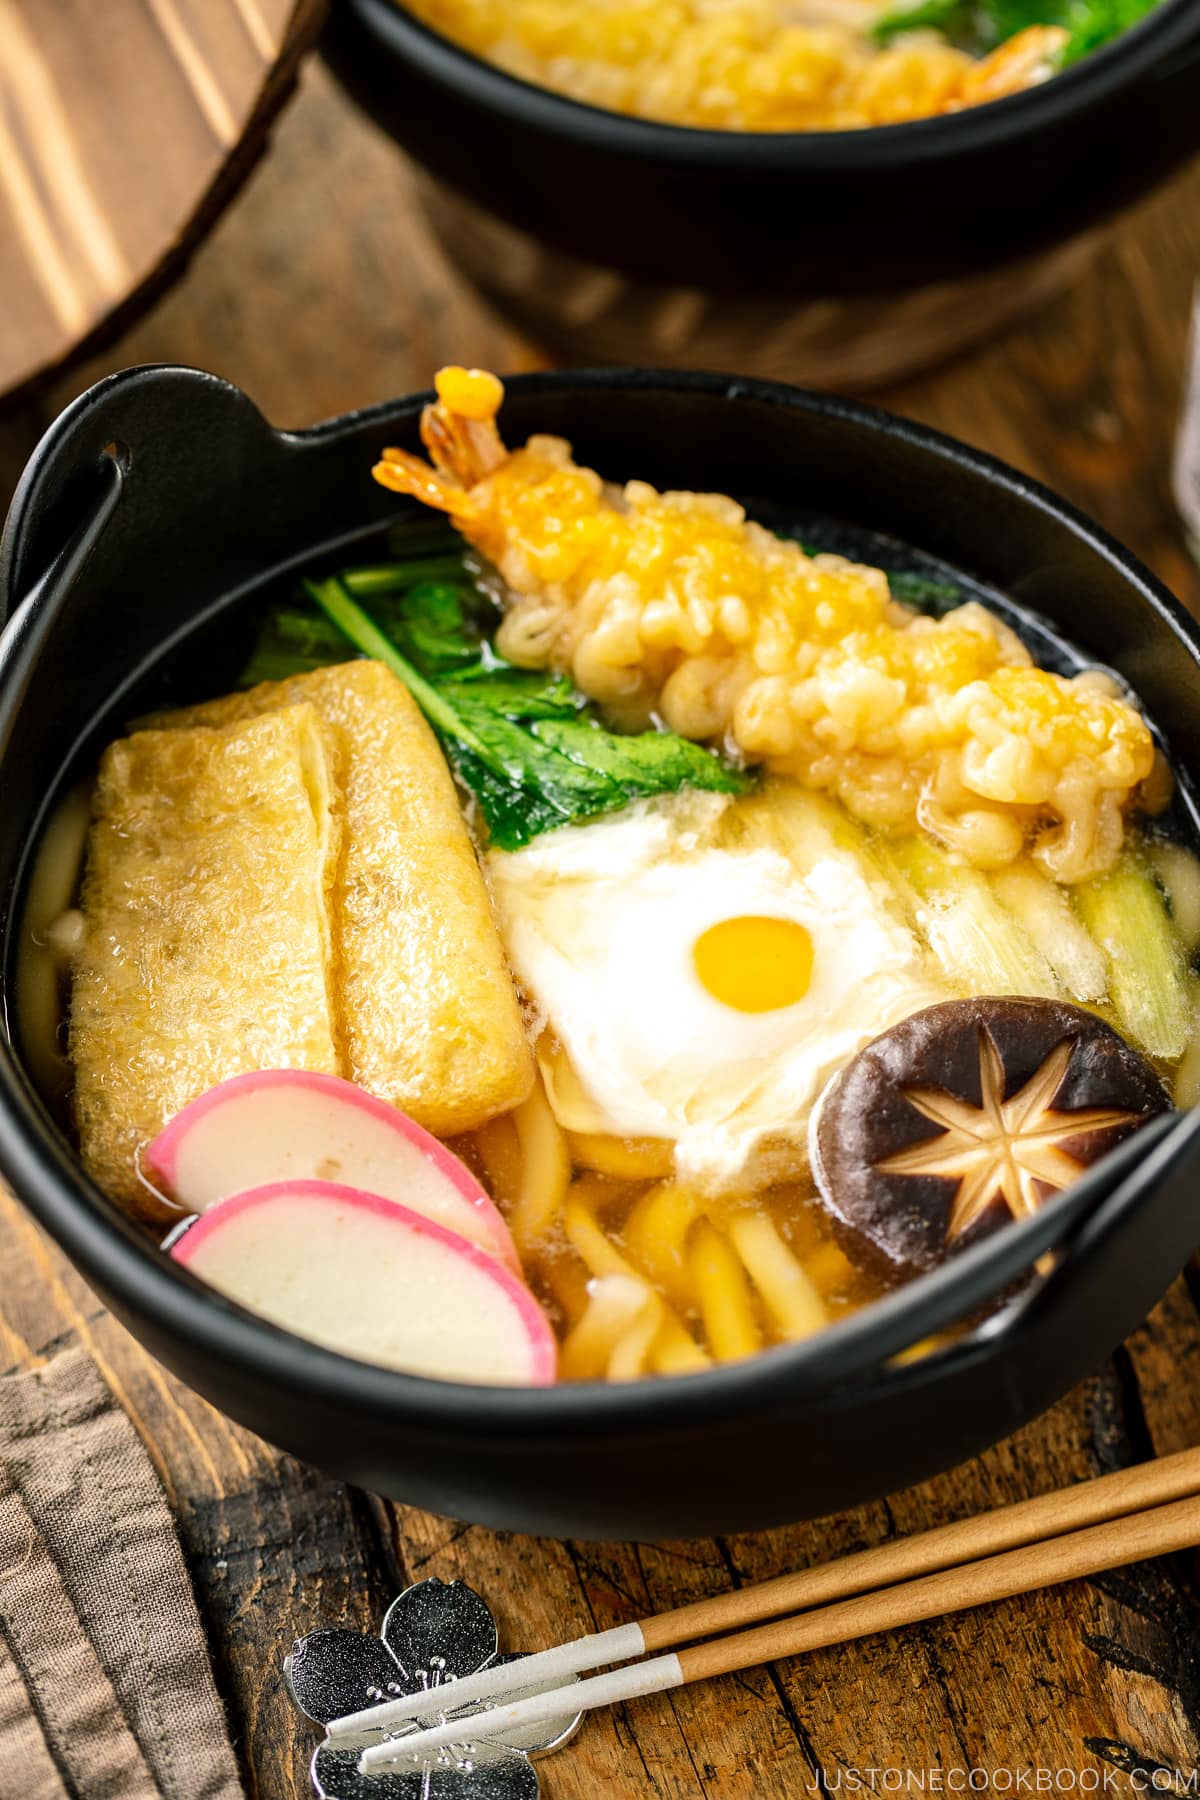
How to Serve Nabeyaki Udon
I mentioned earlier that nabeyaki udon is cooked and served in an individual pot (donabe or cast iron pot). However, you can serve this dish differently. Here are two other options:
- Cook nabeyaki udon in a regular big pot and serve it in noodle soup bowls.
- Cook nabeyaki udon in a large donabe and serve at the table. Each person can serve it in individual bowls as they eat, like a hot pot style.
It’s an incredible experience about having your own donabe or cast iron pot and eating super hot food out of the pot. The pot retains heat very well and the satisfaction is unbeatable when you get to enjoy the hot food all the way till the end. If you are looking for a nice donabe or cast iron pot, check out the next section. I love both pots I showed in this post.
Where to Get Individual Pots
I’ve partnered with a Japanese kitchenware shop MTC Kitchen. You will get 10% off with a coupon code GAME10 for your purchase. In this post, I’ve used:
*Note: These sizes (see above) are for individual serving. Do not get a small size or one person’s size as they are way too small to put all the ingredients.
More Delicious Noodle Soup Recipes
Wish to learn more about Japanese cooking? Sign up for our free newsletter to receive cooking tips & recipe updates! And stay in touch with me on Facebook, Pinterest, YouTubeand Instagram.
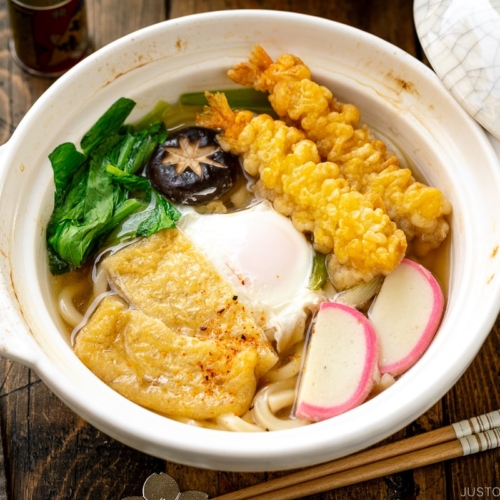
Nabeyaki Udon
Served in an individual Donabe clay pot, Nabeyaki Udon is a wintertime staple in Japan. In this recipe, thick chewy udon noodles are cooked in a flavorful dashi broth along with kamaboko fish cake, deep-fried tofu pouch, scallions, and an egg. Top it up with crispy shrimp tempura to make it extra fancy or keep it simple with what you have in the fridge.
Ingredients
Prevent your screen from going dark
Instructions
-
Gather all the ingredients. For this recipe, shrimp tempura is the only ingredient that I prepare outside the pot. You can make my Shrimp Tempura recipe or buy frozen shrimp tempura and bake it in the oven according to the package instructions. Cook the shrimp tempura and set it aside while you prepare the rest of the dish.
To Make the Soup Broth
-
In a large measuring cup or bowl, combine 3⅓ cups dashi (Japanese soup stock), 2 Tbsp mirin, 2 Tbsp soy sauceand 1 tsp Diamond Crystal kosher salt.
-
Mix it all together until the salt is completely dissolved. Then, divide the soup broth into the individual Donabe clay pots. Set aside.
To Prepare the Ingredients
To Assemble and Cook
-
Divide and add the udon noodles into the individual pots. Then, top the noodles with equal portions of the kamaboko fish cake, aburaage, shiitake mushroom, Tokyo negi, and green vegetable stems. (Set aside the eggs, leafy greens, and shrimp tempura for later.) Tip: If you‘re customizing this dish with raw meat or seafood, add them now on top of the udon.
-
Transfer the pots to individual burners on the stovetop. Cover with the lids and bring the soup to a boil over medium heat. Once boiling, reduce the heat to a simmer and cook for 2–3 minutes. Tip: If you added raw meat or seafood, make sure to cook the ingredients fully, probably 5–8 minutes. As I explain in the blog post, cut the protein into thin or small pieces and do not add too much. Otherwise, it will take longer to cook and cause the rest of the ingredients to overcook.
-
Uncover the pot. With 2 large eggs (50 g each w/o shell)crack one egg in the center of each pot on top of the ingredients. Cover to cook until the egg is done to your liking.
-
Once the egg is done, add both the leafy greens and the cooked 4 shrimp tempura on top.
Nutrition
Nutrition Facts
Nabeyaki Udon
Amount per Serving
% Daily Value*
* Percent Daily Values are based on a 2000 calorie diet.
©JustOneCookbook.com Content and photographs are copyright protected. Sharing of this recipe is both encouraged and appreciated. Copying and/or pasting full recipes to any website or social media is strictly prohibited. Please view my photo use policy here.
Editor’s Note: This post was originally published on February 2, 2014. It’s been republished on February 15, 2023, with a revised recipe and new images, content, and video.

