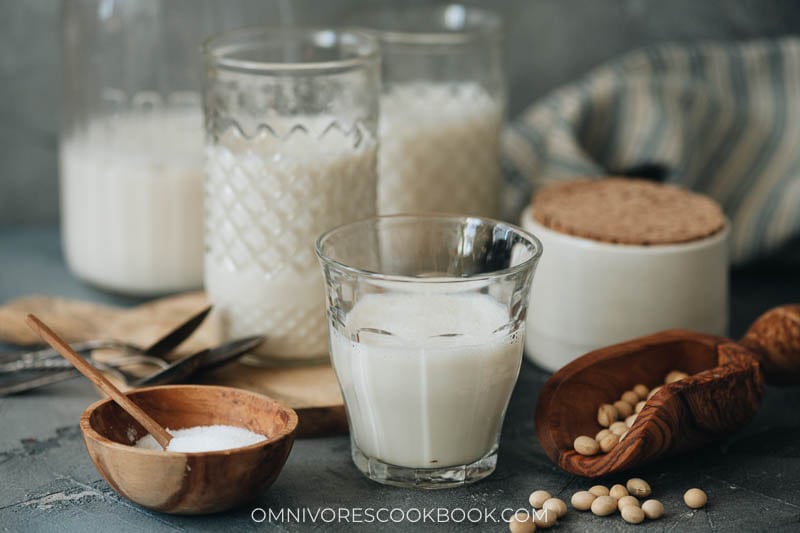
Why buy soy milk when you can learn how to make soy milk yourself? If you’re vegan or dairy-free, you don’t want to miss this super easy recipe!
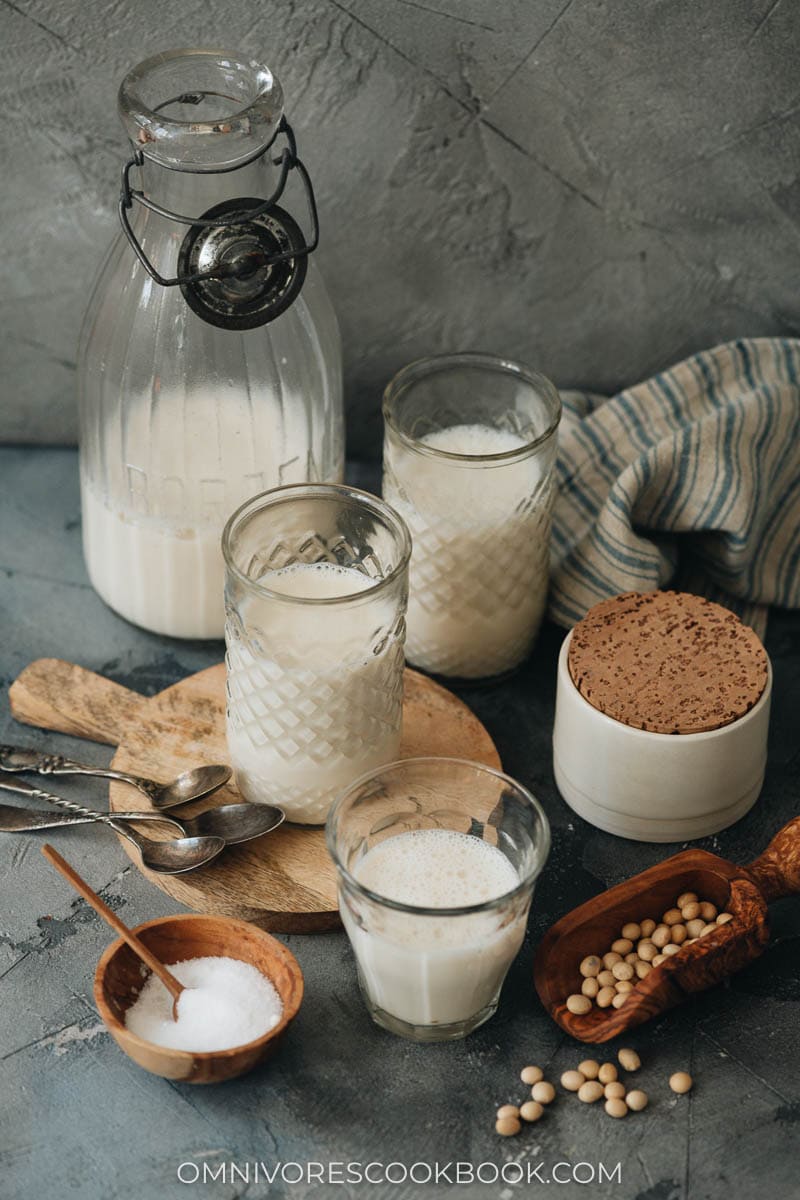
Whether you are dairy-free, vegan, or simply love the taste of soy milk, one thing is for certain… Making it at home is a better option. You can use quality ingredients (such as non-GMO soybeans), control the texture, make better tasting soy milk, and lower the cost, all without using any additives or preservatives. What’s not to love? Let’s get started and learn how to make soy milk yourself, save a bundle, and have a delicious and nutritious drink any time of day.
I have a previous post on how to make soy milk by using a soy milk machine. It’s a standard piece of equipment in a Chinese kitchen, but I realize that not everyone has one of these. You don’t need to go order one either unless you plan on making this daily, then it will make life much more convenient. I will show you how to make soy milk with four simple ingredients.
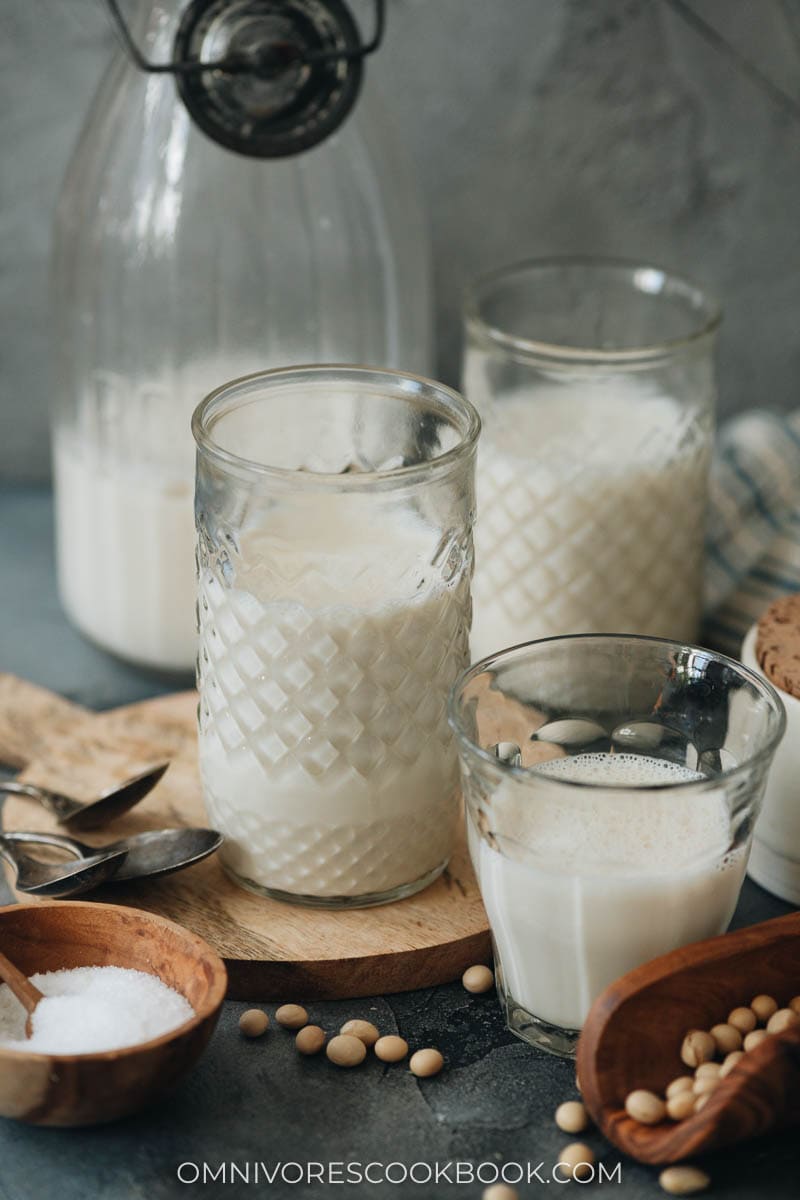
Cooking process
When making soy milk without the soy milk machine, you will want to be sure to plan ahead and soak the soybeans for 24 hours. Then you can be ready to learn how to make soy milk. While I do love the convenience of the machine, when you make soy milk using the method I have for you below, you’ll get a creamier texture. Plus, you can adjust the thickness of the liquid more easily.
To cook soy milk:
- Add the soaked soybeans and water into a blender
- Blend until smooth
- Cook the blended soy bean mixture
- Strain off the soybean flakes (a.k.a okara)
- Squeeze out any bits of liquid
- Enjoy!
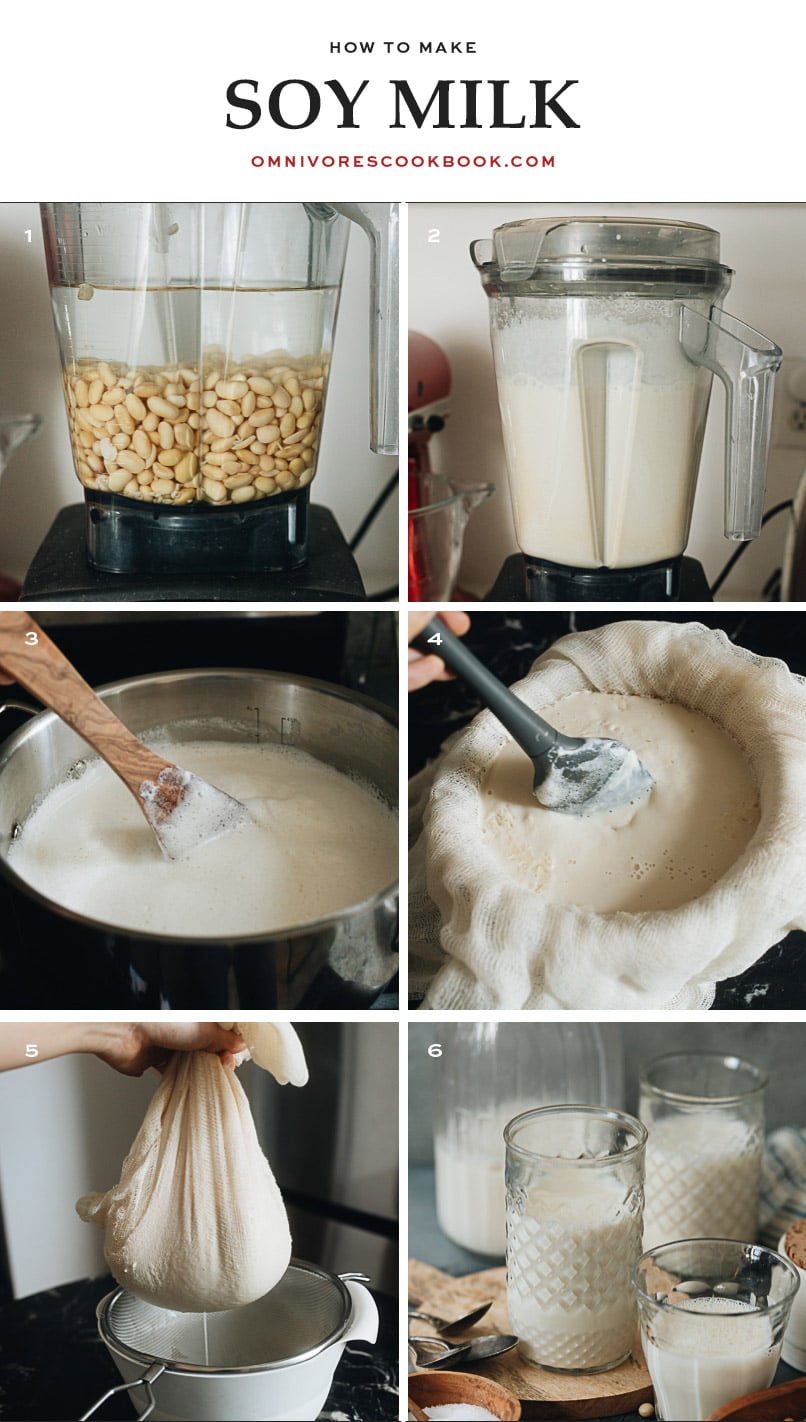
While this recipe is long, once you get a handle on it, you will know how to make soy milk perfectly every time. At the end of the post, you’ll also find a super-simple recipe for okara which uses the leftover ground soybean flakes, giving you two dishes from one small bag of soybeans for a more economical and delicious experience in your kitchen.
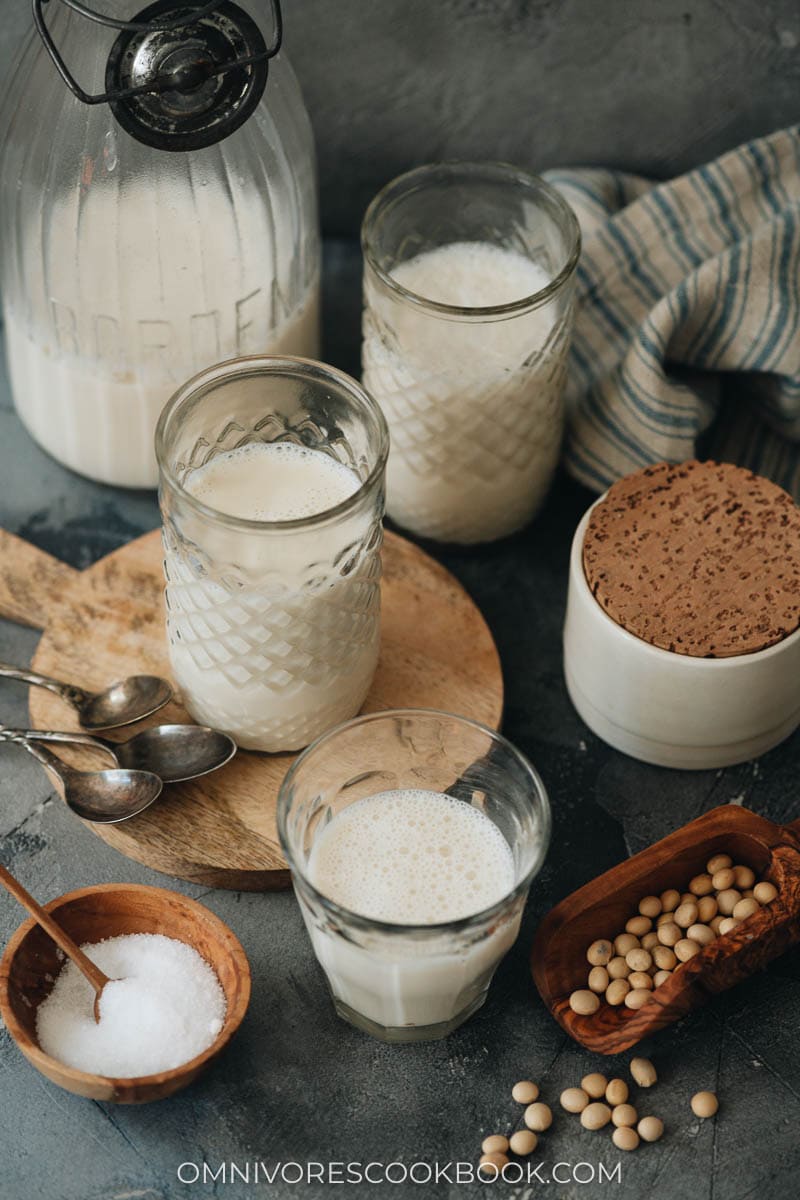
Cooking notes
Boiling the soybean mixture
Unlike other plant-based milks (almond milk, oat milk etc), you have to cook the soybeans through.
It’s very important to keep an eye on the pot when you’re boiling the milk. You need to stir and scrape the bottom of the pan to prevent it from sticking. Also, due to the thick texture of the liquid, it’s very easy to boil over and make a mess on your stove. The best option is to use a big, tall pot to prevent spilling.
Use cheesecloth for straining
Cheesecloth is a must when it comes to making plant-based milk. It will strain off the soybean residue and make a smooth milk. You can find it at most grocery stores or on Amazon.
How to serve soy milk
Soy milk can be served hot or cold. Although some Western recipes call for vanilla and sometimes salt, I like to sweeten my soy milk by adding a bit of sugar.
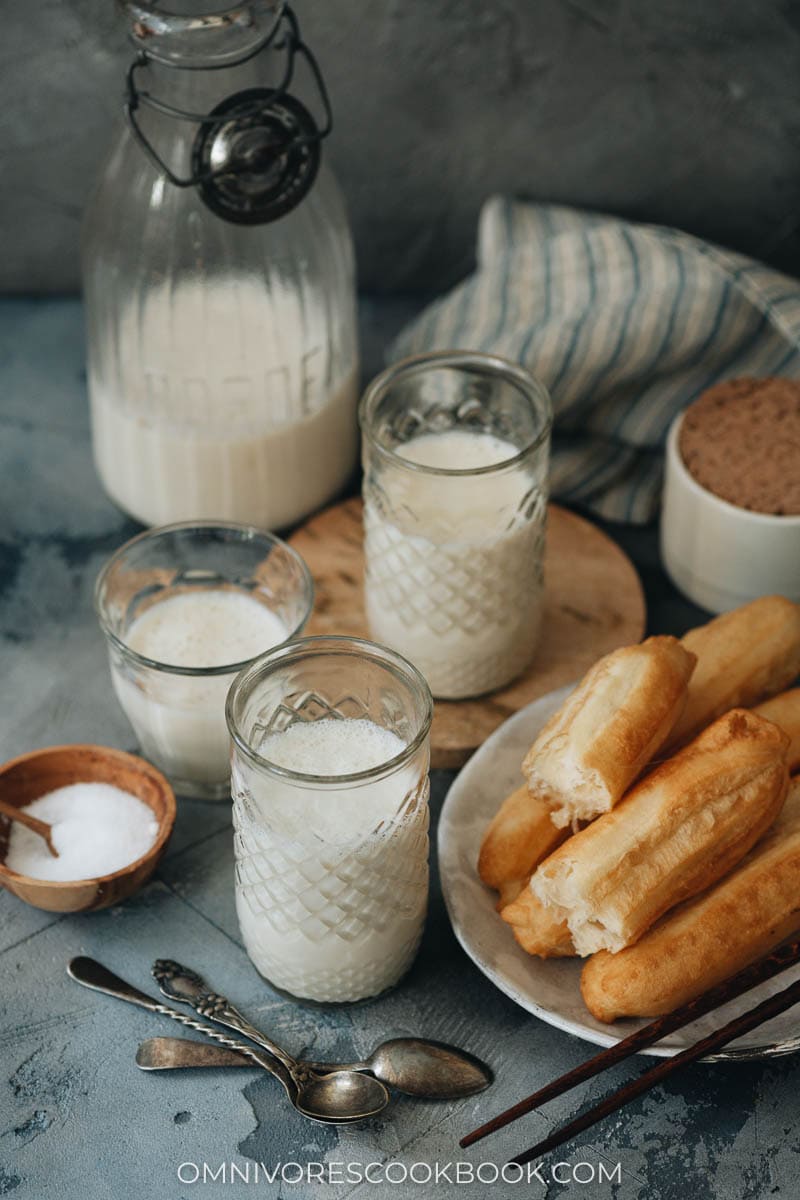
In China, soy milk is quite common to accompany savory Chinese donuts (You Tiao) for breakfast in the morning. You dunk the donuts in the soy milk and it’s quite delicious!
You can use soy milk to replace dairy milk to make milk tea.
This soy milk recipe is a great base recipe for making tofu. I’ll be creating a post for that in the future so keep an eye out for it!
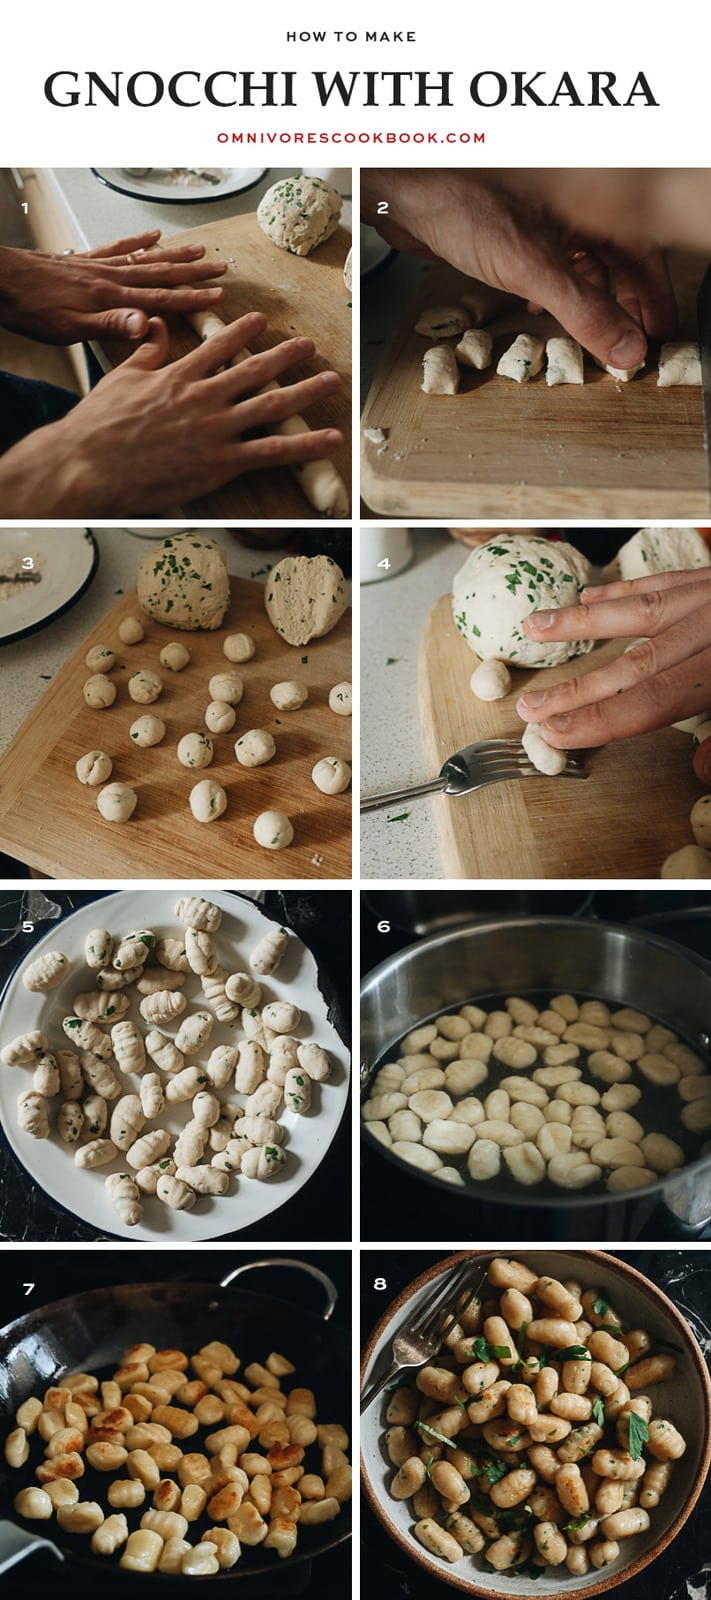
How to use Okara to make Gnocchi
In my previous postI shared how to use okara to make pancakes. Today I want to show you how to use them to make super delicious vegan gnocchi that have a chewy texture (recipe translated from this post).
NOTE: the okara dough is very forgiving and the measurements can vary a lot based on how wet the okara is. If your okara is fairly wet, you might not need the water at all.
Okara gnocchi
- 250 g okra
- 200 g all-purpose flour
- 1/4 cup water
- 1/2 teaspoon salt
- 2 tablespoons chopped fresh basil and/or parsley, or 1/2 teaspoon dried Italian herb mix (Optional but highly recommend)
- In a large bowl, mix the okara with the flour, water, and salt.
- Wash and finely chop the herbs. Add them to the flour / okara mixture. Mix the dough until a ball forms. If the dough is too soft, add a little flour; if it is too tough or crumbly, add a little water.
- Cut the dough into 4 pieces, then roll each piece into a long strand. Cut each strand into small chunks of dough balls, about 3/4” (2 cm) across. Roll each piece of dough into a round shape, then roll it over on the back of a fork to make the characteristic imprint of a gnocco.
- Bring a large pot of water to a boil and add a generous amount of salt. Add the gnocchi. Boil until they rise to the surface, then drain them and transfer them to a plate.
- Heat a thin layer of oil in a frying pan until hot. Spread the boiled gnocchi into it, and cook until both sides are golden brown. Sprinkle with a pinch of salt, drizzle with olive oil, and toss with more chopped herbs. Enjoy!
Want to learn more about Chinese Cooking? Sign up my newsletter to receive the 5-Day Chinese Cooking Crash Course and recipe update!
How to make soy milk
Why buy soy milk when you can learn how to make soy milk yourself? If you’re vegan or dairy-free, you don’t want to miss this super easy recipe!
Ingredients
- 8 oz / 226 g (1 1/4 cup) dried soybeans
- 7 cups water divided
- Pinch of salt and/or sugar or to taste (Optional)
Instructions
-
Pick through your beans and remove any sad-looking beans, either shriveled and/or blackened.
-
Rinse the beans thoroughly and then cover them with 2” (5 cm) of cold tap water above the soybeans. Soak them overnight, up to 24 hours. If your room is very warm in the summer, soak the beans in the fridge.
-
Once the beans are fully hydrated, drain the water and rinse the beans once more.
-
(Optional) You can remove the skins of the beans by rubbing them between your fingers. Fill the bowl with water again, the skins should mostly float above the beans and you can pour them out. This will take 3 or 4 rounds. Some people prefer the beans without their skins because they feel they make the soy milk taste beany or bitter. I tried both and I don’t think there is much of a flavor difference so I don’t think this step is necessary.
-
Before begin cooking, set up a strainer lined with layered cheesecloth, muslin, or a coffee filter (if using a coffee filter you may have to change it out once or twice during the straining process) and place it over a heat-proof vessel.
-
Add the soybeans into a blender with 4 cups of water. Blend on high until smooth. Depending on the size of your blender, you might need to blend in two batches. In this case, make sure you use 2 cups of water to blend each half of the beans so you will use 4 cups in total.
-
Pour the mixture into the tallest pot available. Add 3 more cups of water to the pot and set to medium-high heat.
-
Stir constantly with a wooden spatula, scraping the bottom as you do to prevent burning. Once the soy milk starts to boil, turn to medium-low heat and let boil for 20 minutes. As you cook the soy milk, the foam will rise. Keep a close eye on the pot. If it looks like it’s about to boil over, turn the heat to very low or off, and stir until the foam dies back down. Once the foam has receded, turn the heat back on and continue cooking, stirring constantly, until the 20 minutes are up.
-
Turn the heat off and stir for another minute to ensure the bottom doesn’t burn, then pour the soy milk over the lined strainer to filter out the okara. Make sure to stir and press the soy pulp with a spatula to ensure all the soy milk gets through. When most of the liquid has left the soy pulp in your strainer, scoop it into a separate bowl and pour more of the cooked soy milk into the strainer. Once all the liquid is strained off, put all the collected pulp back into the strainer and squeeze as much soy milk from it as possible (if using coffee filters be careful not to tear the filter).
-
Add a pinch of salt and/or sugar to taste. These ingredients will just balance and enhance the flavor of the soybeans. You can sweeten the soy milk by adding more sugar, if needed.
Nutrition
Serving: 1serving, Calories: 132kcal, Carbohydrates: 15.4g, Protein: 8g, Fat: 4.3g, Saturated Fat: 0.5g, Sodium: 125mg, Potassium: 289mg, Fiber: 1.5g, Sugar: 9.8g, Calcium: 61mg, Iron: 2mg
If you give this recipe a try, let us know! Leave a comment, rate it (once you’ve tried it), and take a picture and tag it @omnivorescookbook on Instagram! I’d love to see what you come up with.
More homemade plant-based recipes
Lilja Walter is a part of the Omnivore’s Cookbook team and worked closely with Maggie to develop and test this recipe.

