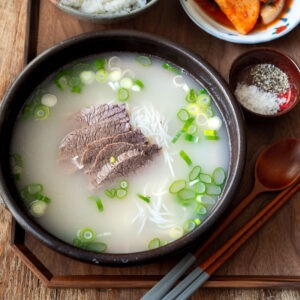
Seolleongtang, known as Korean beef bone soup, is a nourishing dish rich in nutrients from ox bones. Traditionally, it takes up to 2-3 days to prepare, but an Instant Pot cuts this to just a few hours, retaining its rich flavor in milky white broth.
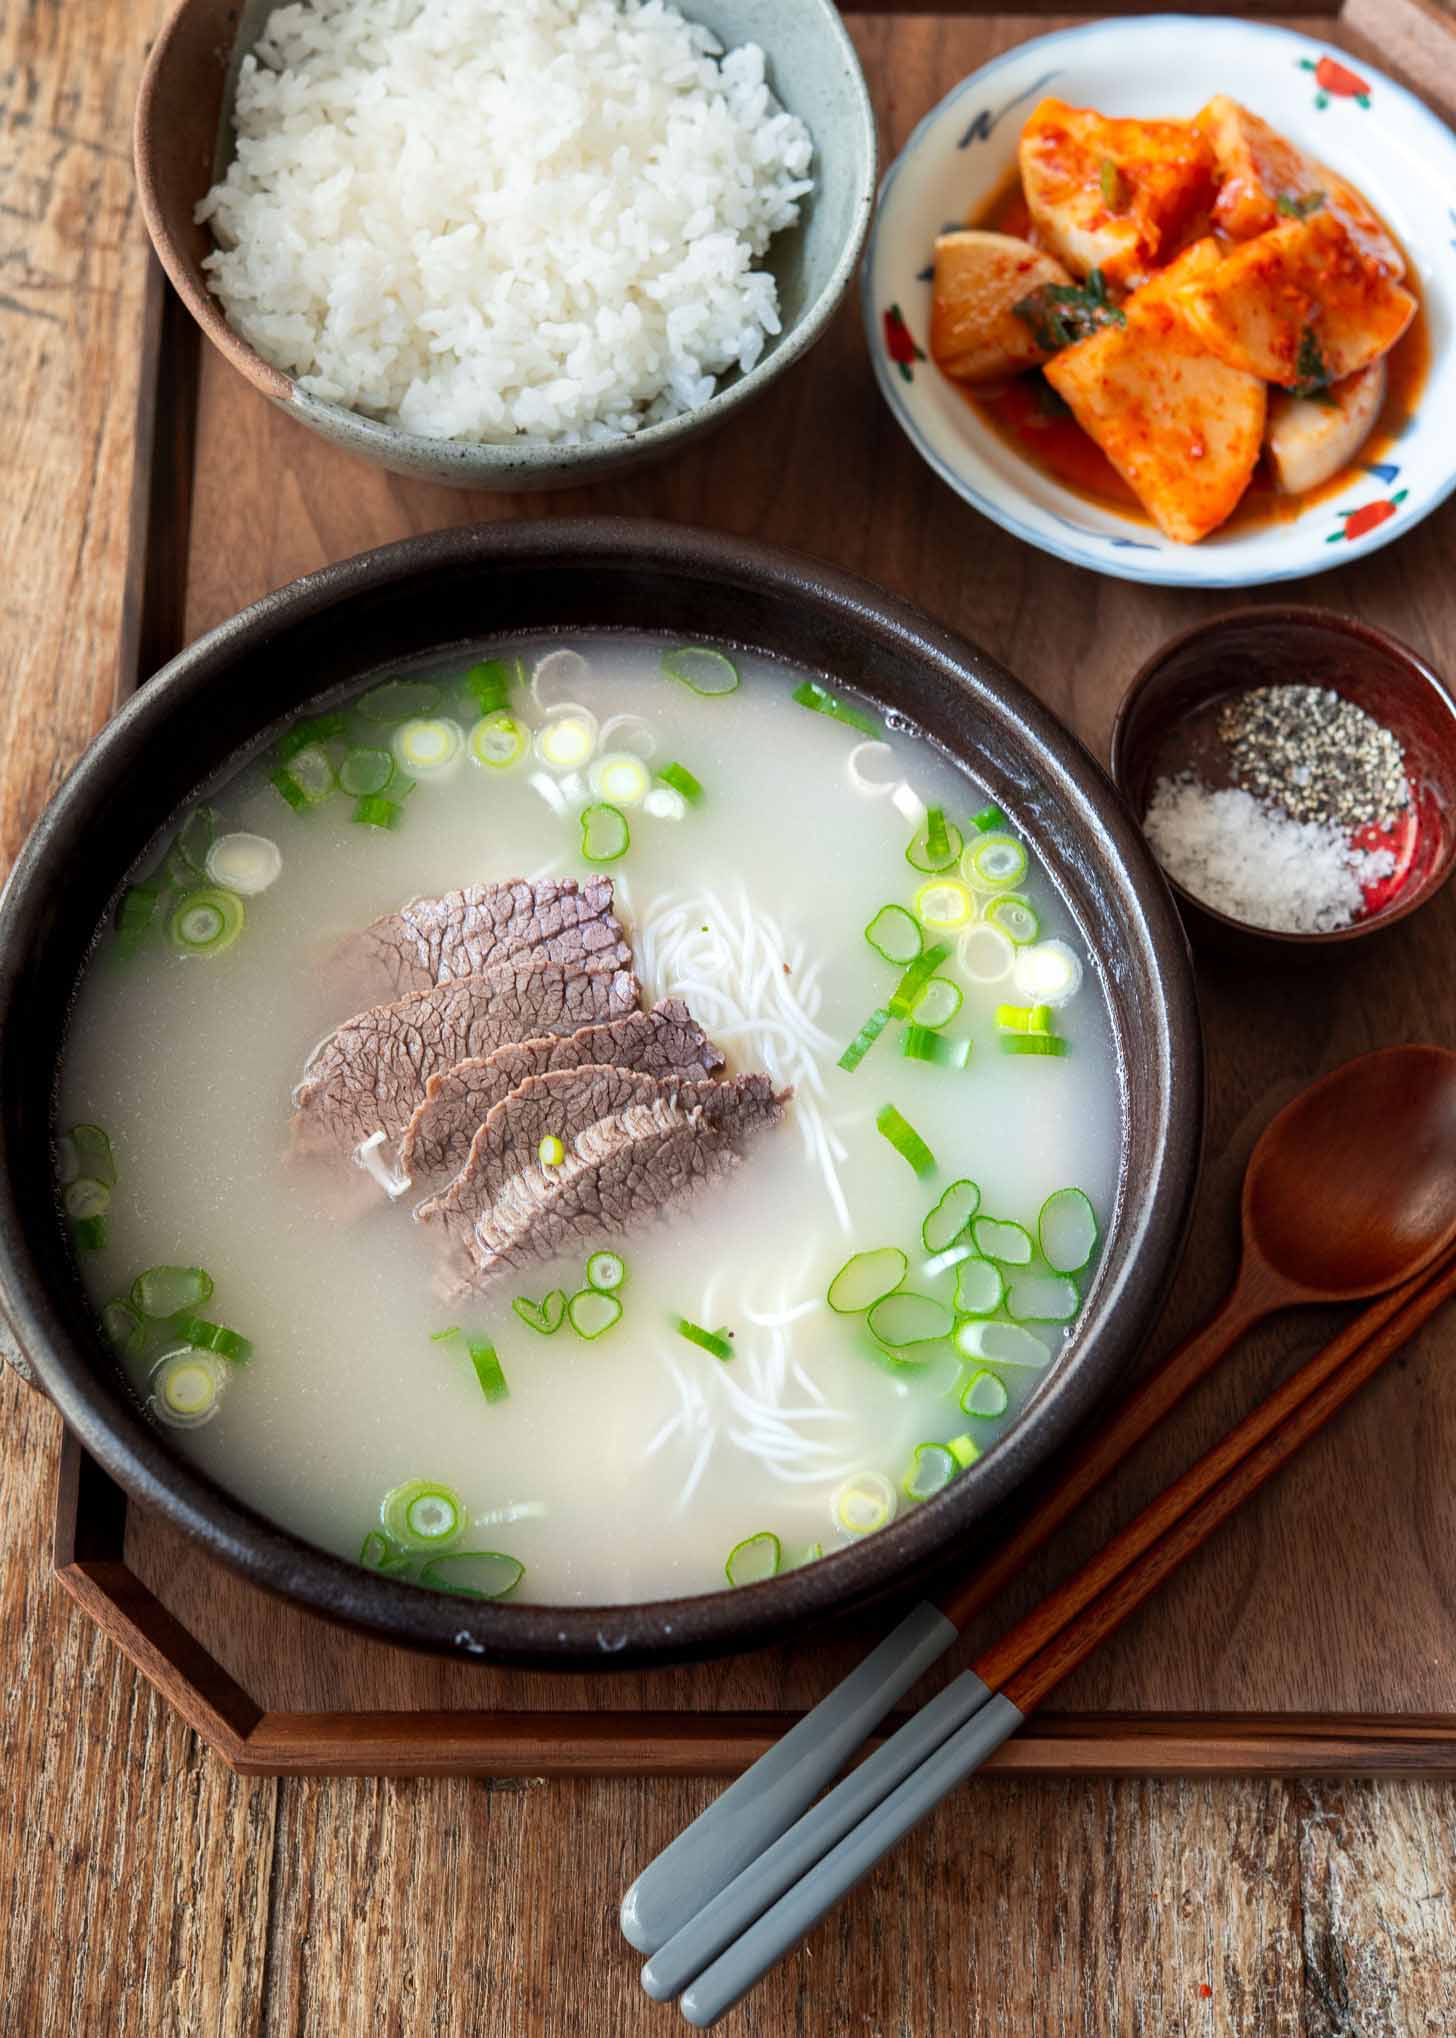

When fall and winter roll around and that cold breeze hits, a lot of Koreans, including me, start craving seolleongtang, that creamy milky ox bone soup that just warms you up. Many Korean restaurants offer variations of this beef bone soup.
Although making it at home can be time-consuming, the homemade version is always a rewarding experience. Plus, you can cook it in large quantities to serve several meals.
Back in the 70s and 80s, I remember my mom going all out, getting different beef bones to whip up this soup. She’d have this big pot on the stove, letting those bones cook for what felt like forever. Sure, it took her a while, but the result? We all got to dive into this amazing, hearty milky broth soup every winter.
Every time I have it, I think of the love and effort she put into it. Makes me appreciate those home-cooked meals even more.

Get new recipes via email:

What is seolleongtang?
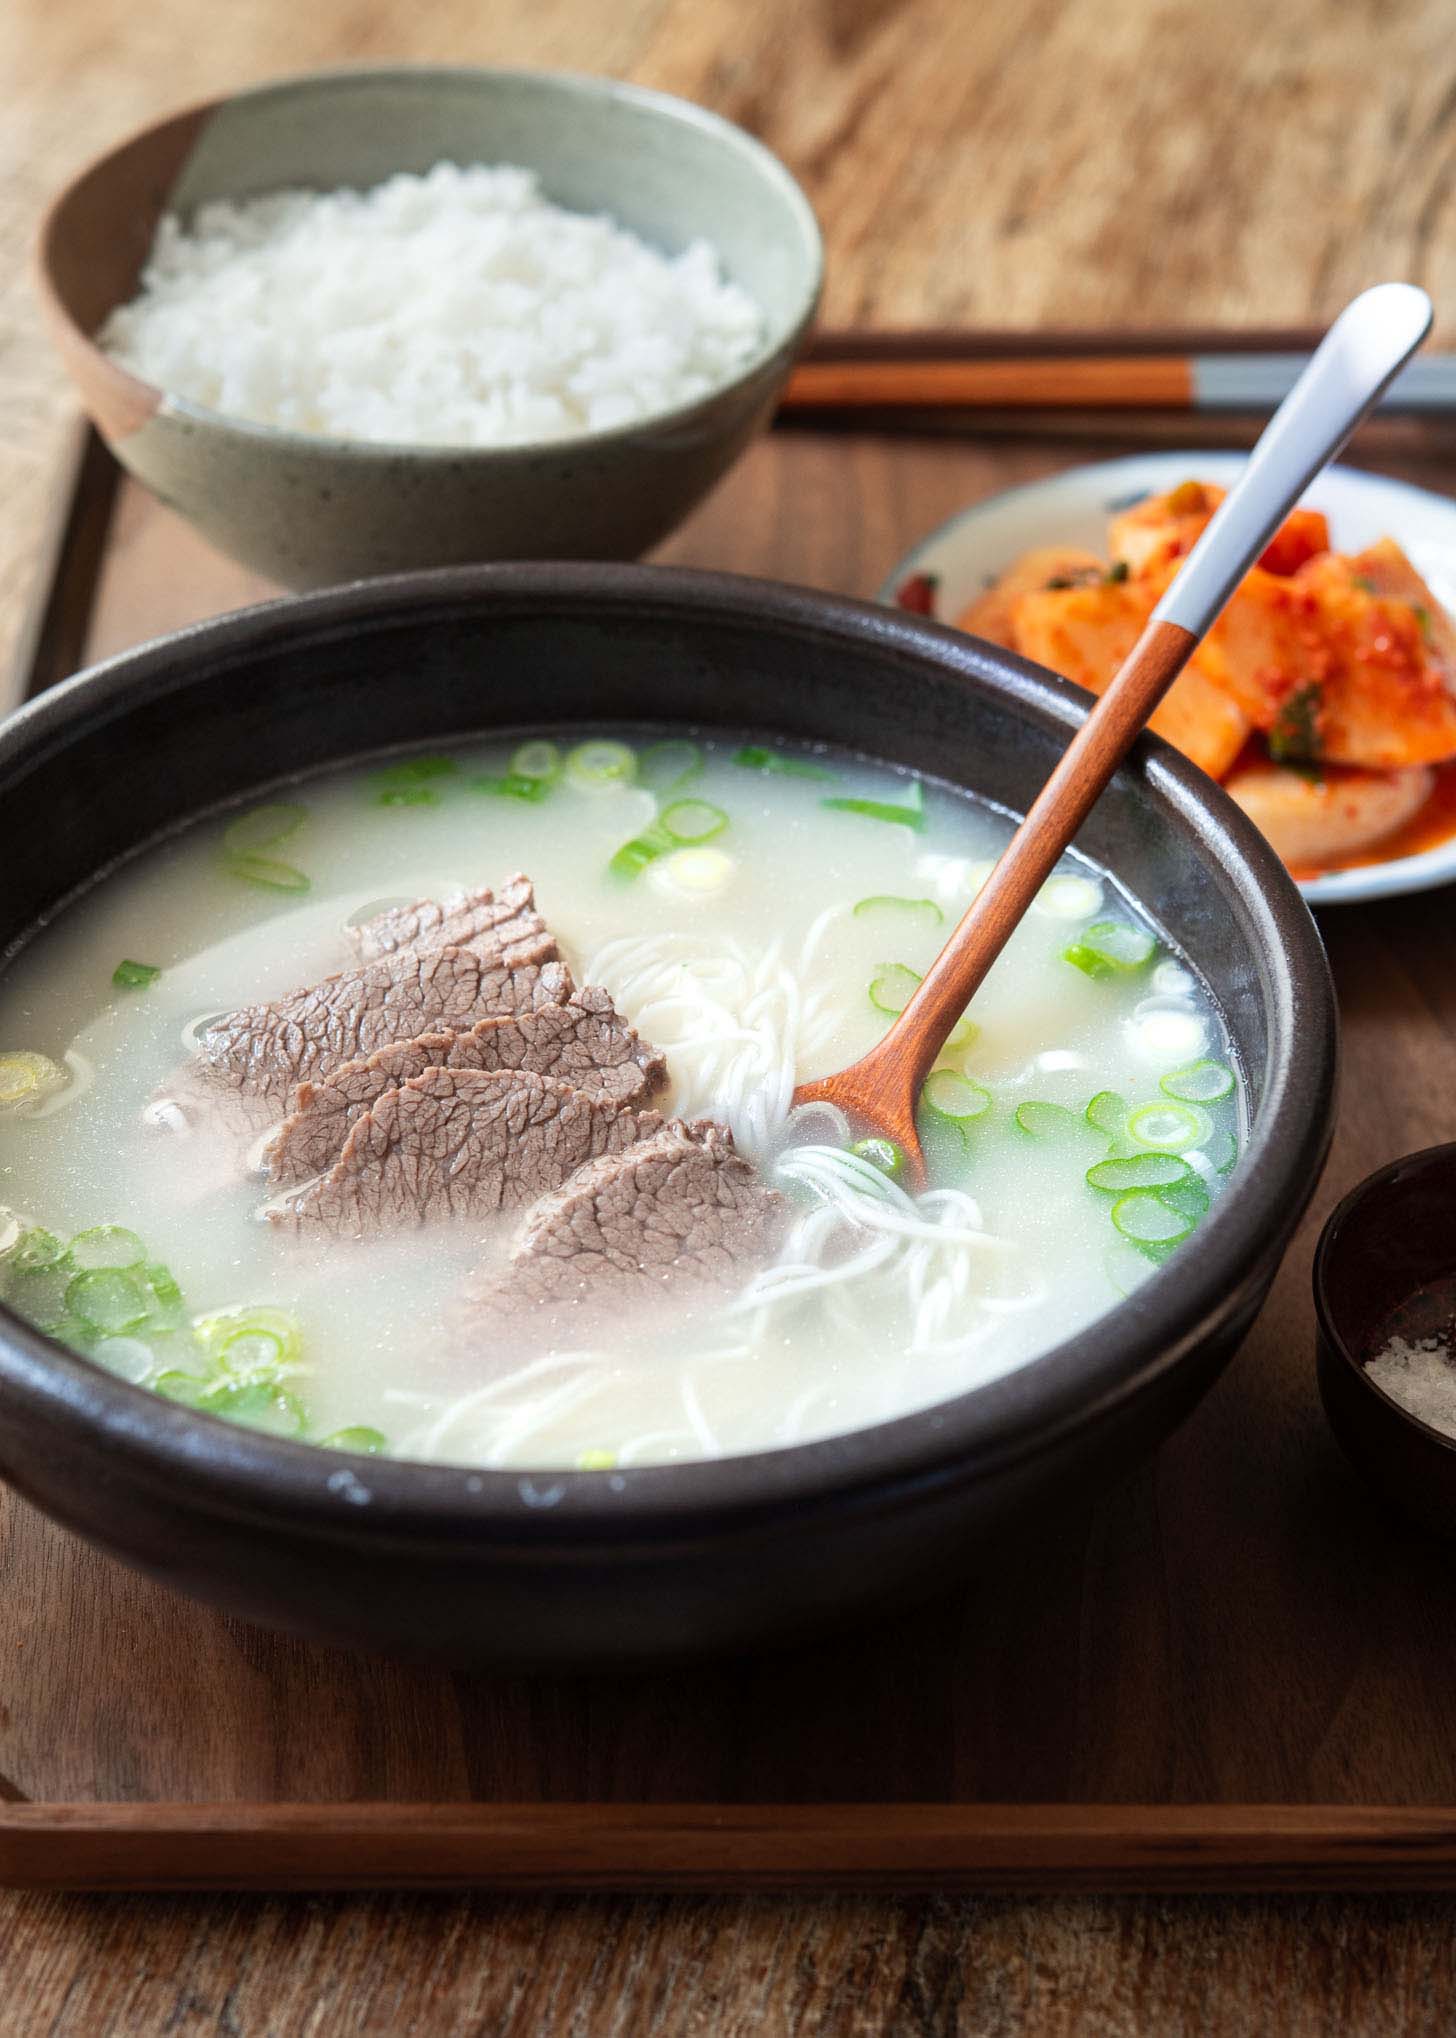
Seolleongtang is a traditional Korean soup made primarily from ox bones, simmered for hours, sometimes even days, until you get a creamy, rich broth. This Korean beef bone soup appears milky due to the long simmering of bones, which releases collagen and marrow into the broth.
The origin goes that way back in the 15th century, King Seonjong from the early Joseon dynasty came up with this soup idea to feed a big crowd after a special event with a sacrificial cow. Talk about a smart move by the King!
Given its smart use of budget-friendly ingredients, a pot of this Korean bone soup can feed a crowd or whole family with leftovers for a later use. It stands as an economical staple in many Korean households.
This beefy broth is perfect soup base for other tasty Korean soups and stews, like tteokguk (rice cake soup), manduguk (dumpling soup), miyukguk (seaweed soup), kimchi jjigae (kimchi stew), and budae jjigae (army stew).
On the health side, seolleongtang is pretty awesome too. All that time on the stove means the soup is loaded with good stuff like calcium, phosphorus, and magnesium. And the collagen from the bones? That’s like a bonus for your joints and skin.

Making Seolleongtang with an Instant Pot
My family loves the taste of Korean ox bone soup, so I make seolleongtang every once in a while. Thanks to modern conveniences, I now use an Instant Pot (or any pressure cooker) instead of the old-school, traditional stovetop method.
Although the Instant Pot speeds things up, it doesn’t make the soup instantaneous. It still takes a few hours.
But compared to the traditional 2-3 days on the stove, the Instant Pot gets it done in just half a day with a few hours of cooking time. Big time saver! You will still get the creamy milky white broth that you would expect from authentic Korean beef bone soup.
Types of Ox Bones to Use
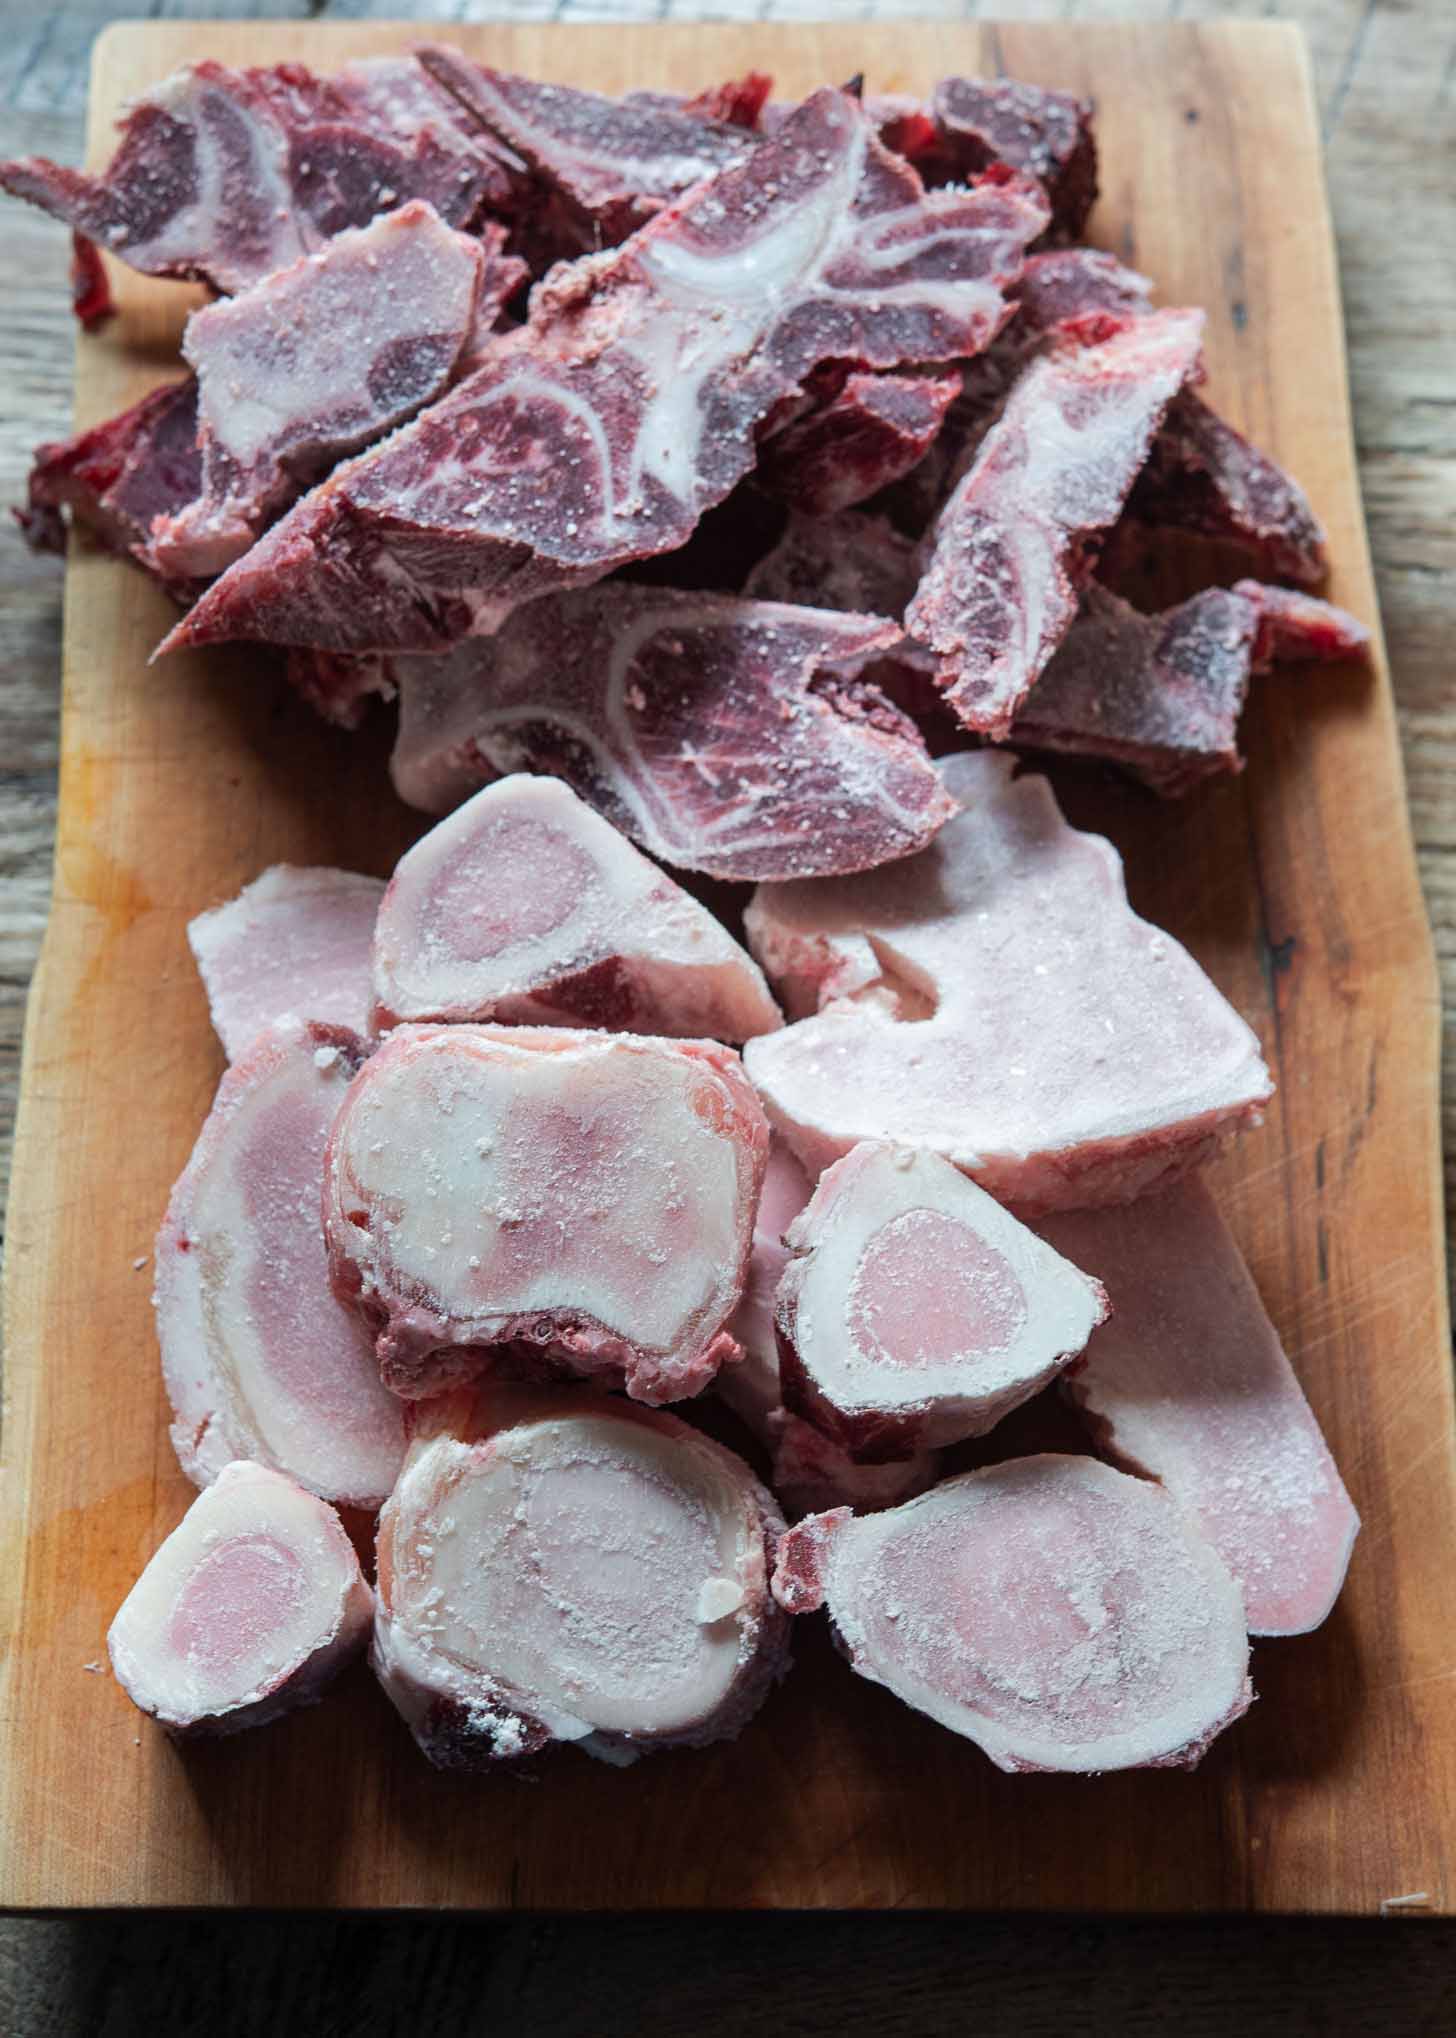

Seolleongtang is usually made using ox leg bones, specifically marrow bones. Most folks go for the ox marrow bones (sagol, 사골), which is a popular choice for that creamy soup.
Other options include ox foot (ujok, 우족), knuckle bones (dogani, 도가니), and assorted bones, known as jappyeo (잡뼈). For a richer taste, mix 2-3 types of these bones.
If you head to a Korean grocery store, you might see these bones sold together, but sometimes they’re separate. This time, I combined marrow with assorted bones for my seolleongtang recipe because they had a great discount!
When shopping, pick bones that are white in the middle and a bit pinkish outside. Finding these specific bones might be tricky outside Asian butcher shops. If you’re in a pinch, oxtails, beef shank, or other marrow bones work well, giving the broth a deep and meaty flavor.
How to make Seolloengtang (Instant Pot)
Seolleongtang doesn’t have a strict recipe or set-in-stone rules. While recipes like Western-style beef stock or Vietnamese pho broth using beef bones aim for a clear broth, the hallmark of Korean bone soup is its milky white consistency.
Tip: Many Korean cooks recommend soaking the ox bones in cold water for hours before simmering to remove blood, which some believe can give the soup a gamey odor. Personally, I’ve found this step optional.
It only adds the extra prep time. I’ve tried both – soaking and not soaking – and noticed no difference in taste or aroma. No gamey scents either! However, I do suggest giving the bones a quick parboil to clear out any impurities and tiny bone fragments before the main simmering process.
Bone Preparation
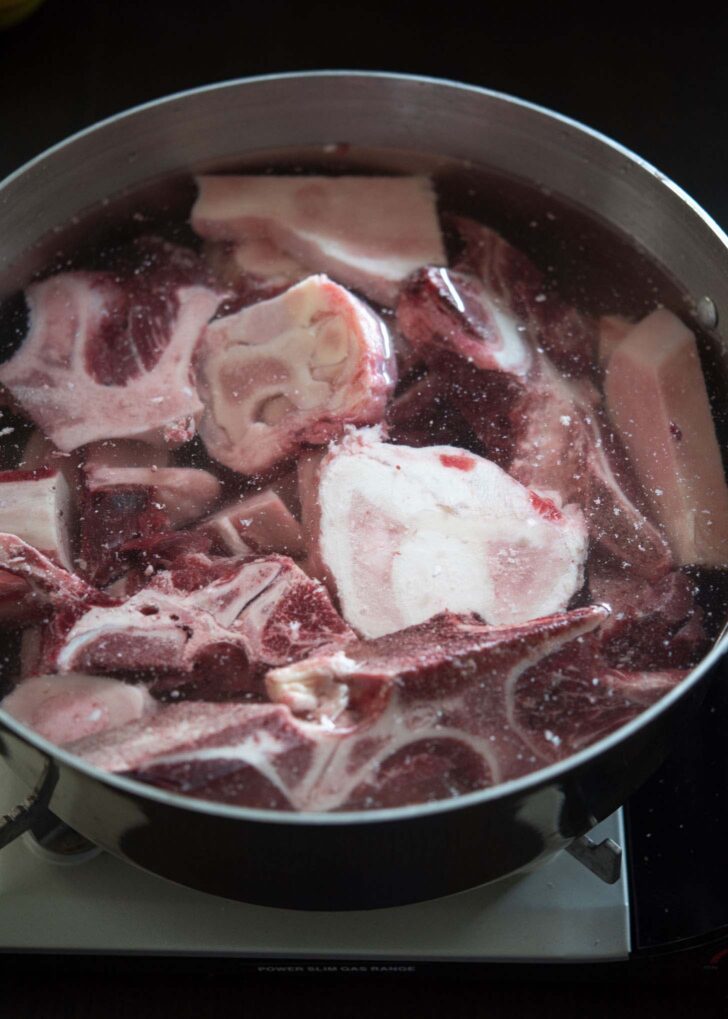

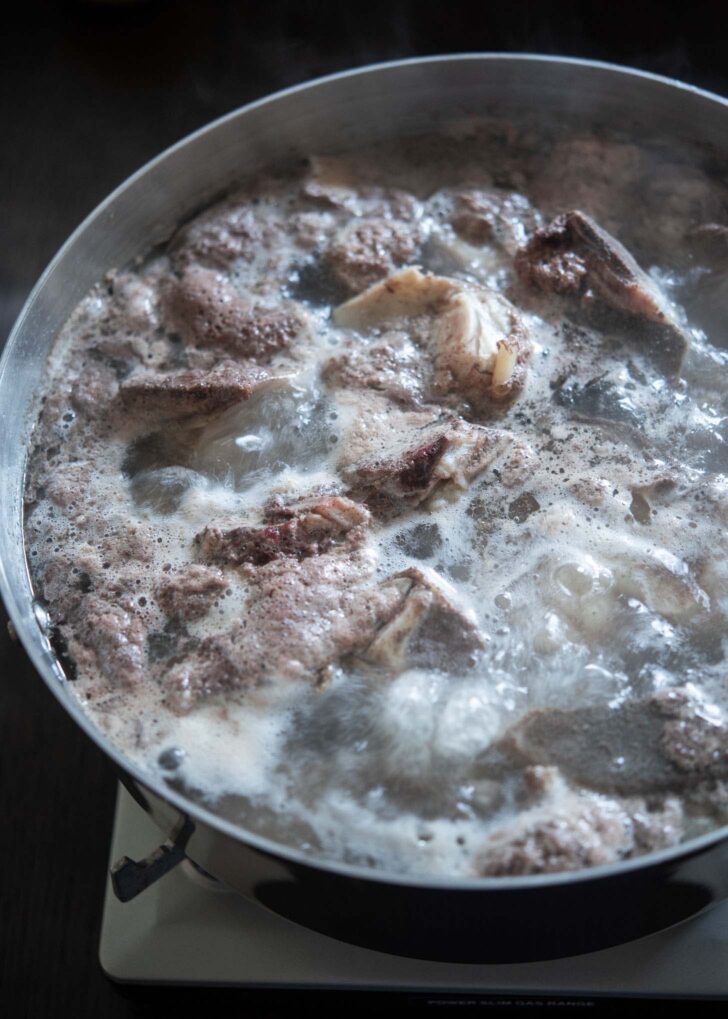

Initial Bone Boiling: Start with a large stock pot. Add enough water to cover the bones and bring to a boil. Let it boil for 10 minutes. As it boils, you’ll notice scum, fat, and other impurities rising to the top.
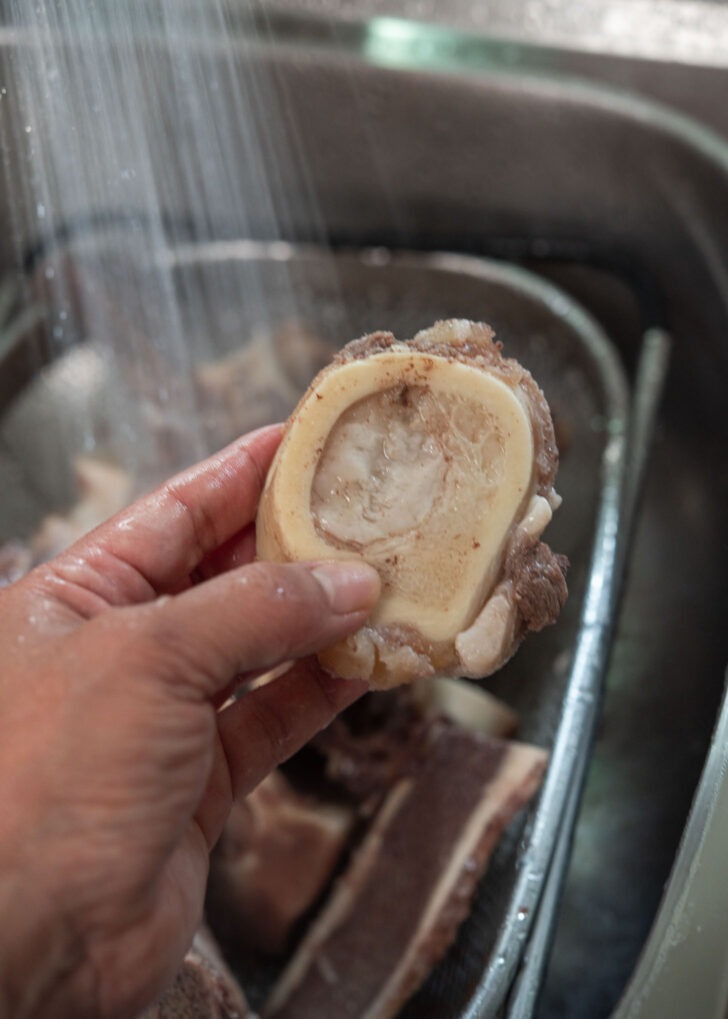

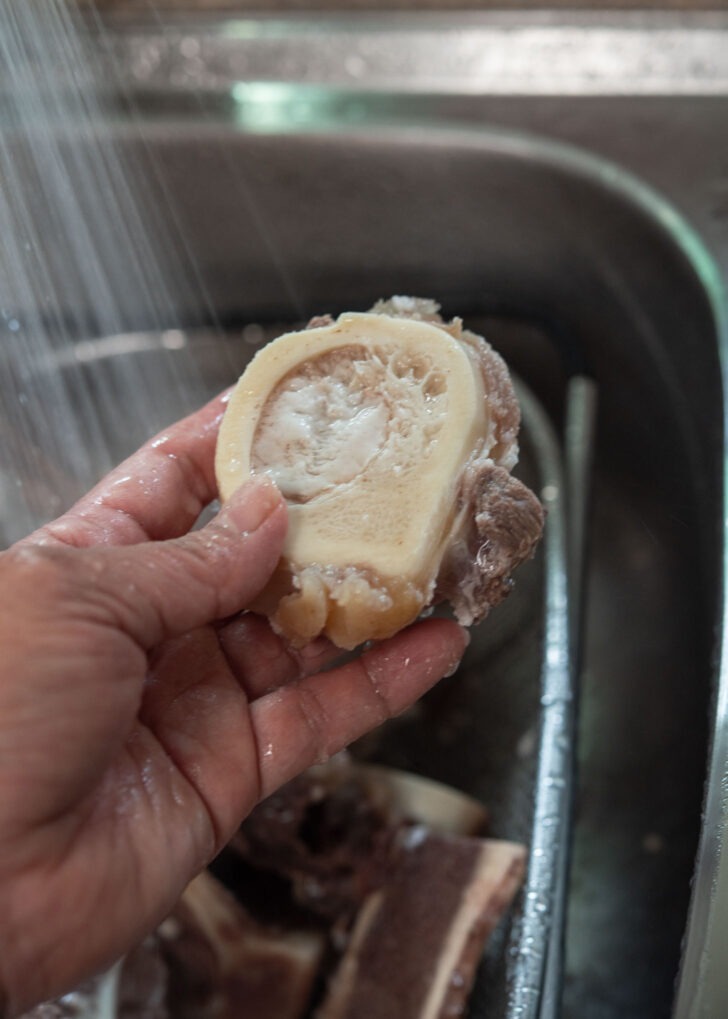

Rinse and Clean: After boiling, drain and rinse the bones to remove any lingering impurities and excess fat.
First batch
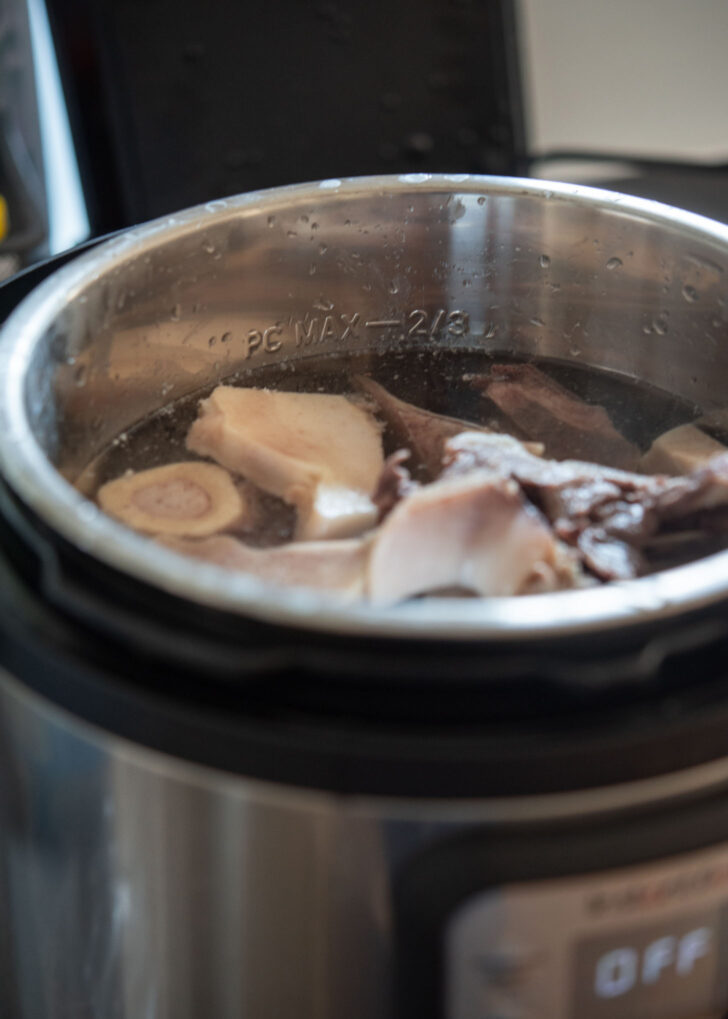


Instant Pot Preparation: Place the cleaned bones in an Instant Pot. An 8-quart or larger Instant Pot is ideal for this process. If yours is smaller, adjust the quantity of bones accordingly. Add cold water until it’s about 1-inch below the pot’s max line, roughly 3 liters (3/4 gallon or 12 cups).

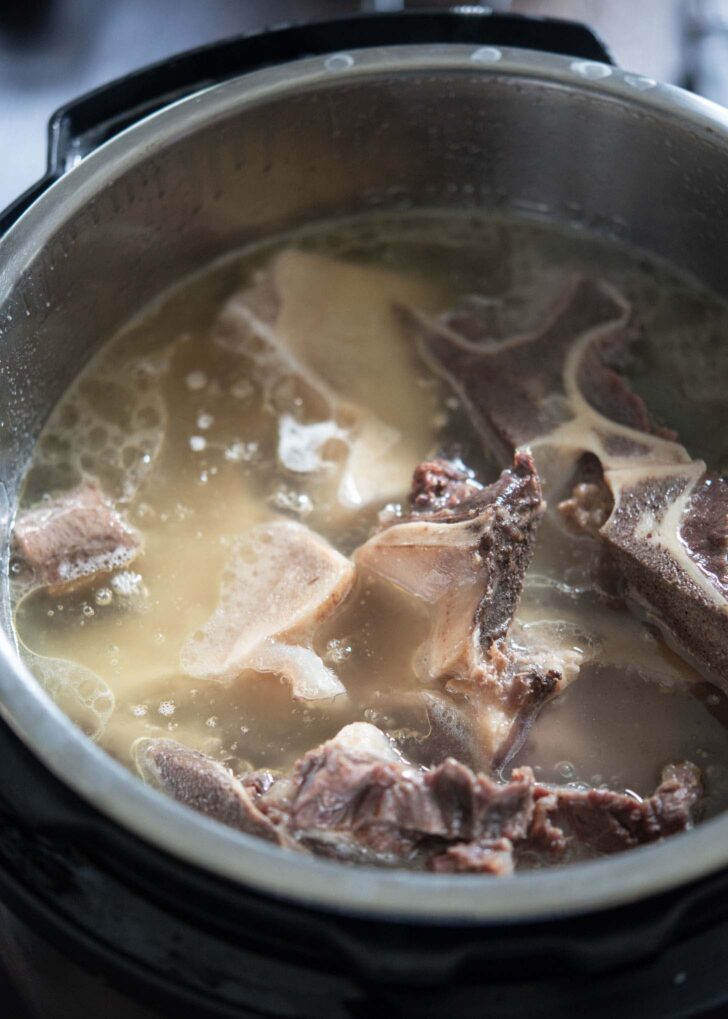

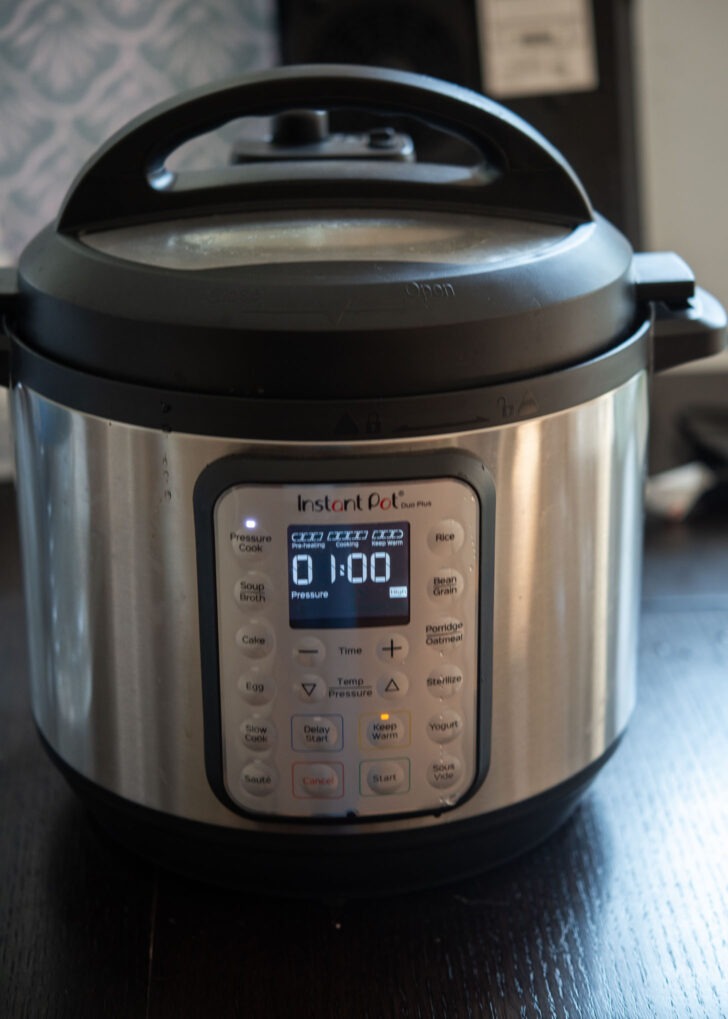
Pressure Cooking: Secure the lid and set the Instant Pot to high pressure for 1 hour. It’ll likely take between 30-45 minutes to reach pressure before the 1-hour cooking begins.
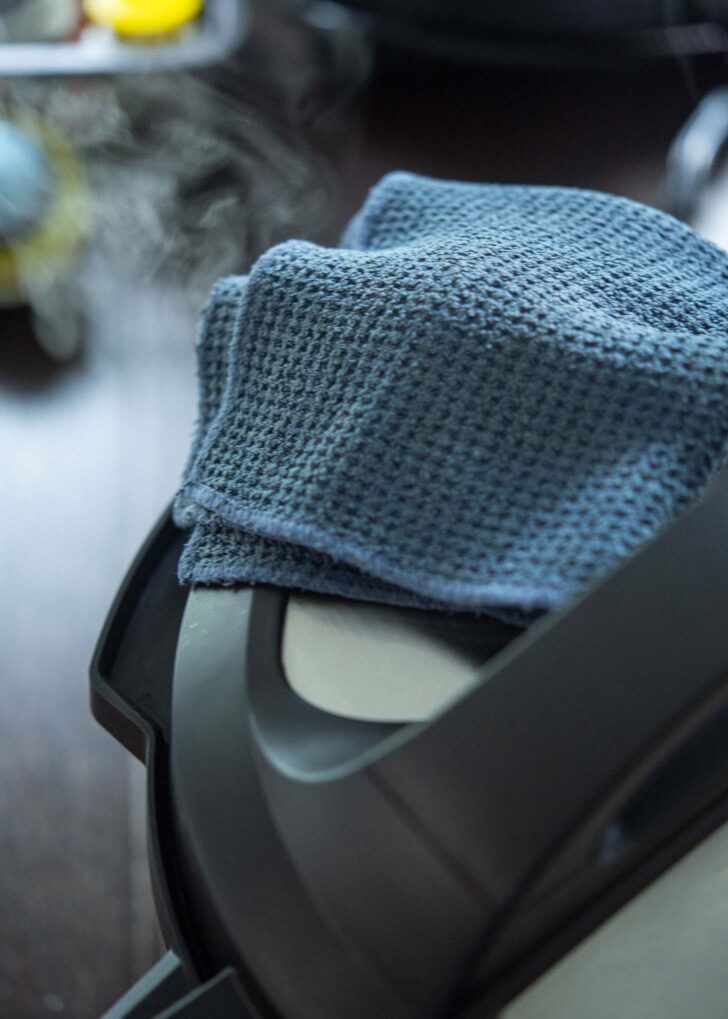
Important Note: Once done, refrain from using the quick-release feature, or you’ll risk a messy eruption of hot broth. Allow the pressure to release naturally, which can take up to 1.5 hours. After that, use a kitchen towel to cover the vent, ensuring all pressure is released, then open the lid. At this point, the broth will be clear but not milky.
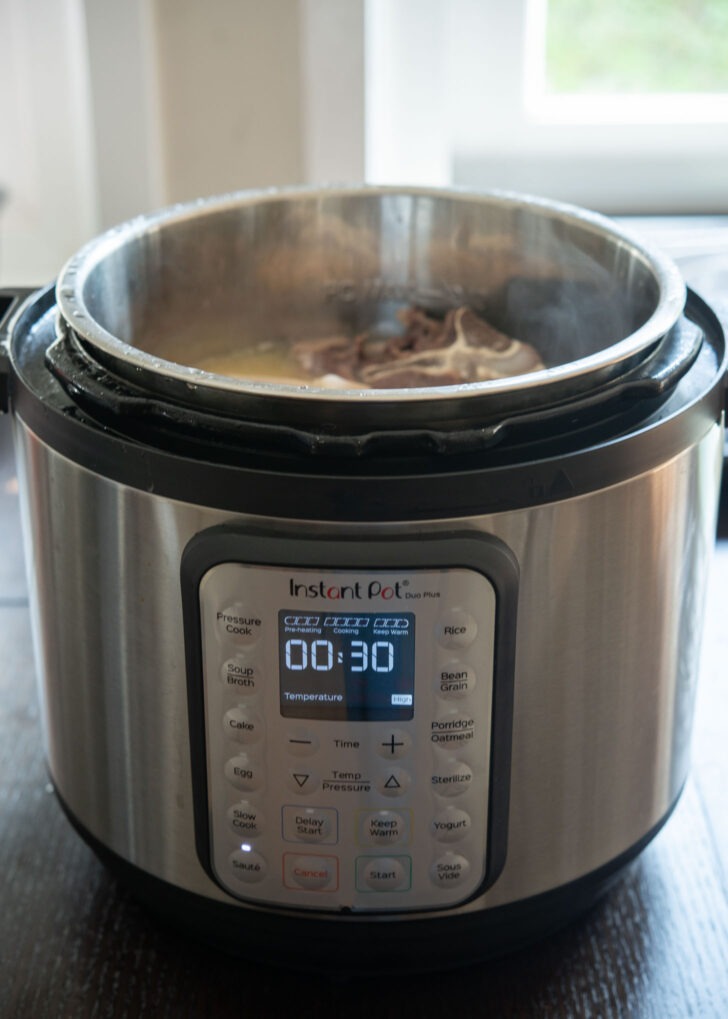

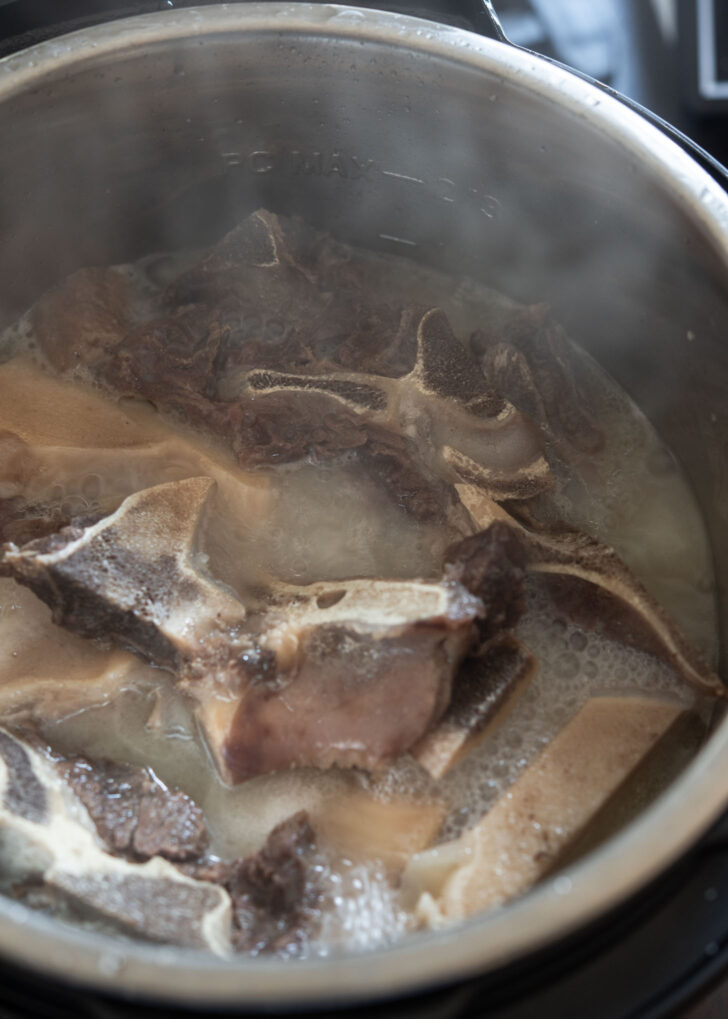

Achieving the Milky Broth: Change the setting to sauté mode and let the broth boil for 30 minutes. Activate the sauté feature again for another 30 minutes, totaling 1 hour of boiling. Partially cover with a glass lid, allowing steam to escape. This step will transform your clear broth into a milky consistency.
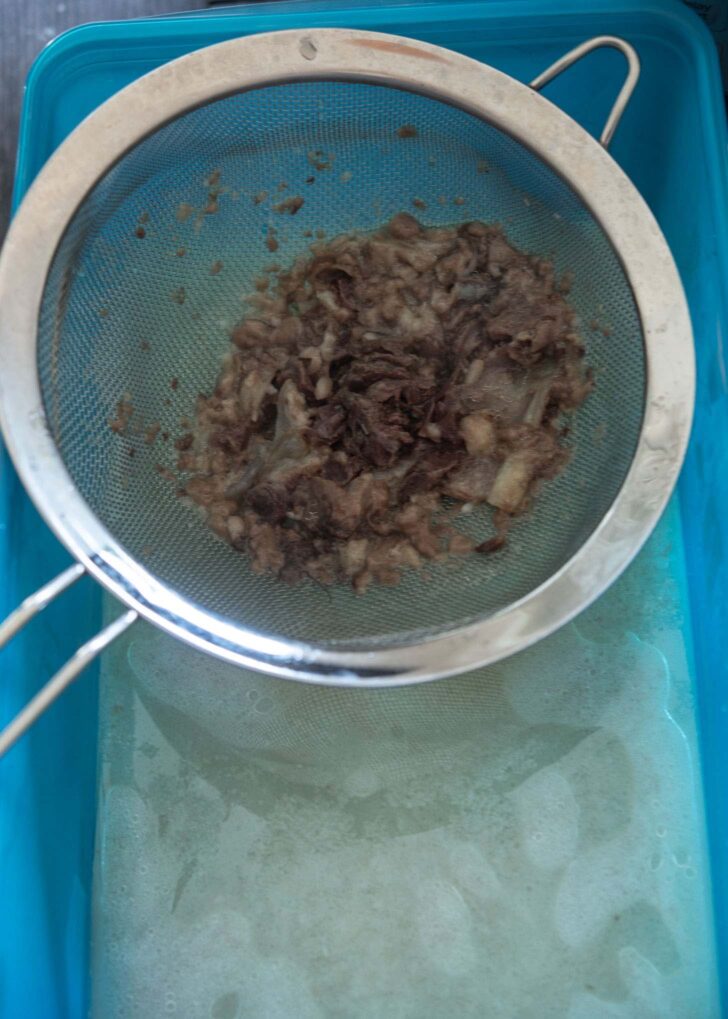

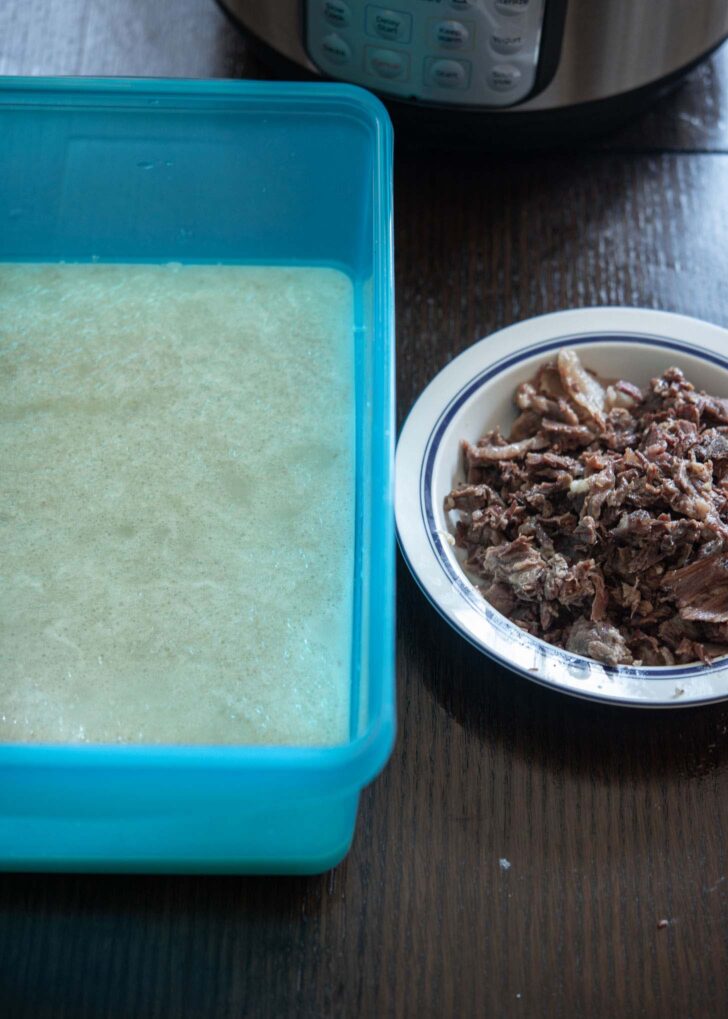

Strain and collect the broth: Strain the broth into a large bowl of container, setting the bones aside. If there’s any meat on the bones, strip it off and reserve separately.
Second and Third Batch
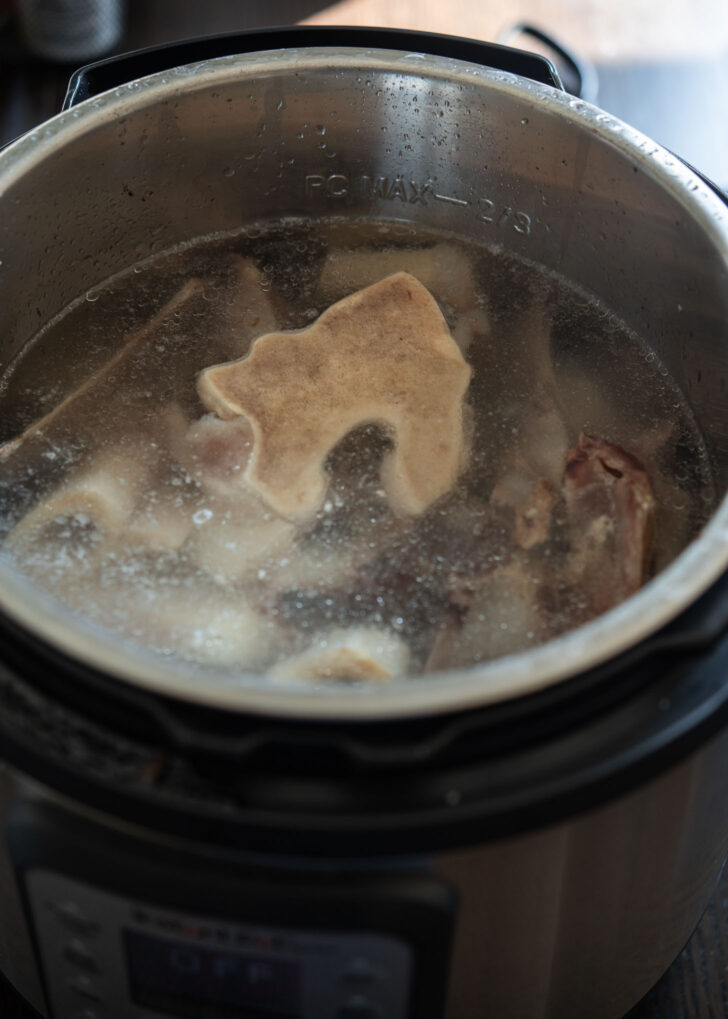

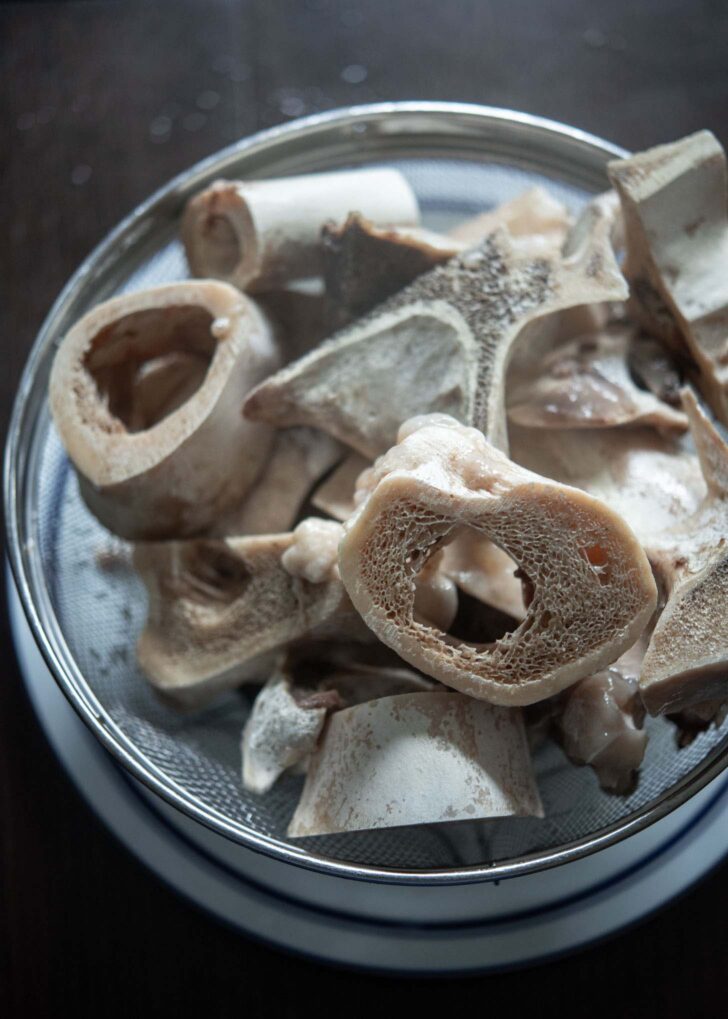

Second Batch: Return the bones to the Instant Pot for the second time and add another 3 liters of water. Using the sauté mode, boil for 1 hour or 1.5 hour to get the white milky broth (you’ll need to reactivate the sauté mode after the first 30 minutes). Combine this batch of broth with the first bone broth.
Third Batch (Optional): If desired, repeat the process a third time, combining all the batches in one container. After the 3rd batch, you will notice the bones become very brittle and hollow.
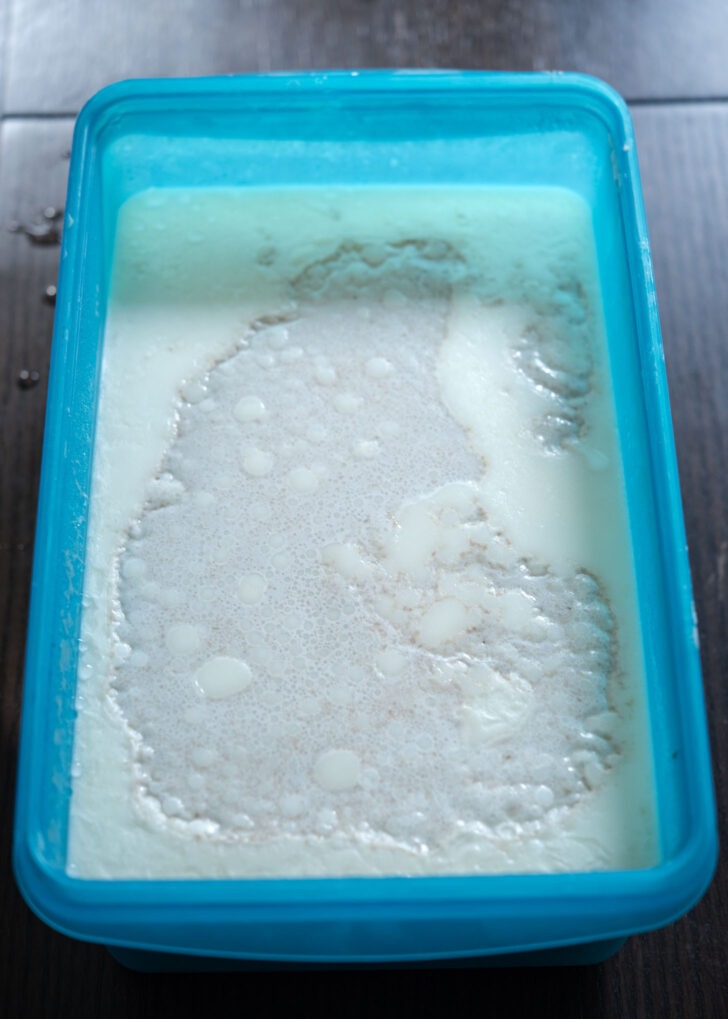

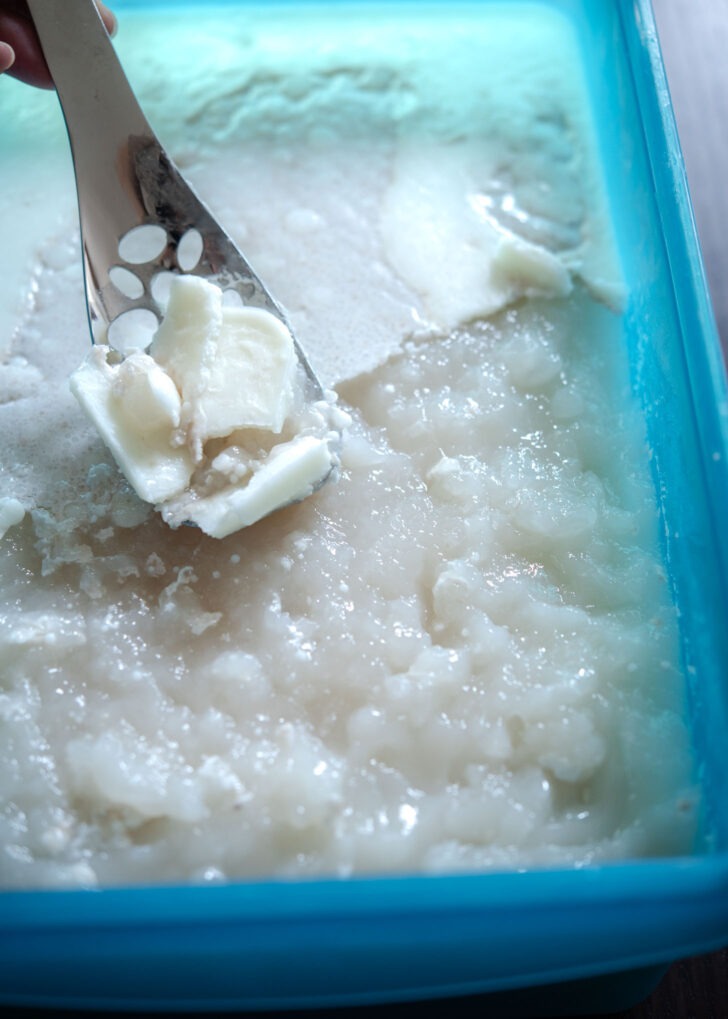

Chilling and Defatting: Allow the broth to cool, then refrigerate until the fat solidifies on the surface. Overnight is better. This makes it easy to remove the excess fat with a slotted spoon. As it cools, you’ll notice the broth turns gelatinous – a sign of the rich marrow content full of collagen.
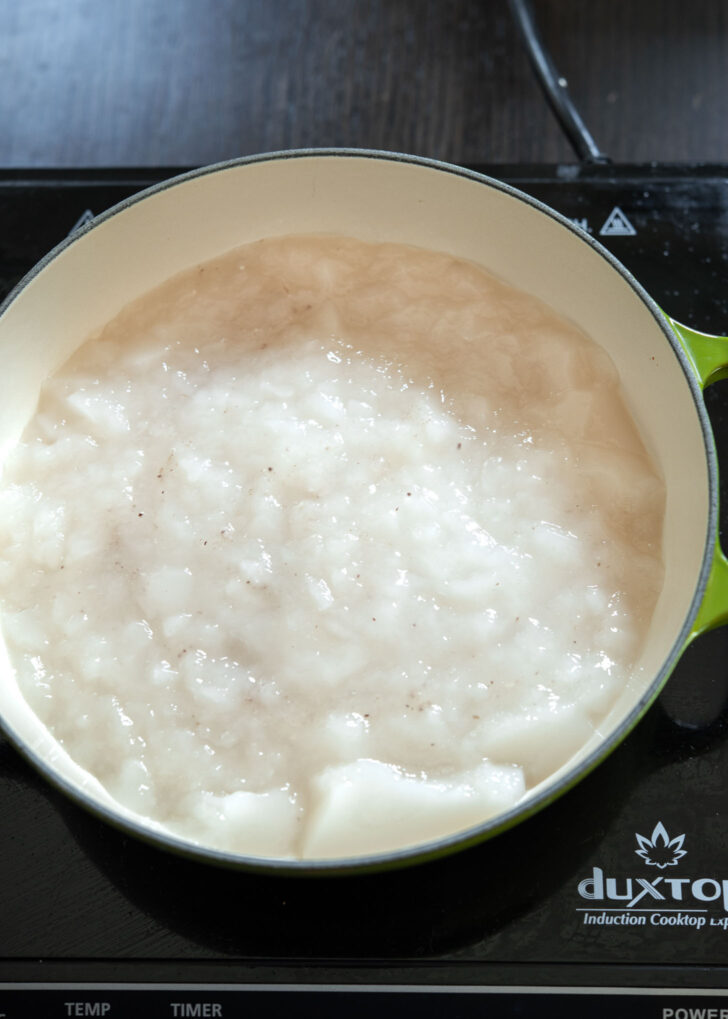

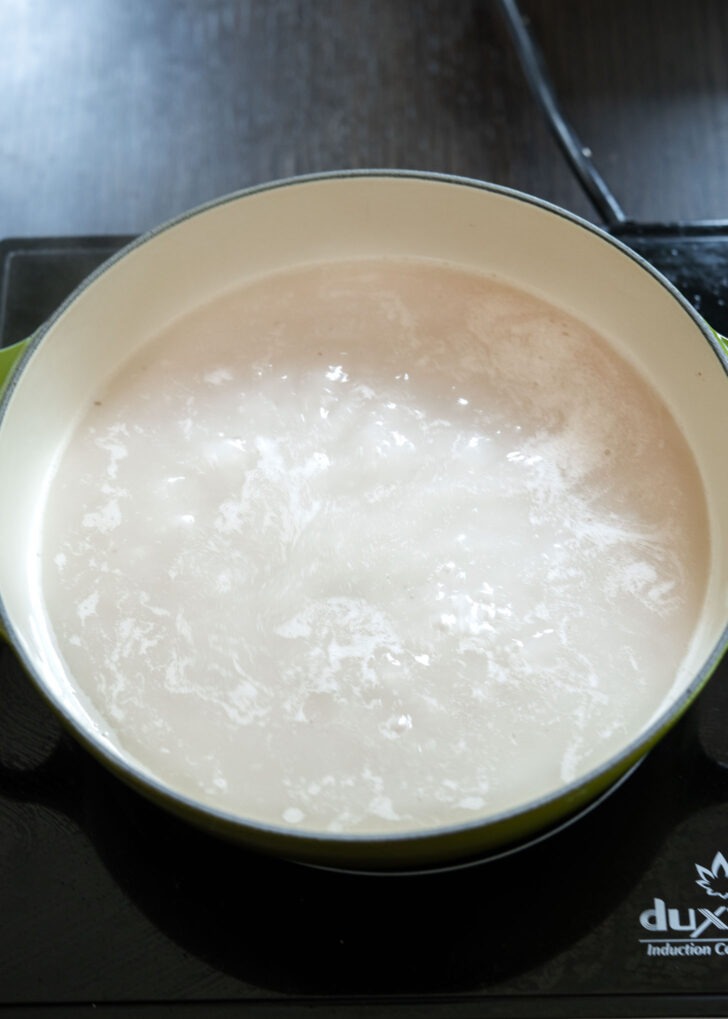

Reheating: When you’re ready to enjoy, combine the broth with the reserved beef pieces in a pot. Warm until heated through, and watch as the gelatinous broth returns to its milky state.
Optional: Beef Brisket Addition
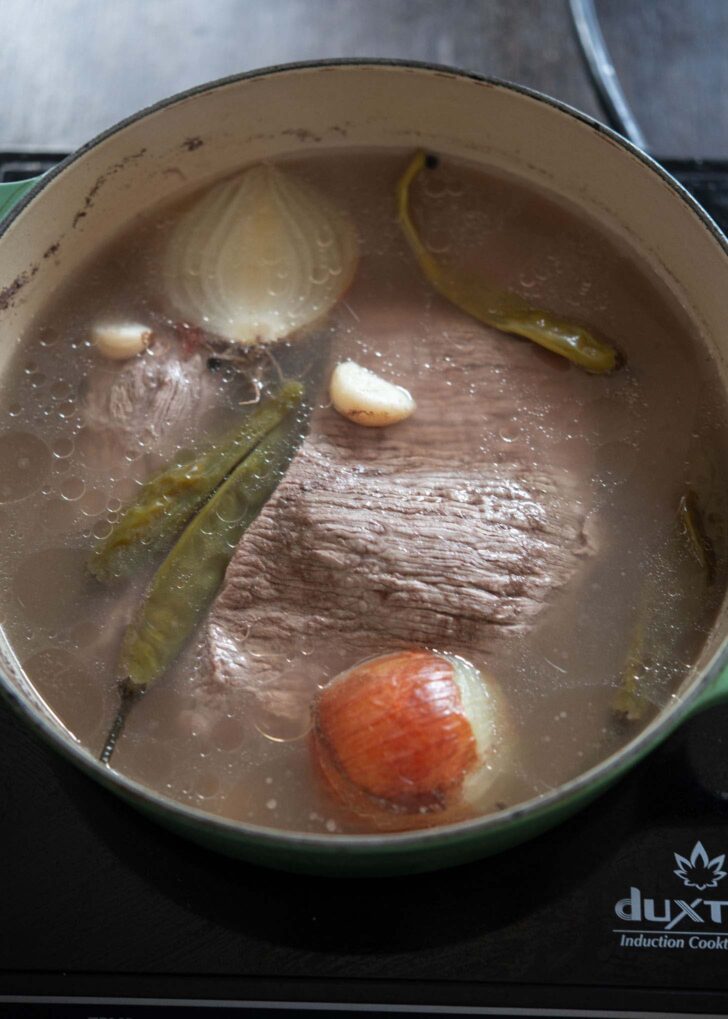

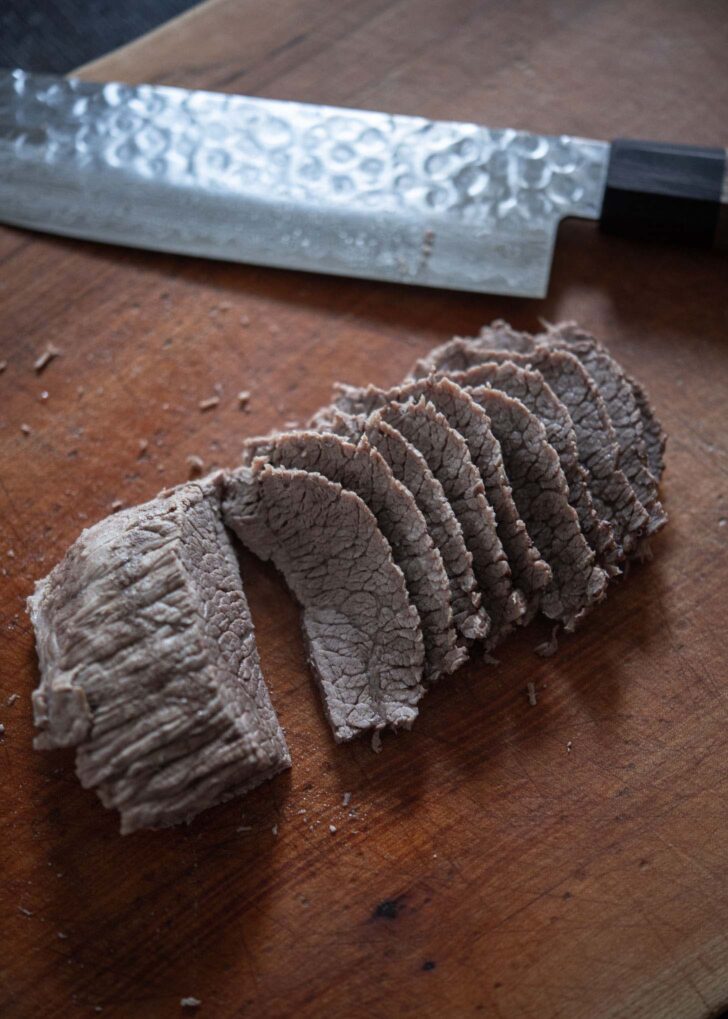

To give your beef bone soup extra heartiness, many choose to include chunks of beef brisket. You can either simmer the brisket along with the bones until it’s tender or cook it separately with aromatics like onion, garlic, and whole peppercorns for added aroma.
I prefer the latter, especially when I plan to chill the bone broth and serve it the next day.
Traditional Stovetop Cooking Method
After prepping the ox bones as described earlier, place them in a large pot filled with water. Bring the water to a boil on high heat, then reduce to medium-low or medium heat, maintaining a gentle boil. This simmering process, lasting 6-8 hours, or until you see the liquid turn to milky broth.
If the water level drops too much, simply add more. Once done, strain the broth and set aside any meat from the bones.
To enhance the flavor and yield more broth, prepare second and third batches by adding fresh water to the remaining bones, bringing them to a boil, and simmering for an additional 4-5 hours each time. Combine these subsequent batches with the first batch of broth.
Using the stovetop method, this entire cooking process can take up to two days.

Why isn’t my seolleongtang white?
If your seolleongtang isn’t the creamy white you’re expecting and rather brown color, consider these common reasons:
- Boiling Intensity: The broth tends to become milky white when the bones are boiled rigorously for an extended period. A gentle simmer might not release enough of the bone’s minerals and collagen to achieve the desired milky color.
- Type of Bones: The kind of bones you use plays a role. Marrow bones, especially from the leg, tend to give a richer, milkier broth. If you’re using other types of bones, the broth might not be as white.
- Cooking Time: Traditionally, seolleongtang requires boiling bones for many hours, even extending to days. If you reduce the boiling time, even when using an instant pot, the broth may not extract enough from the bones to achieve that milky white color.
- Bone Cleaning: Parboiling bones remove blood and impurities, which can affect the broth’s color.
- Water Amount: Too much water can dilute the broth. Make sure you have the right balance of water and bones.
How to serve seolleongtang
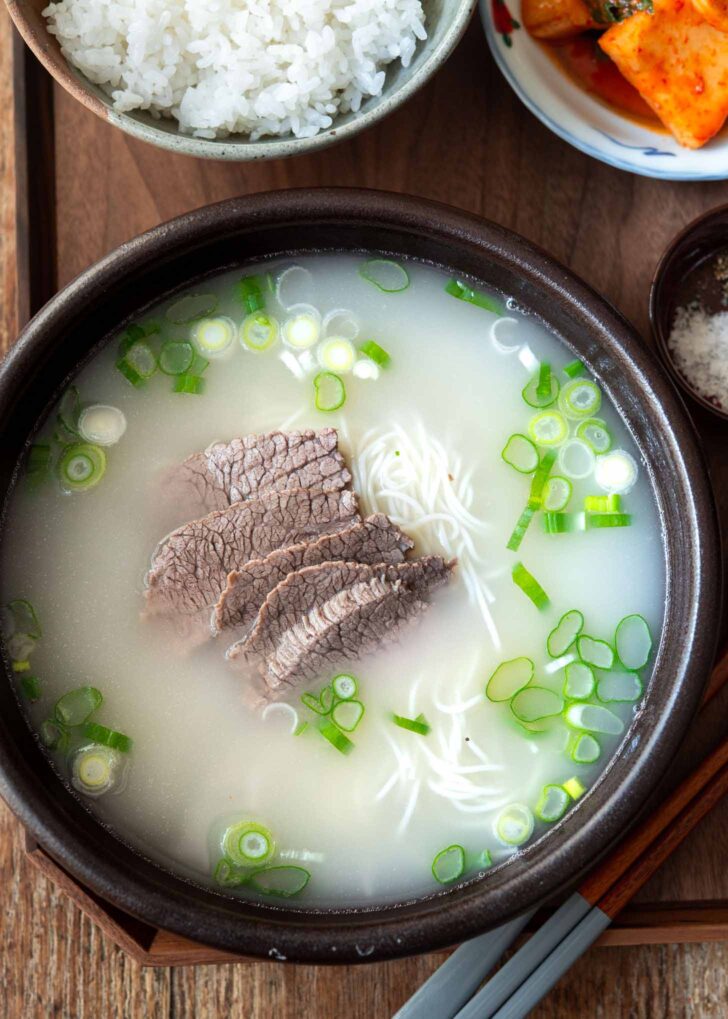
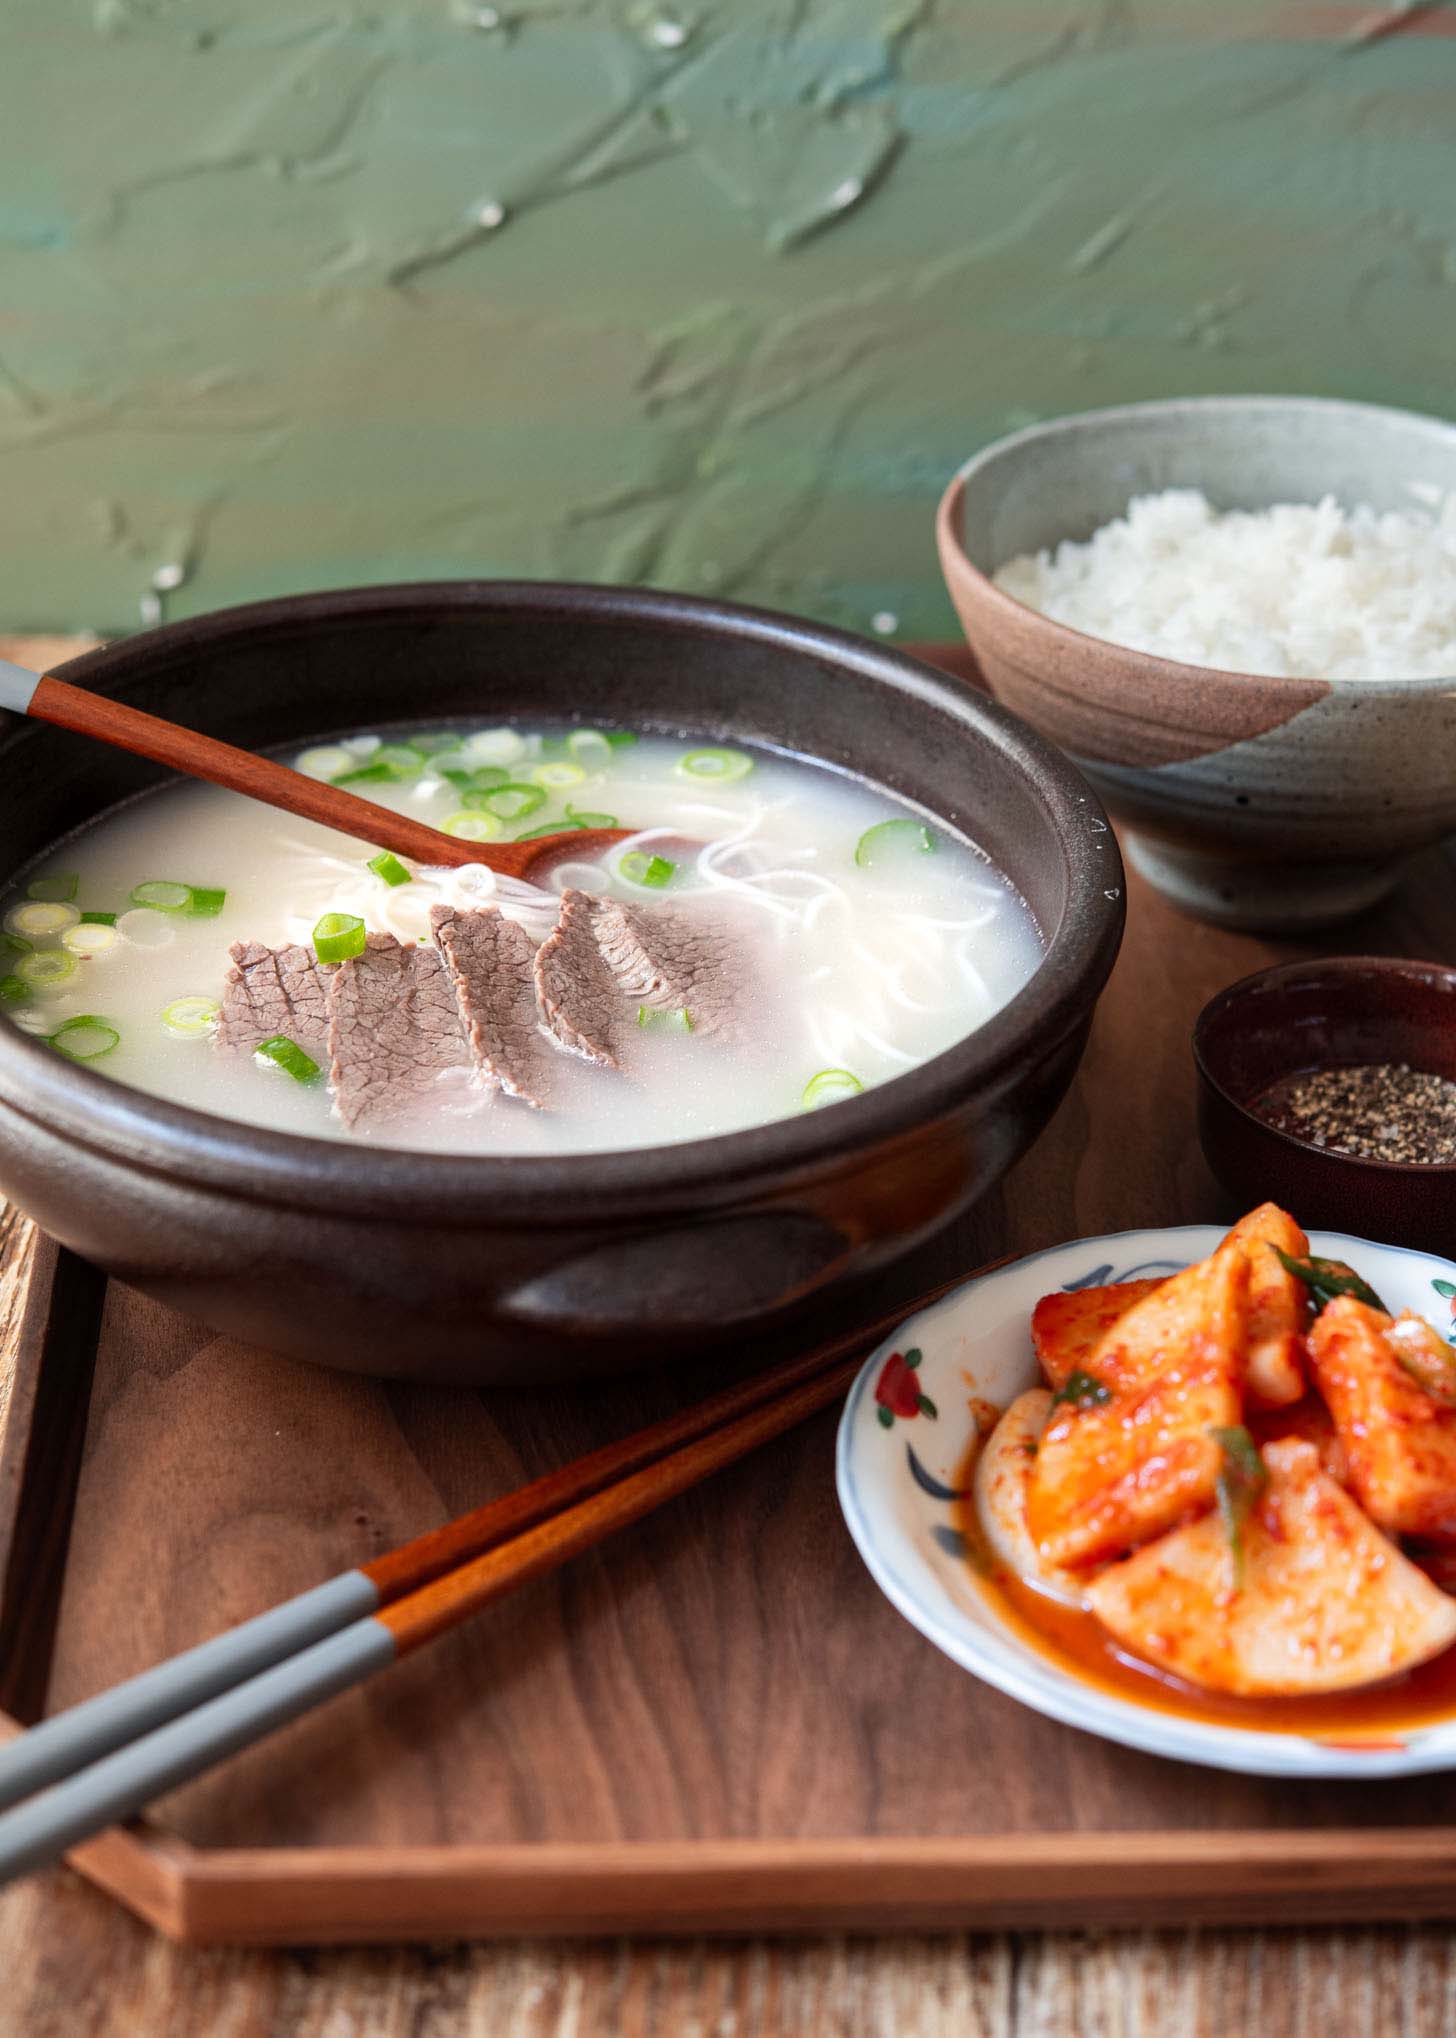
Seolleongtang is typically paired with short grain rice, somyeon noodles, or both. Common toppings are green onions, salt and black pepper for taste, It’s traditionally accompanied by radish kimchi (kkakdugi), with restaurant-style kimchi being a signature side.
Remember, the broth isn’t seasoned during cooking. Instead, seasoning is adjusted at the table, allowing everyone to tailor the soup to their taste. You’d be amazed at how just a pinch of salt can enhance the soup’s rich beef flavor.
While some might sprinkle gochugaru (hot pepper flakes) for a kick, I love adding the tangy kimchi juice from kkakdugi. And if you’ve cooked up some brisket, don’t forget to top the soup with those tender slices!
Storing and Freezing Recommendations
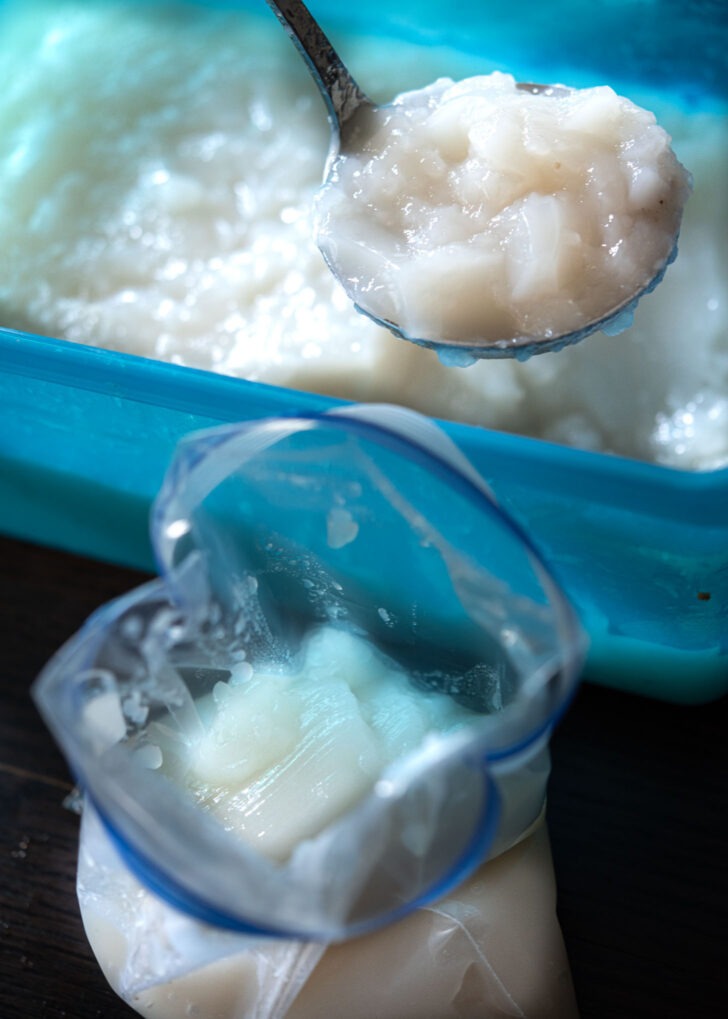

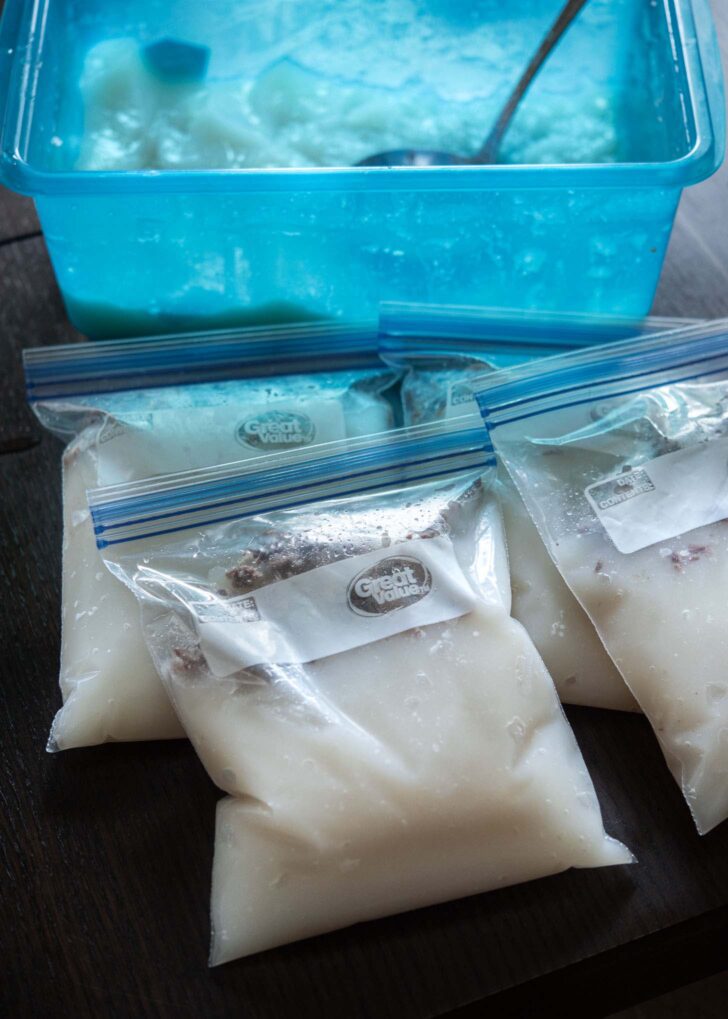

This Korean bone marrow soup can be refrigerated and remains fresh for up to a week.
If you’re looking to freeze it, transfer the leftover broth and meat pieces to freezer bags. Ensure you leave some space for expansion. The broth can be frozen for up to 3 months.
Related Recipes
Love this recipe? Rate it and share your experience in the comments below! On Instagram? Tag me to showcase your creation. For more delicious recipes, subscribe to our newsletter!

Easy Seolleongtang (Ox Bone Soup)
Seolleongtang: A rich Korean beef bone soup, traditionally simmered for days, now ready in just hours with an Instant Pot, while preserving its milky white essence.
- 3-1/2 lb (1.5 kg) beef marrow bones (sagol)
- 3-1/2 lb (1.5 kg) assorted bones or other, or knuckle bones
- 1 lb (450 g) beef brisket, optional
- water, 3 liter (3/4 gallon) per batch
For serving
- cooked rice
- cooked somyeon noodles
- chopped green onion
- thinly sliced beef brisket meat
- salt and pepper to taste
For parboiling
-
Begin by placing the bones in a large stockpot and covering them with water. Bring the water to a rolling boil and let it bubble for about 10 minutes. During this time, skim off the scum, fat, and impurities that float to the surface. Once boiled, drain the bones and give them a thorough rinse to wash away any remaining residues.
First batch
-
Put the cleaned bones into an Instant Pot, ideally one that’s 8-quart or larger. If you have a smaller model, simply use fewer bones. Fill the pot with cold water to about 1 inch below the maximum fill line, which is approximately 3 liters, or 3/4 of a gallon, or 12 cups for 8-qt pot.
-
Close the Instant Pot lid and cook on high pressure for 1 hour. Expect it to take about 30-45 minutes for the pot to pressurize before the cooking time starts. When finished, let the pressure release on its own, which might take up to an hour and a half, to avoid a broth explosion. Once the pressure has fully released, carefully open the vent with a kitchen towel covering it, then open the lid. Your broth will look clear at this stage; the milky appearance develops with further cooking.
-
Switch the Instant Pot to sauté mode and boil the broth for 30 minutes. Do this twice, so you have an hour of boiling in total. Keep the pot partially covered with a glass lid to let steam out. After this, the broth will turn from clear to milky. Pour the broth through a strainer into a large bowl or container, and keep the bones aside. Peel any meat off the bones and keep it separately for later use.
Second and third batch
-
Put the bones back in the Instant Pot and fill it with 3 liters of fresh water. Boil the broth using the sauté setting for an hour (an hour and half is even better). Remember to turn the sauté function back on after the first 30 minutes. After boiling, mix this new batch of broth with the one you made earlier.
-
For a third batch, if you choose, repeat the boiling with fresh water and combine all batches together. With each additional batch, the bones will turn brittle and hollow.
Skimming fat
-
Let the broth cool down before placing it in the fridge. Once chilled, the fat will harden on top, making it simple to skim off with a spoon. You’ll see the broth take on a jelly-like consistency, indicating a high marrow content.
Optional beef brisket
-
You can either simmer the brisket along with the bones until it’s tender or cook it separately with aromatics like onion, garlic, and whole peppercorns for added flavor. I prefer the latter, especially when I plan to chill the bone broth and serve it the next day.
Serving
-
Heat the broth and beef together in a pot until it’s warm and turns milky. Season it at the table to suit your taste with salt, pepper, and lots of chopped green onion. Add some gochugaru or kimchi juice for extra flavor. Add slices of cooked brisket on top if you have them and serve with rice and radish kimchi. Enjoy your meal!

