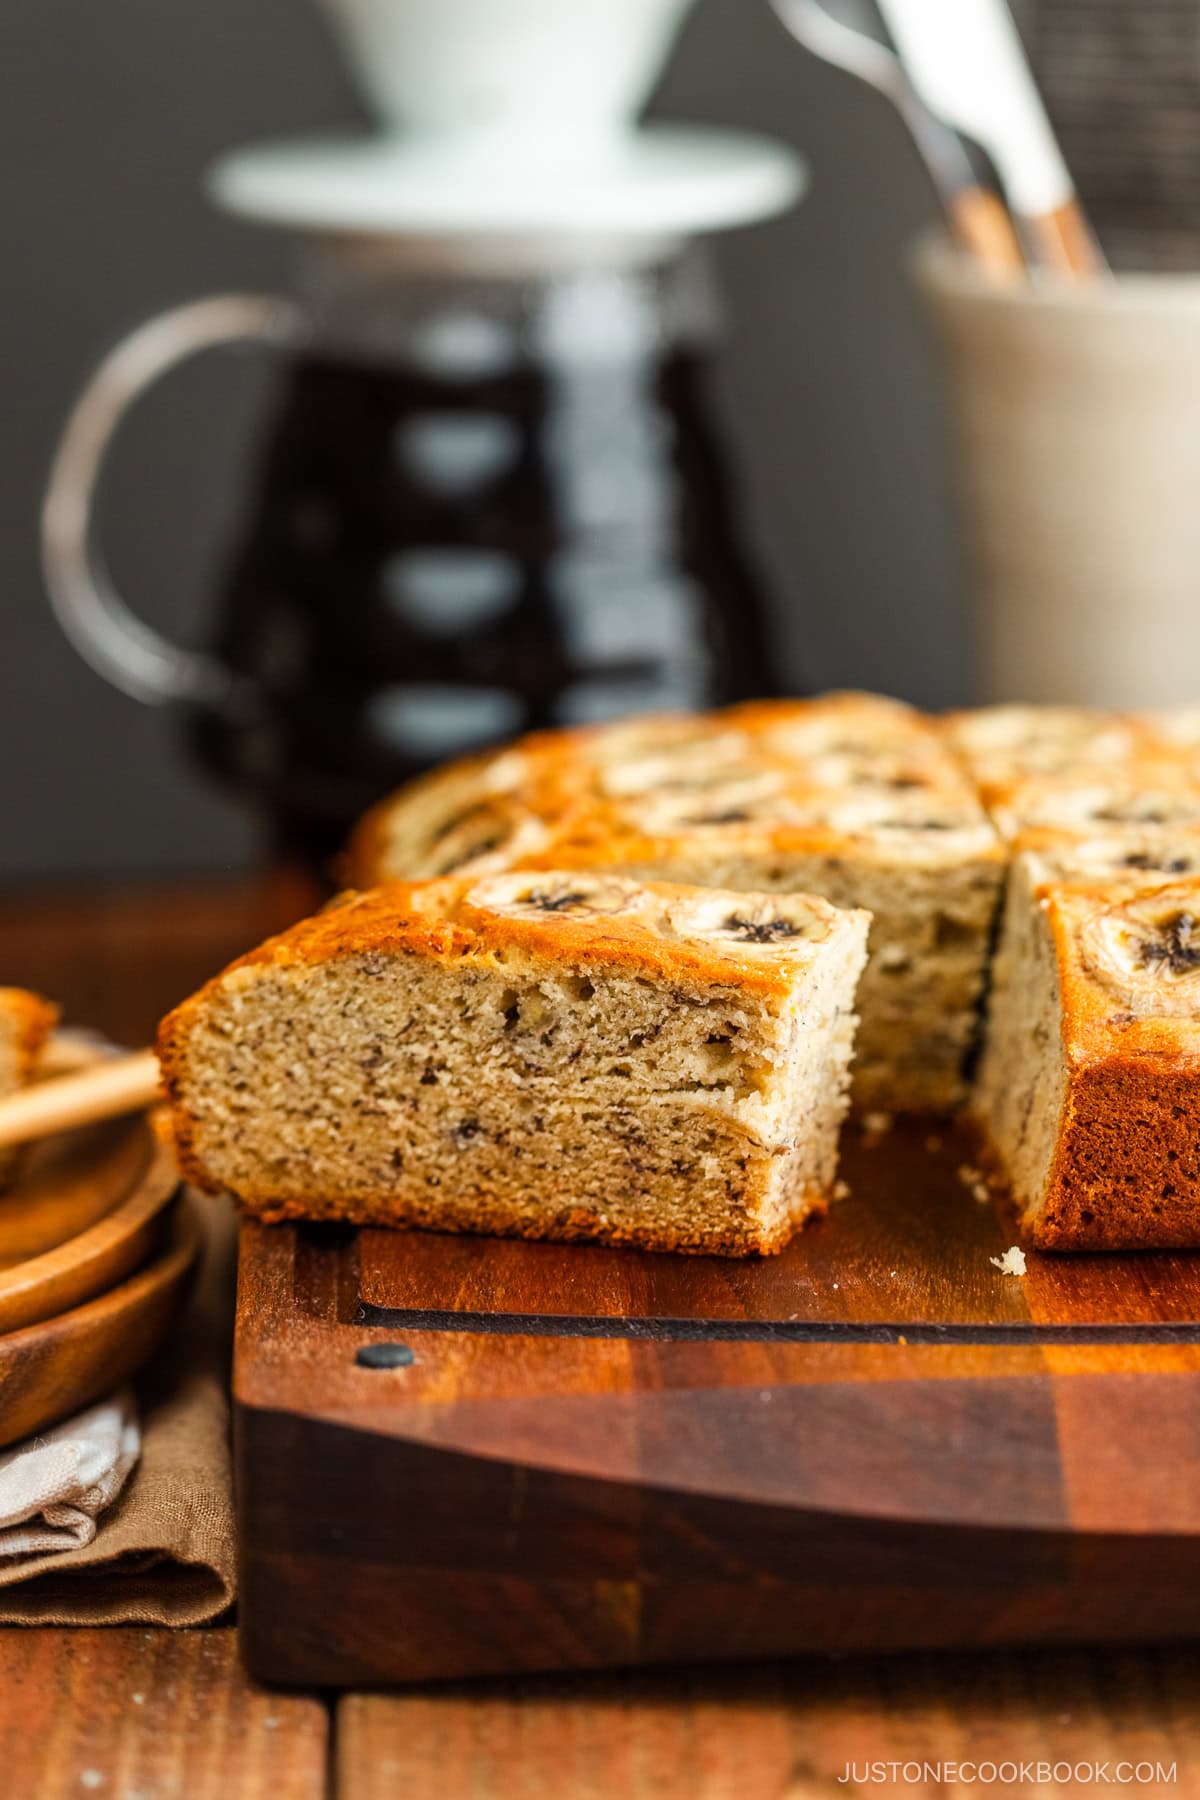
The secret to great homemade banana bread is having a tried and tested go-to. Here I share a classic recipe that I have been using for years. The result: Freshly baked banana bread that is always flavorful and moist with the perfect amount of sweetness!
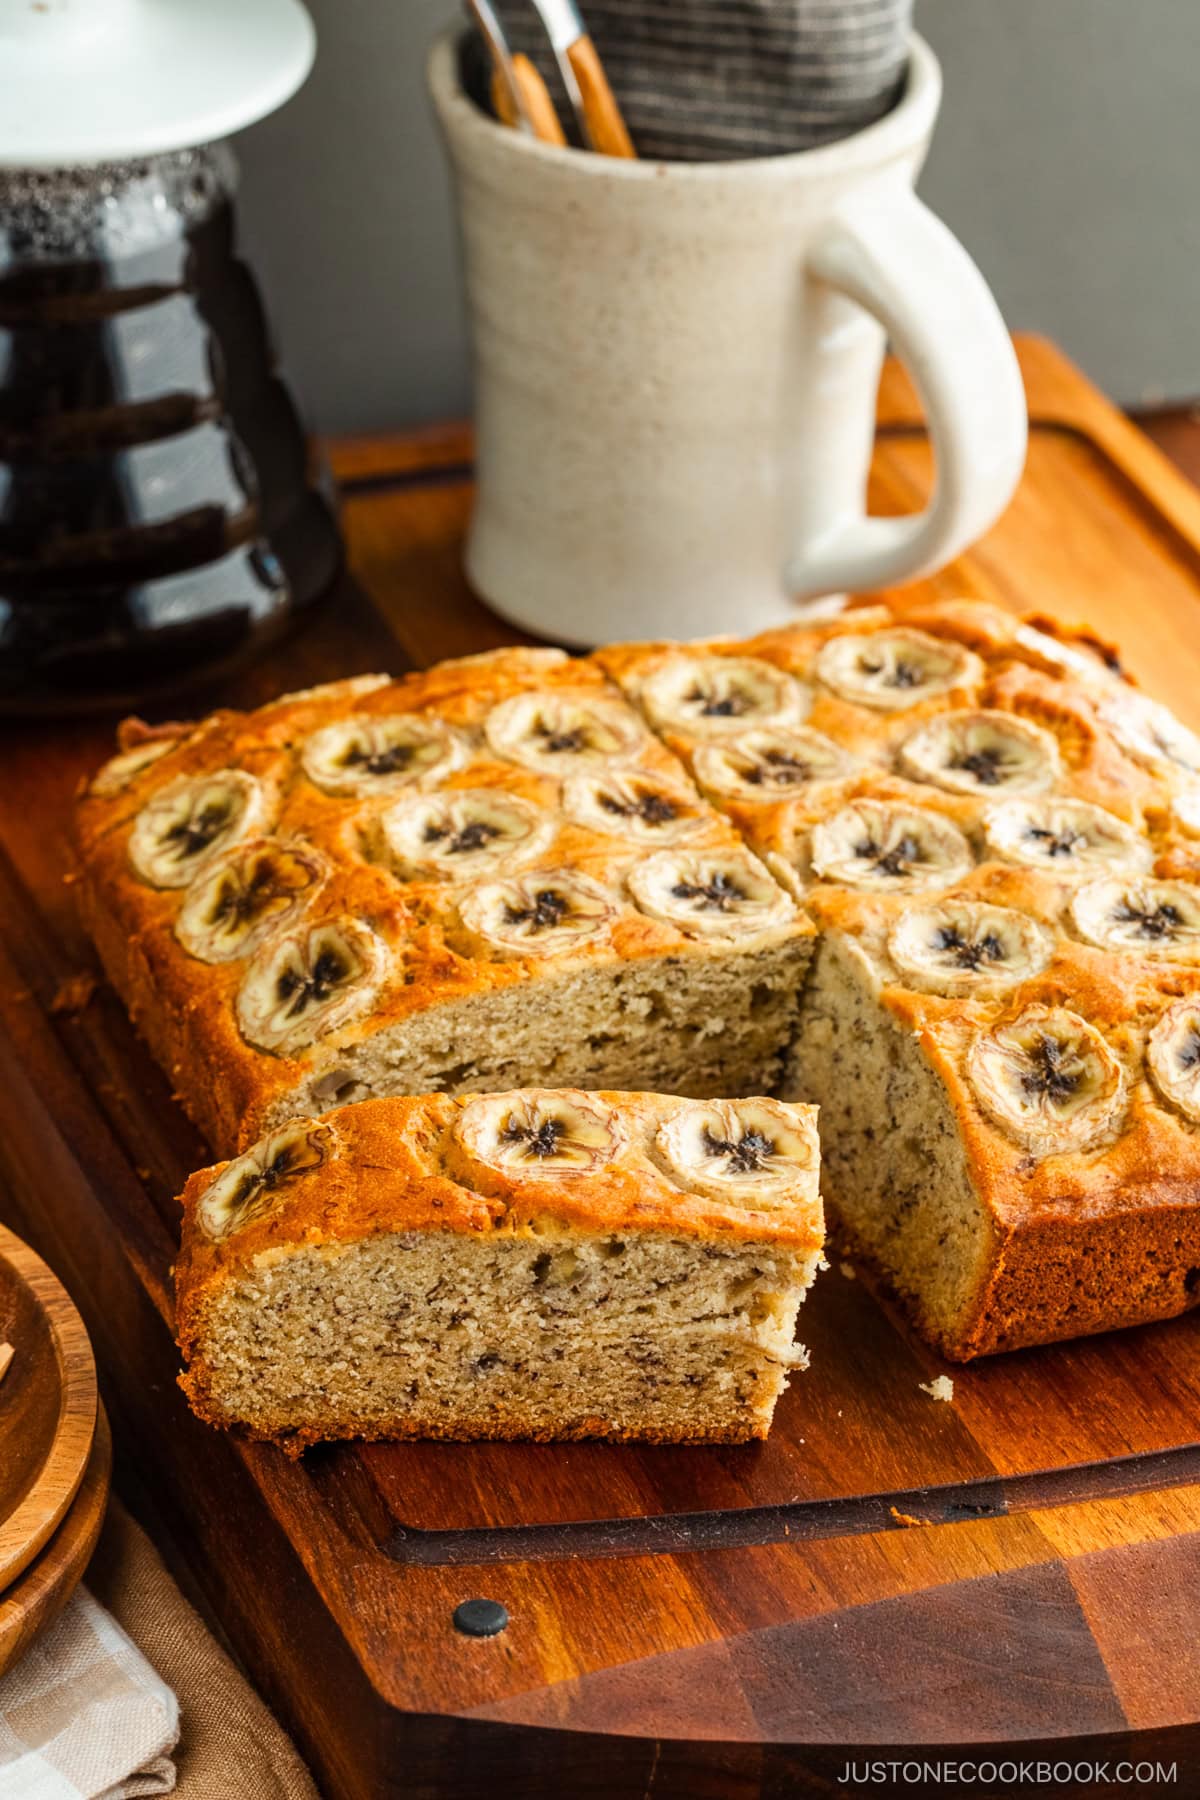

Banana bread has to be one of the most classic sweet treats, regardless of your cultural background. Each family appears to have its own favorite, and some are preciously passed down from one generation to another.
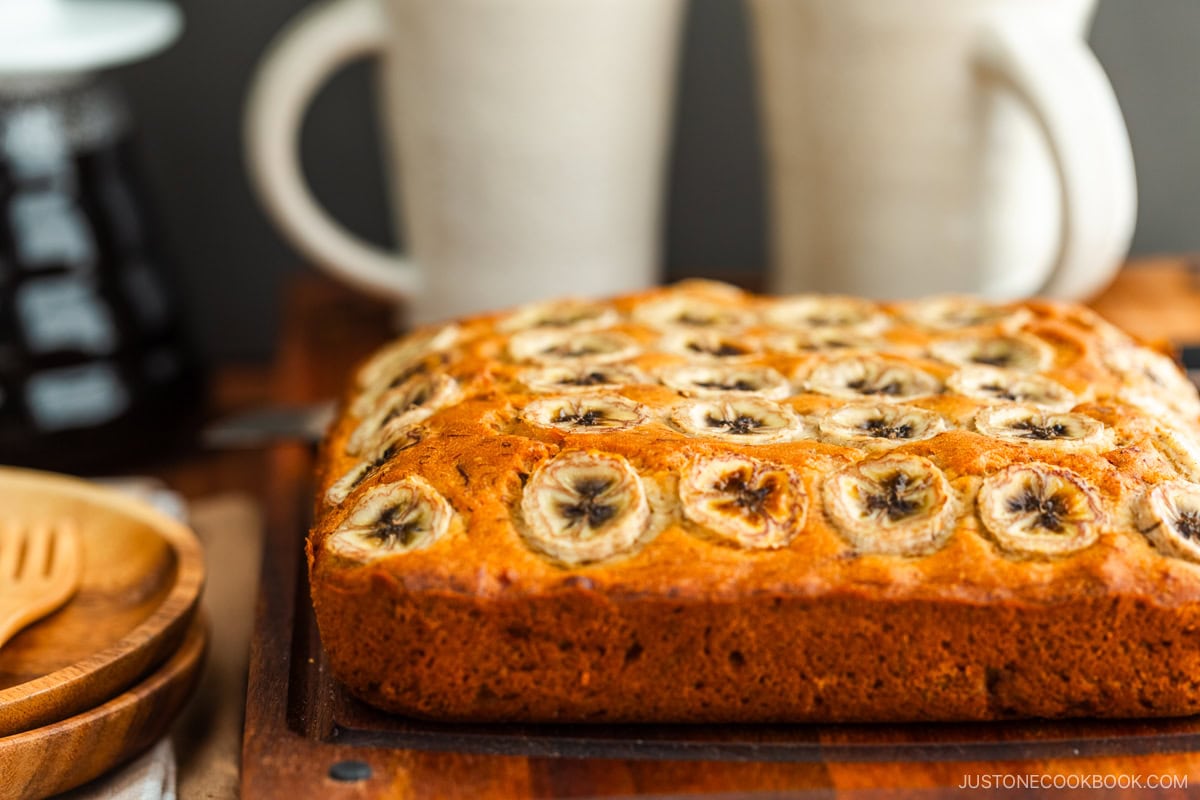
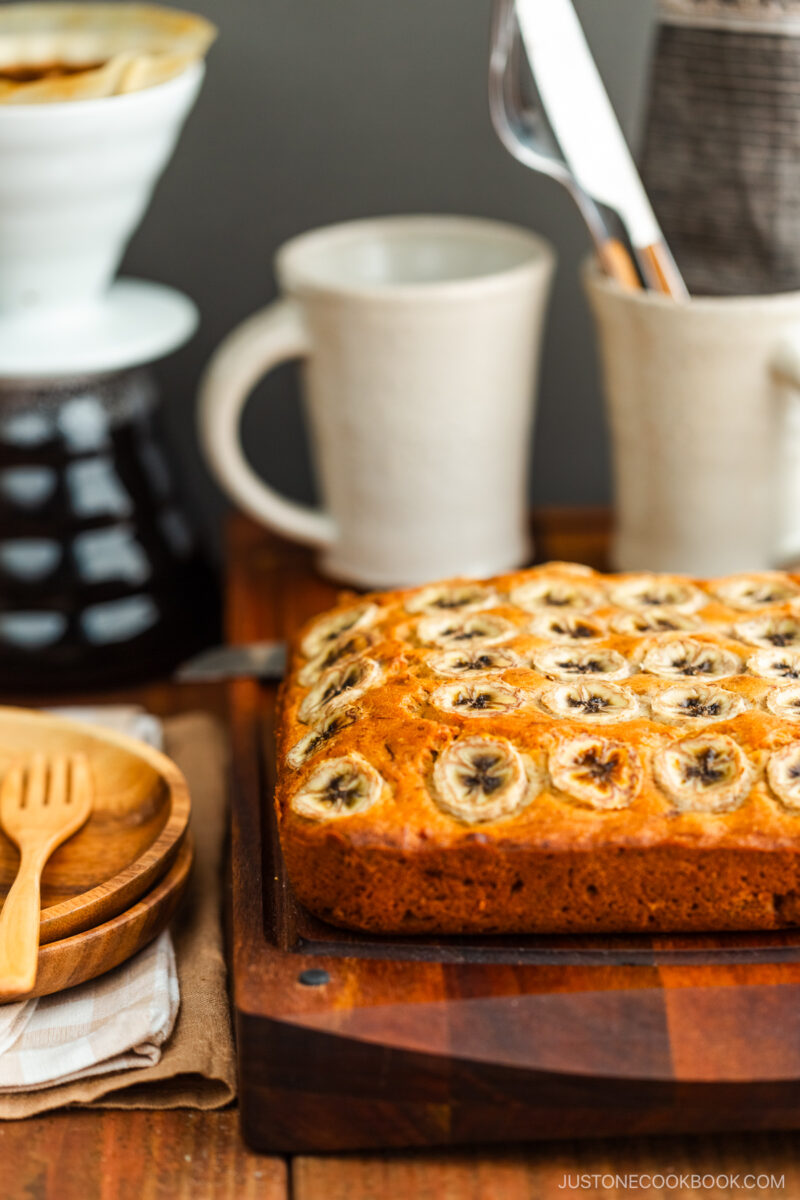
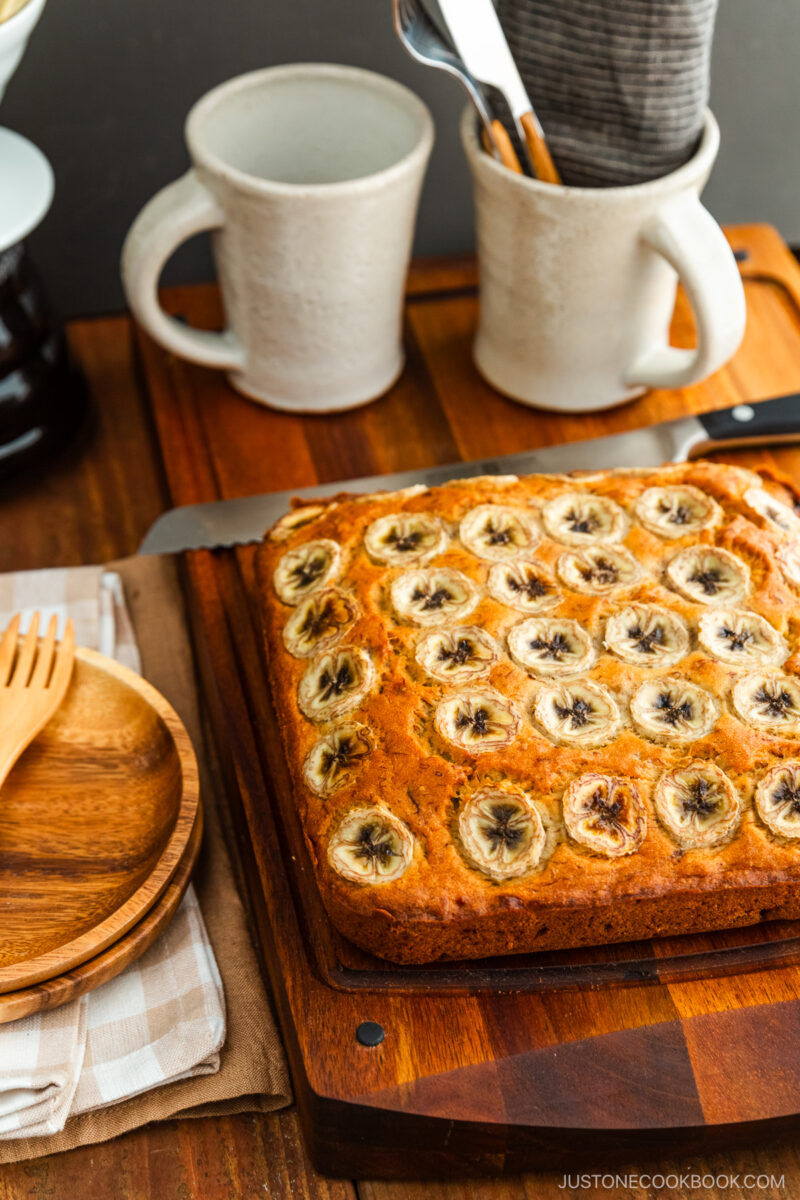
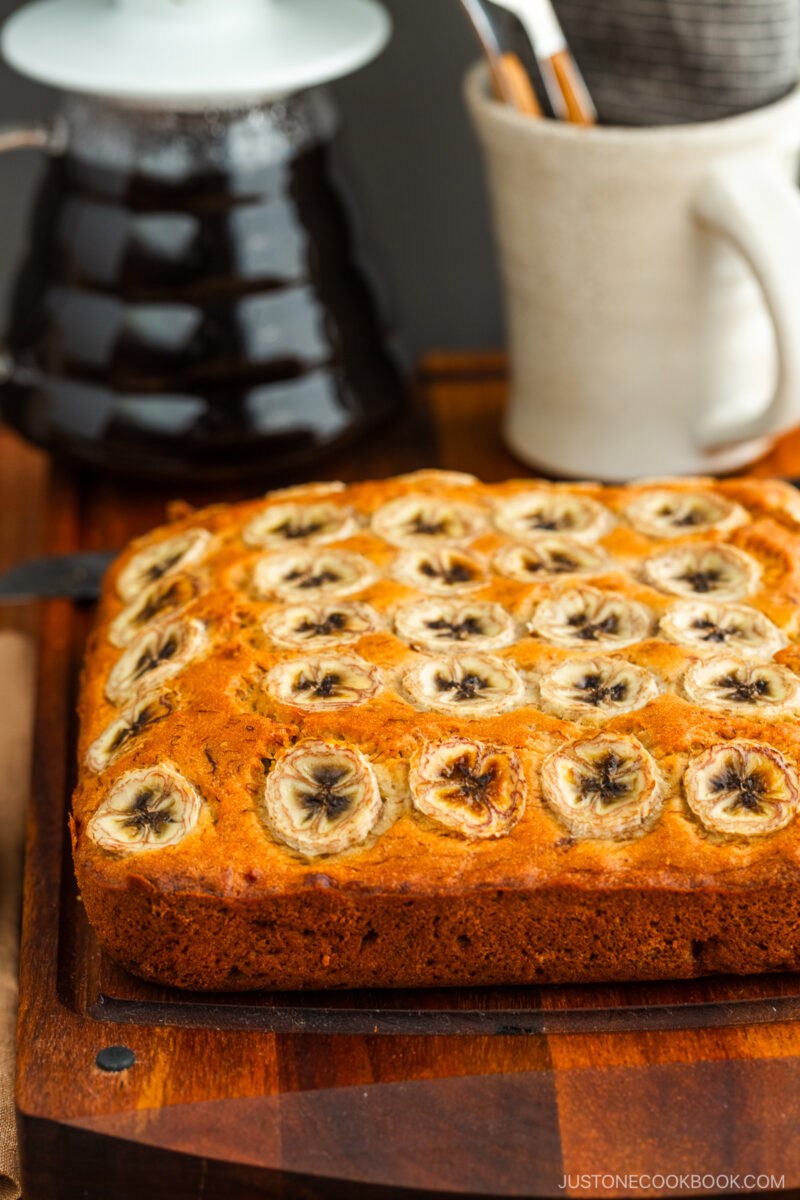
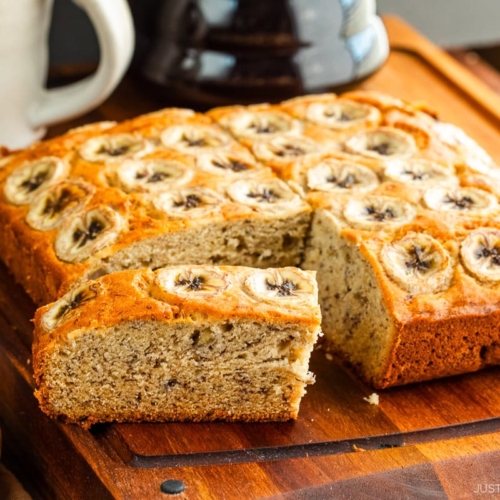
I’ve baked many banana breads over the years, but my ‘forever’ favorite is the one that I’ve been making since college. It is moist and tender, topped with caramelized banana slices, just the right amount of sweetness, with an intense banana-y flavor.
If you’re forever trying out different banana bread recipes or still on a quest for a go-to, I hope you give this recipe a try! As one reader commented, ‘A beautiful banana bread. My favorite.’ I am confident it could make it onto your list of the best banana breads.

Why You’ll Love This Recipe
- No need for a kitchen scale — I didn’t have a kitchen scale back in college, so I measured ingredients using a measuring cup for this recipe. While it’s not as precise, rest assured, you’ll still achieve great results. For added precision, I now include weight measurements in the recipe card.
- Less than 15 minutes to put together!
- Not too sweet — If you’re not a fan of overly sweet banana bread, you’re in luck! This recipe strikes the perfect balance, catering to those who prefer a more restrained sweetness.
- Dense, but tender, soft, and moist!
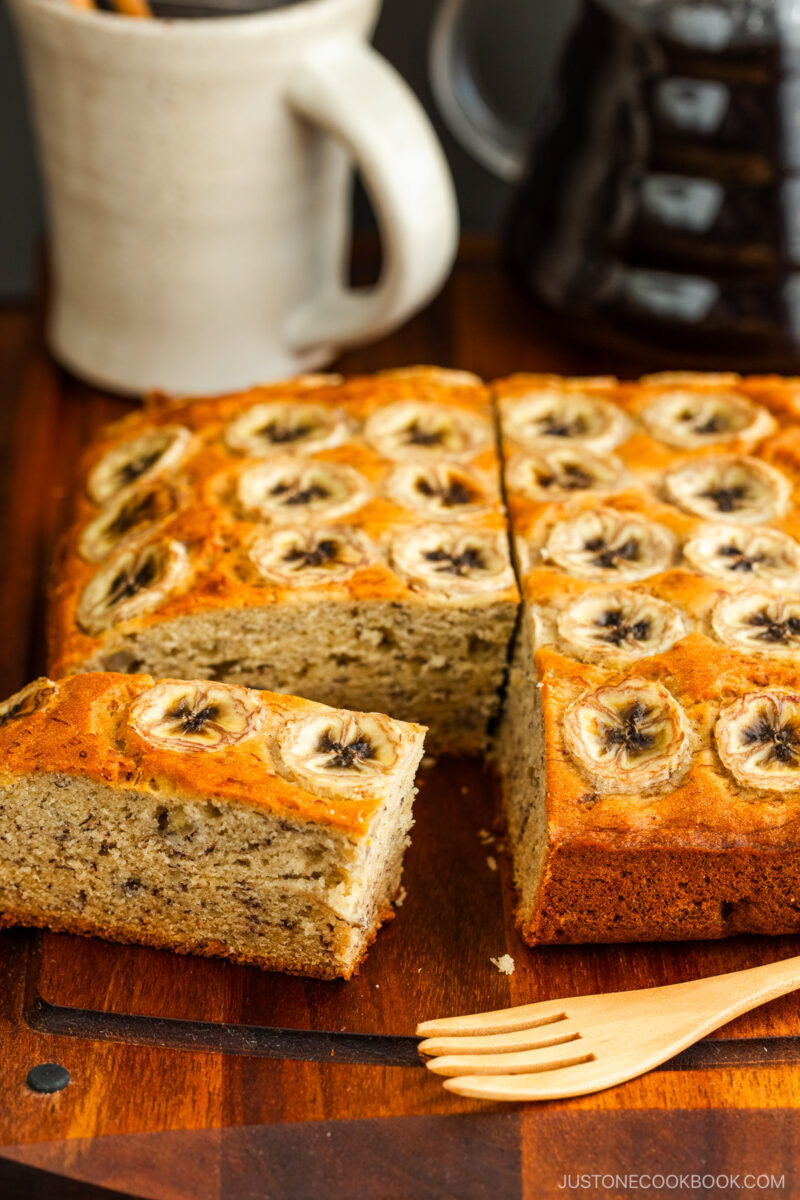
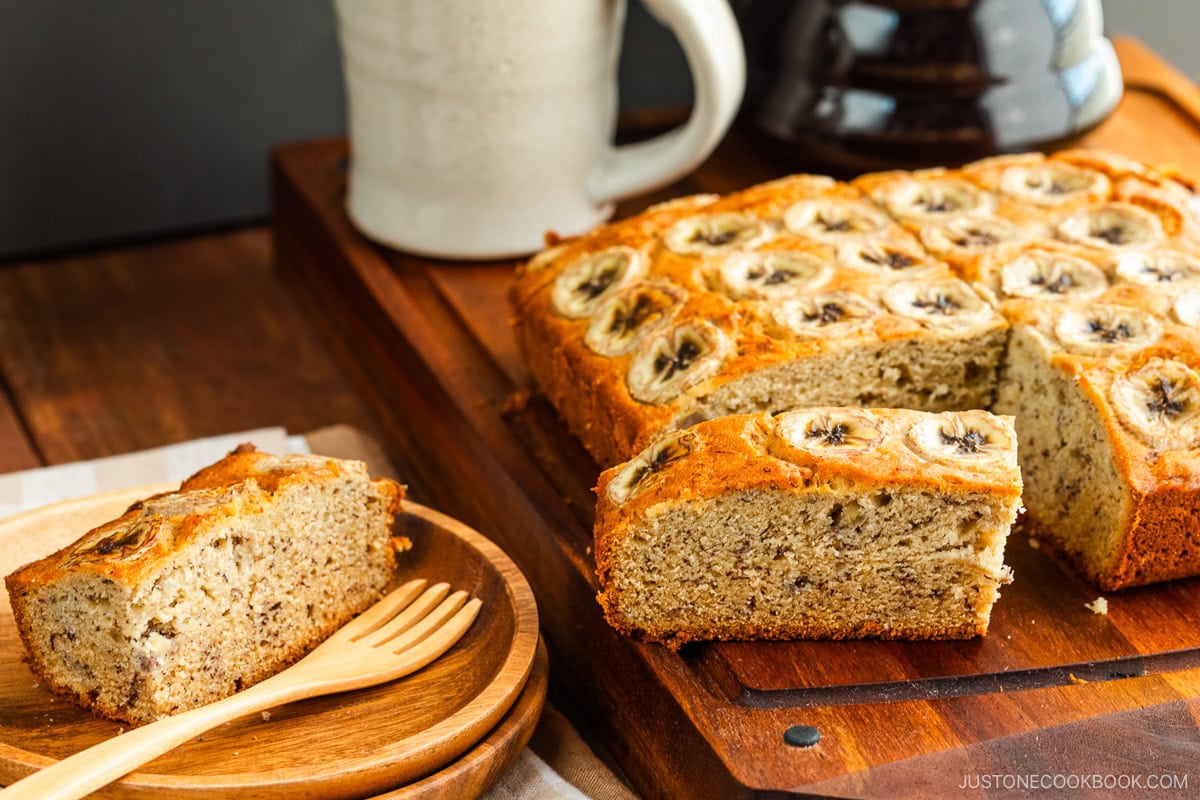
- Convenient thick slices — Unlike typical banana bread slices, these are thicker and shorter, making them easy to grab and enjoy on the go, whether in the car or on your walk.


Ingredients for This Recipe
- Ripe bananas – We need four bananas! They should be soft and covered with dark brown speckles.
- Eggs
- Unsalted butter
- Sugar
- All-purpose flour
- Baking powder and soda
- Salt
- Vanilla extract
- Cooking oil
- Raisins (optional) – You can also replace them with some chocolate chips.
How to Make Banana Bread
- Make the batter: In a mixing bowl, cream the butter and sugar. Add the eggs, oil, and vanilla extract, then the bananas. Add the sifted flour, salt, baking soda, and baking powder (plus optional raisins or chocolate chips). Stir until just combined and transfer the batter to a prepared loaf pan.
- Bake: Bake at 350°F (180°C) for 50–60 minutes, or until a toothpick inserted into the center comes out clean.
- Let cool: Let the banana bread rest for 10 min before transferring to a wire rack to cool.

Recipe Tips
- Only use ripe bananas — Avoid using green or underripe bananas. Ripe bananas give moisture, sweetness, and flavor. To ripen bananas quicklybake them at 300°F (150°C) for 30–40 minutes (depending on their ripeness) (source), or place them in a paper bag in a warm area for a day or two.
- Bring the eggs and batter to room temperature — Room-temperature ingredients can bond easily, creating a smoother batter. They also help banana bread rise more easily and create a lighter, fluffier texture.
- “Fluff and sprinkle” the flour — Everyone wants moist banana bread. If you use too much flour, you’ll end up with dry bread. The key lies in how you measure the flour. I highly encourage you to weigh your ingredients using a kitchen scale. If using cups, follow the “fluff and sprinkle“ method: fluff the flour with a spoon, sprinkle it into your measuring cup, and level it off. Otherwise, you may scoop more than you need.
- Don’t overmix — Mix the dry ingredients into the wet ingredients until just combined. The more you stir, the more gluten will develop, resulting in tough, rubbery banana bread.
How to Store
Cover and store banana bread at room temperature for 2–3 days or in the refrigerator for up to 1 week. I think banana bread tastes best on day 2 after the flavors have settled and meld together.
To freeze the banana bread, wrap the individual slices in plastic wrap and put them in a freezer bag or airtight container. For the best flavor, enjoy it within a month. Thaw the wrapped banana bread slice in the refrigerator or at room temperature. I usually microwave it until just warm before eating.


My Banana Bread Story
I got this recipe from my best friend, whom I met in college. She was from Osaka, and we met at the international students’ orientation when we moved to the US for college. She and her banana bread recipe have been my best friends since then—for almost 30 years!
I wasn’t into baking until I met her. She loved making sweets, and one day, she gave me a few slices of banana bread. It was very moist and different from any other banana bread I had tried. The texture is soft, with bits of banana and just the perfect sweetness. Most store-bought banana bread I’ve tried is usually dry and lacks real banana flavor.
My friend used a square 8” baking dish to make the bread. The height of the bread is shorter than your typical banana bread, but you can slice it into thicker slices. Simply pick up a slice with your fingers to enjoy a mouthful of this moist banana bread. What I love the most is enjoying it with a cup of great coffee in the morning.
I hope you enjoy this banana bread as much as my family does!
Try Other Delicious Baking Recipes

Wish to learn more about Japanese cooking? Sign up for our free newsletter to receive cooking tips & recipe updates! And stay in touch with me on Facebook, Pinterest, YouTubeand Instagram.

Banana Bread
The secret to great homemade banana bread is a tried and tested, go-to recipe. Here I share a classic recipe that I have been using for years. The result: Fresh-baked banana bread that is always flavorful and moist with the perfect amount of sweetness!
Ingredients
Prevent your screen from going dark
Instructions
-
Gather all the ingredients. The eggs must be at room temperature. I highly encourage you to weigh your ingredients using a kitchen scale. For weights, click the Metric button above. If you‘re using a cup measure, please follow the “fluff and sprinkle“ method: Fluff your flour with a spoon, sprinkle it into your measuring cup, and level it off. Otherwise, you may scoop more than you need.
To Line the Baking Pan
-
Preheat the oven to 350°F (180°C). For a convection oven, reduce the cooking temperature by 25ºF (15ºC). On your work surface, place a sheet of parchment paper that‘s 13 x 16 inches (30 x 40 cm). Set a loaf baking pan on top (I use this pan that‘s 8 x 8 x 2 inches or 20 x 20 x 5 cm). Mark the four corners of the loaf pan on the paper. Fold and crease the paper on all four sides following the corner marks. Tip: Use a light-colored pan for the best outcome.
-
Unfold the paper and cut slits up to the square‘s left and right corners. Rotate the paper and cut two slits on the opposite side. You will have four slits total. Trim off any excess flaps and place the paper in the baking pan. Secure the paper onto the edges with stainless steel clips to keep the lining from moving when you pour the batter.
To Prepare the Ingredients
-
In a fine-mesh sieve (or sifter) over a bowl, combine 1⅔ cups all-purpose flour (plain flour), ½ tsp baking soda, ½ tsp baking powder, ½ tsp Diamond Crystal kosher saltand sift all together.
-
In the bowl of a stand mixer, beat ½ cup unsalted butter (softened) until creamy.
-
Add ½ cup sugar and whisk until well blended, fluffy, and pale yellow.
-
Add 2 large eggs (50 g each w/o shell) and beat well.
-
Using a silicone spatula, scrape the sides and bottom of the bowl and continue beating.
-
Add 1 Tbsp neutral oil and 1 tsp pure vanilla extract. Beat until well blended.
-
Add 3 ripe bananas (keep one for decoration) and stir to blend with the egg mixture. I keep some small chunks. Tip: Even though eggs and butter are at room temperature, it is normal for the mixture to look slightly curdled when the mashed bananas are added. Fat and liquids don’t easily mix together. However, once the flour is added, the batter will become smoother. If you don’t want to see the curdled mixture, you can add a few tablespoons of the sifted flour mixture when you add the bananas.
-
Add the flour mixture to the banana mixture and stir just until 80% blended. Add ½ cup raisins at this stage, if you‘d like to include them, and blend for 3 seconds.
-
While the white specs of flour are still visible, remove the mixing bowl from the stand mixer. Using the silicone spatula, hand-blend the rest of the flour. This will avoid overmixing the batter.
-
Pour the batter into the prepared pan, spreading it evenly with the silicone spatula.
-
Slice 1 ripe banana thinly into rounds and decorate on top of the banana bread.
-
Bake at 350°F (180°C) until a toothpick inserted into the center of the bread comes out clean, about 50–60 minutes.
-
Take out the baking pan from the oven and let cool for 45–60 minutes. Remove the banana bread from the baking pan.
-
Cut the banana bread in half and cut into 1-inch (2.5 cm) slices.
Notes
Nutrition
Nutrition Facts
Banana Bread
Amount per Serving
% Daily Value*
* Percent Daily Values are based on a 2000 calorie diet.
©JustOneCookbook.com Content and photographs are copyright protected. Sharing of this recipe is both encouraged and appreciated. Copying and/or pasting full recipes to any website or social media is strictly prohibited. Please view my photo use policy here.
Editor’s Note: This post was originally published on January 11, 2011 (11 days after I started blogging!). It was republished with new images and video on February 25, 2015. The post was updated with more helpful content and new step-by-step images on May 22, 2024, and republished on June 13, 2024.

