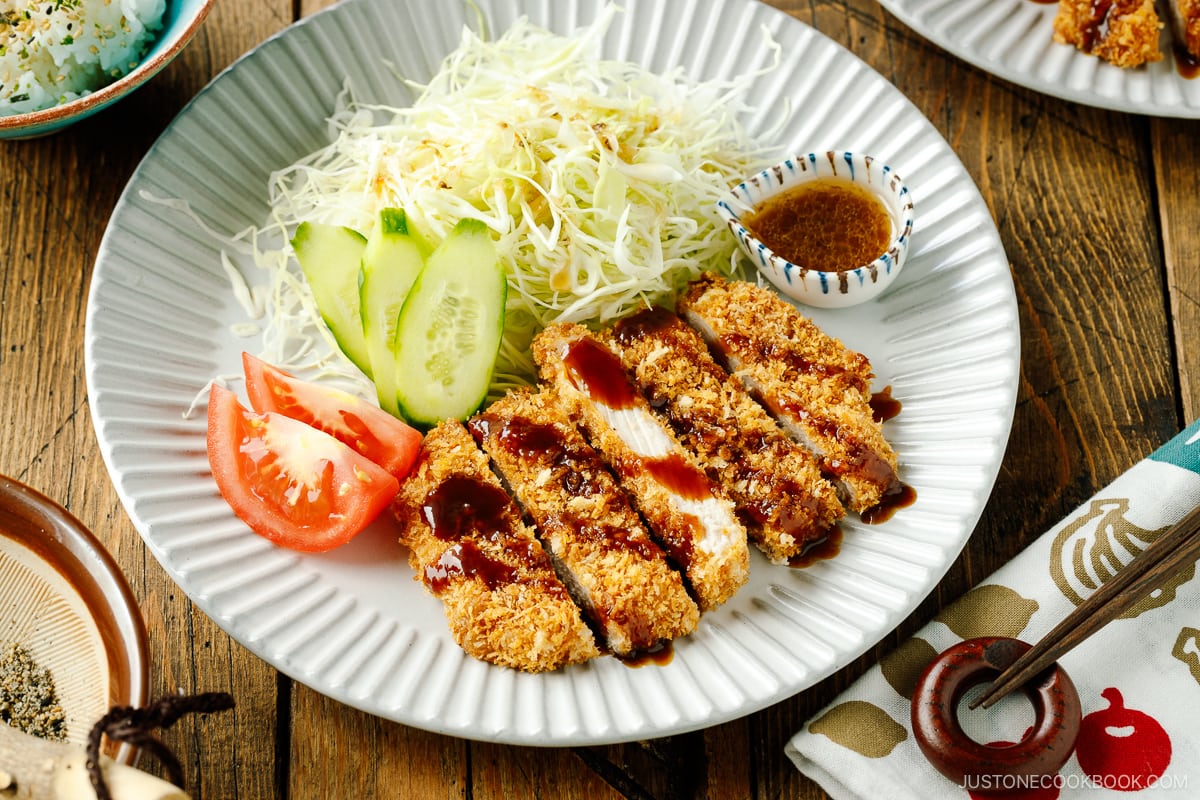
Crispy on the outside and juicy on the inside, this Baked Tonkatsu recipe is a total game changer. All you need are the right techniques and tips to achieve perfection. Served with a special sesame tonkatsu sauce, you can now enjoy this popular dish at home.
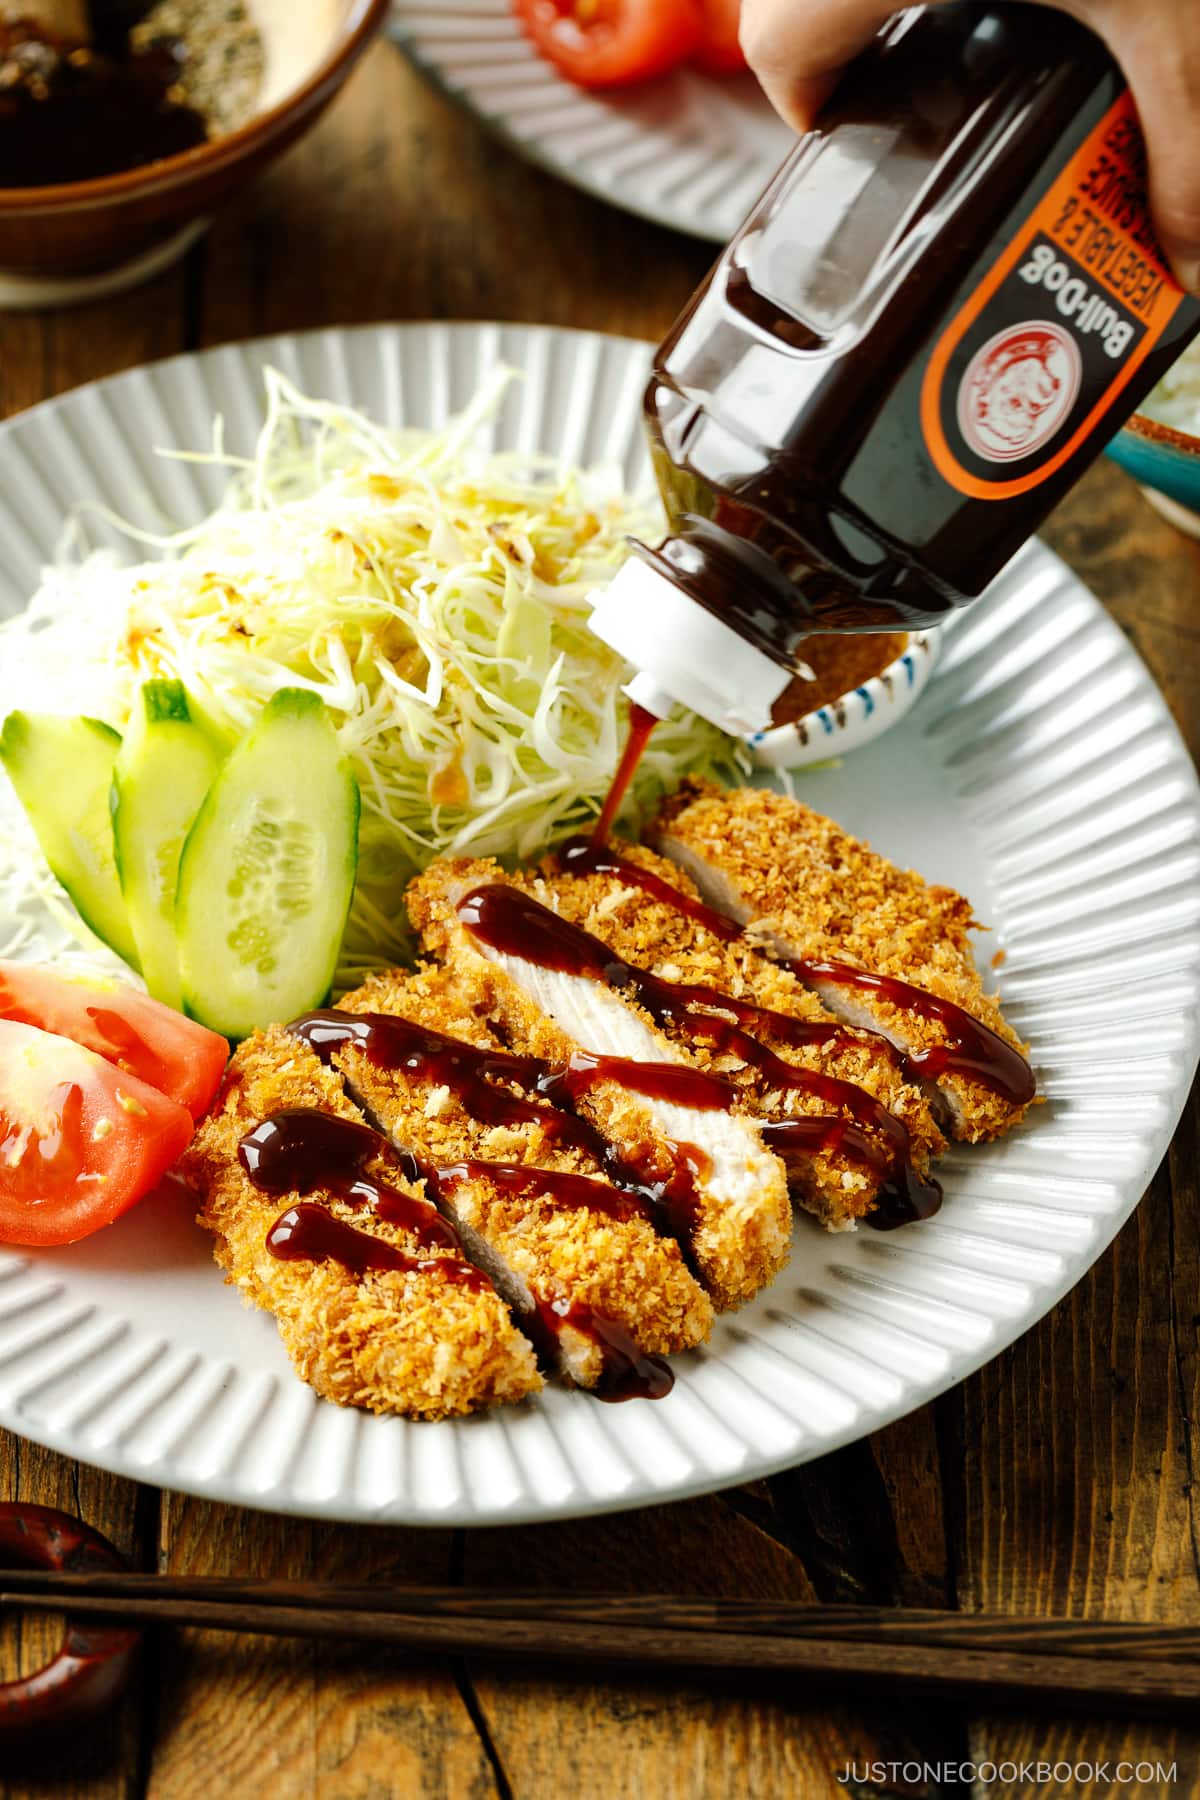
Tonkatsu (とんかつ) or Japanese pork cutlet is one of the well-loved dishes on the Japanese menu. Imagine taking a big bite of tender juicy pork chop encased in crispy panko that is deep-fried to perfection. That alone will make anyone’s mouth water.
Since tonkatsu requires deep frying, it’s understandable why this delicious pork cutlet is not a common dish to make at home. Most people prefer not to deep fry food at home because of the grease and the smell. So today I’m going to show you how you can make Baked Tonkatsu that’s juicy on the inside and crispy on the outside!
What is Tonkatsu?
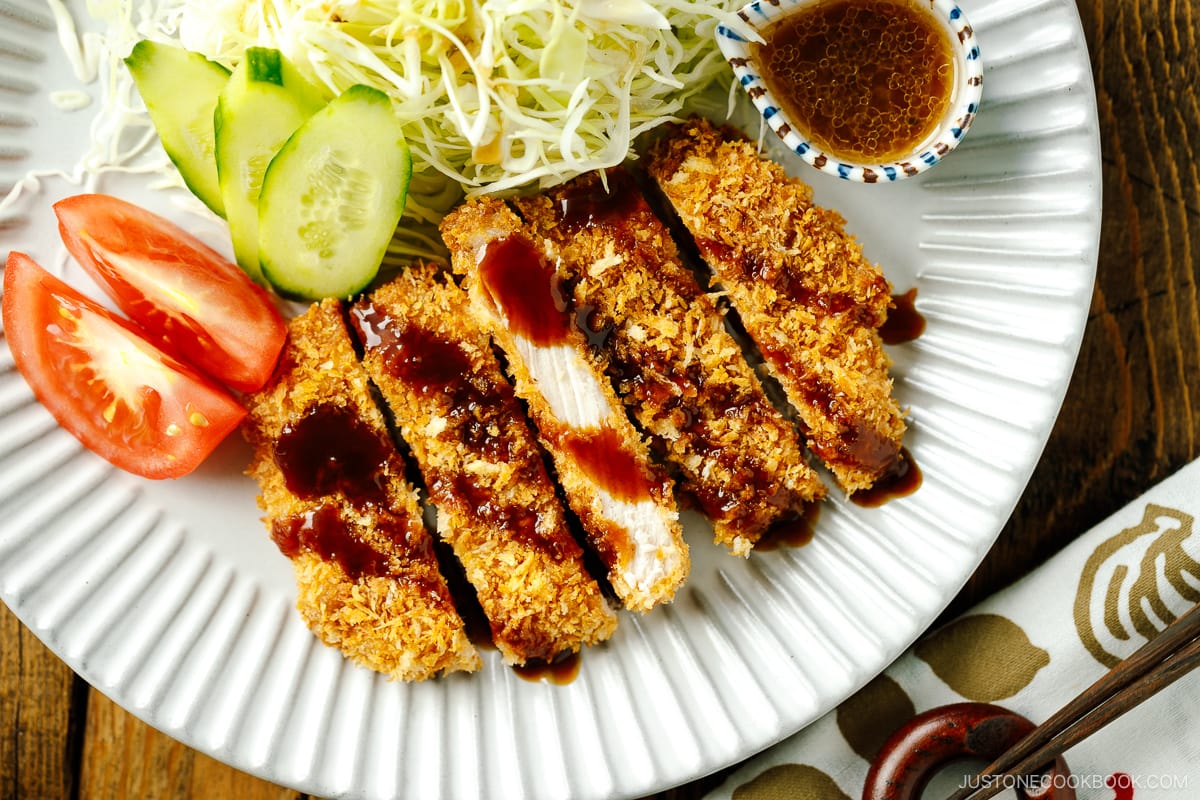
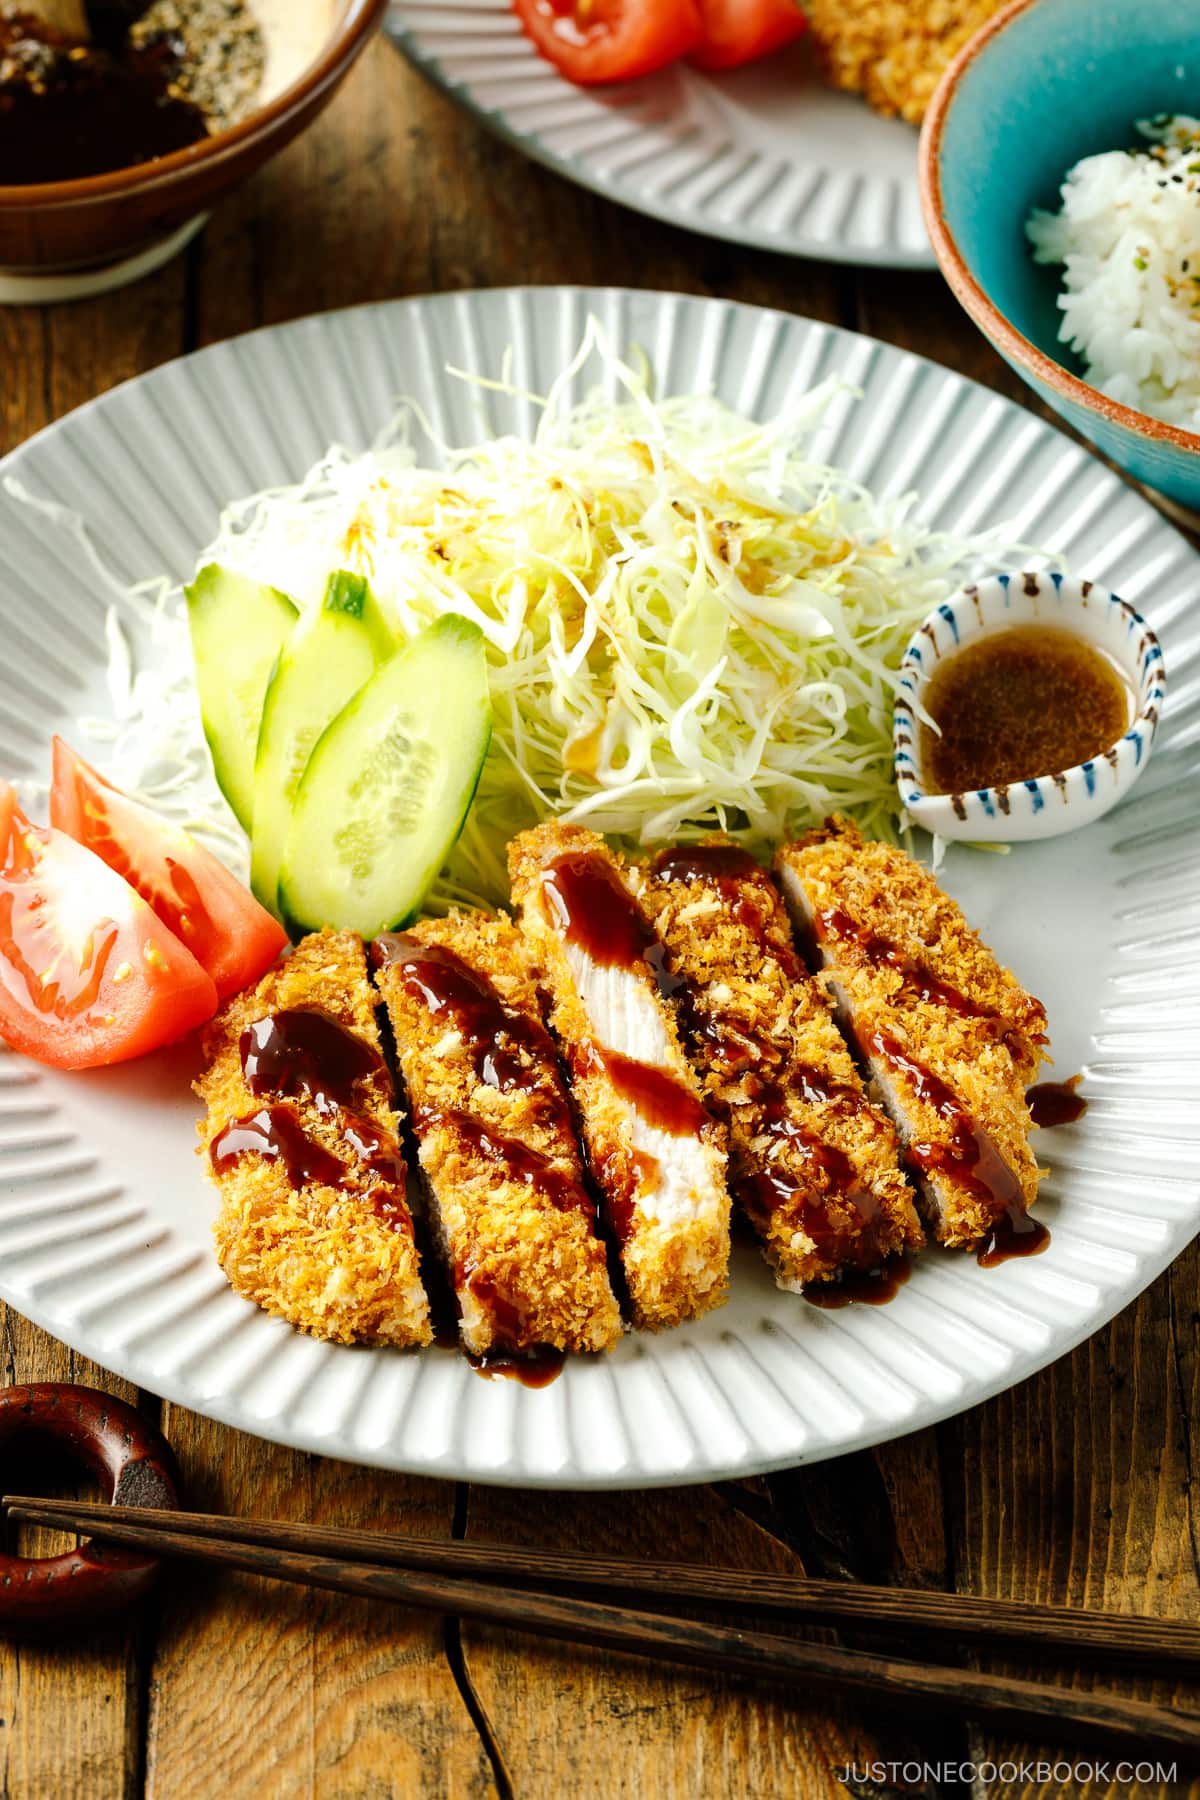
Tonkatsu (豚カツ) is one of the top popular Japanese foods consisting of a breaded, deep-fried pork cutlet. It’s crunchy and juicy and typically served with shredded cabbage and a drizzle of a savory sauce.
You can read about the origin and background of tonkatsu here!
As a purist and a true foodie, I’ve always made my tonkatsu the original way, that is to deep-fry the cutlet. All for the love of good food! When I received requests for a non-fried version, I was rather hesitant but once I perfected this oven-baked technique, it completely changed my mind. The baked version of tonkatsu is just as good, and to be honest, so much more crunchier!
Now, I have two options for you when you wish to make tonkatsu at home: Original Tonkatsu (Deep-Fried) and a baked version.
Why You’ll Love Oven-Baked Tonkatsu
- Bake, instead of deep-frying. Such a wonderful healthier alternative! If you don’t want to deep-fry, this recipe is for you!
- Easy to make. The cooking process is very easy. You can even have your children to help out.
- Perfect texture. The crust is unbelievably crispy, and the meat inside tender and juicy. A foolproof oven-baked technique!
- Easily adaptable. If you don’t like pork, use chicken, shrimp, salmon, or firm tofu.
How to Make Baked Tonkatsu
The Ingredients You’ll Need
- Boneless pork loin chops – It should be half an inch thick. Pork loin chops
- Flour
- Eggs
- Panko – Make sure to get Japanese breadcrumbs called panko.
- Cooking oil
- Tonkatsu sauce – You can always make my Homemade Tonkatsu Sauceif preferred!
The Cooking Steps
- Toast the panko till golden brown in an ungreased pan.
- Prepare the meat by making slits on the connective tissue and fat, pounding the meat, and seasoning with salt and pepper.
- Dredge the pork in the flour, egg, and toasted panko.
- Bake in the oven until the pork is cooked through.
- Cut into 1-inch (2.5 cm) thick pieces and serve.
Cooking Tips
1. Use panko (Japanese breadcrumbs).
Don’t use regular breadcrumbs when you make tonkatsu. Panko (Japanese breadcrumbs) have larger flakes and stick better to the cutlet, yielding a light yet ultra-crispy texture for your tonkatsu.
2. Toast the panko in a frying pan before breading.
Just like how I prepared the Crispy Baked Chicken Katsu recipe and Crispy Salmon recipe
The key for panko to stay crispy and golden brown is to pre-cook panko before breading the pork. With the pre-cooked panko, you don’t have to worry about taking too much time to brown the crust and this helps to prevent the pork loin from overcooking.
3. Use 1/2-inch thick pork loin chops.
Please use only thin slices of pork loin when baking the cutlet so it cooks fast and evenly. The thickness of pork should be no more than 1/2 inch (1.2 cm).
Remember to use good quality meat and pound it so that the pork loin will be nice and tender after it’s been cooked. When the food is as simple as this, the quality of the ingredients speaks for itself.
4. Make slits on the connective tissue.
Red meat and fat have different elasticities, and they will shrink and expand at different rates when they are cooked. Making a few slits will allow the tonkatsu to stay nice and flat and prevent the cutlets from curling up.
5. Use a wire rack when baking.
The panko-coated pork loin should be placed on a wire rack over a baking sheet. This way, the air circulates underneath the pork so the panko underneath will be crispy.
How to Serve Tonkatsu
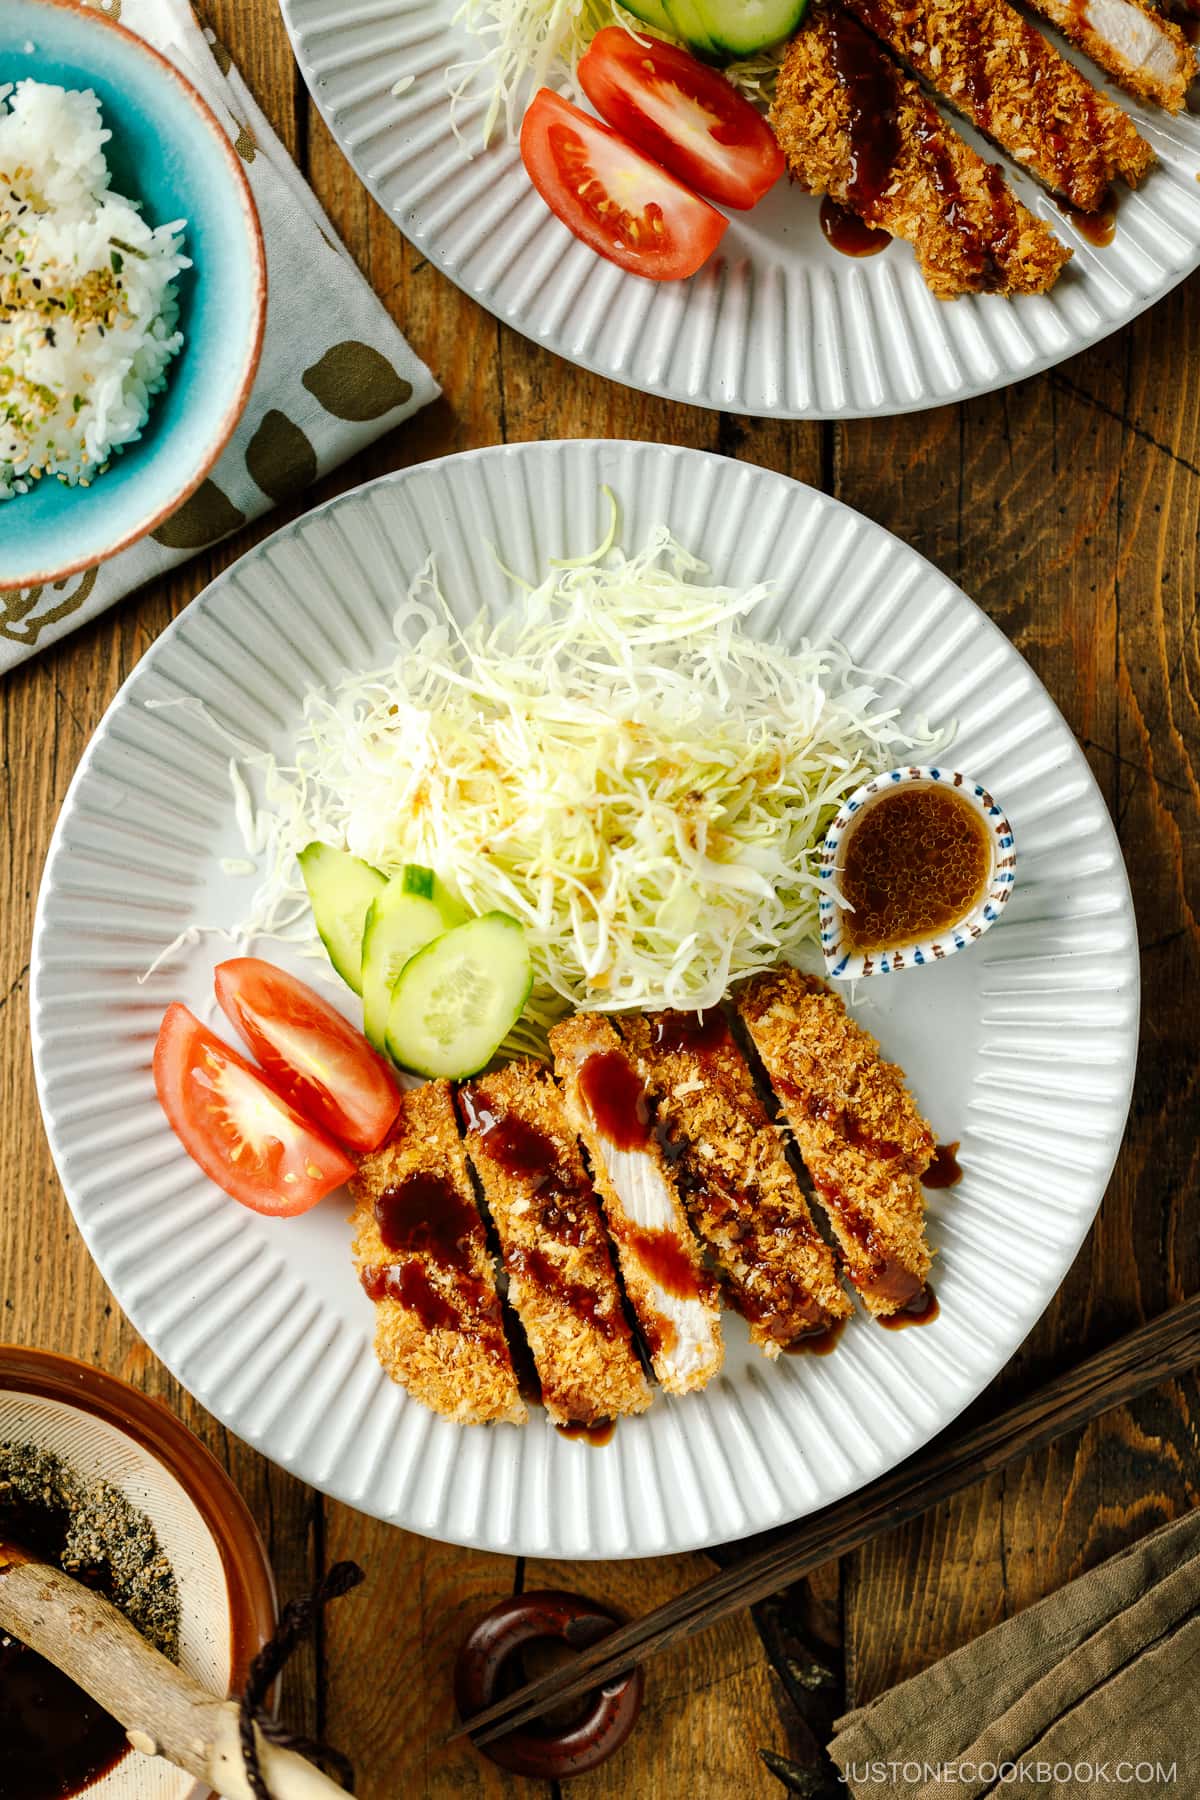
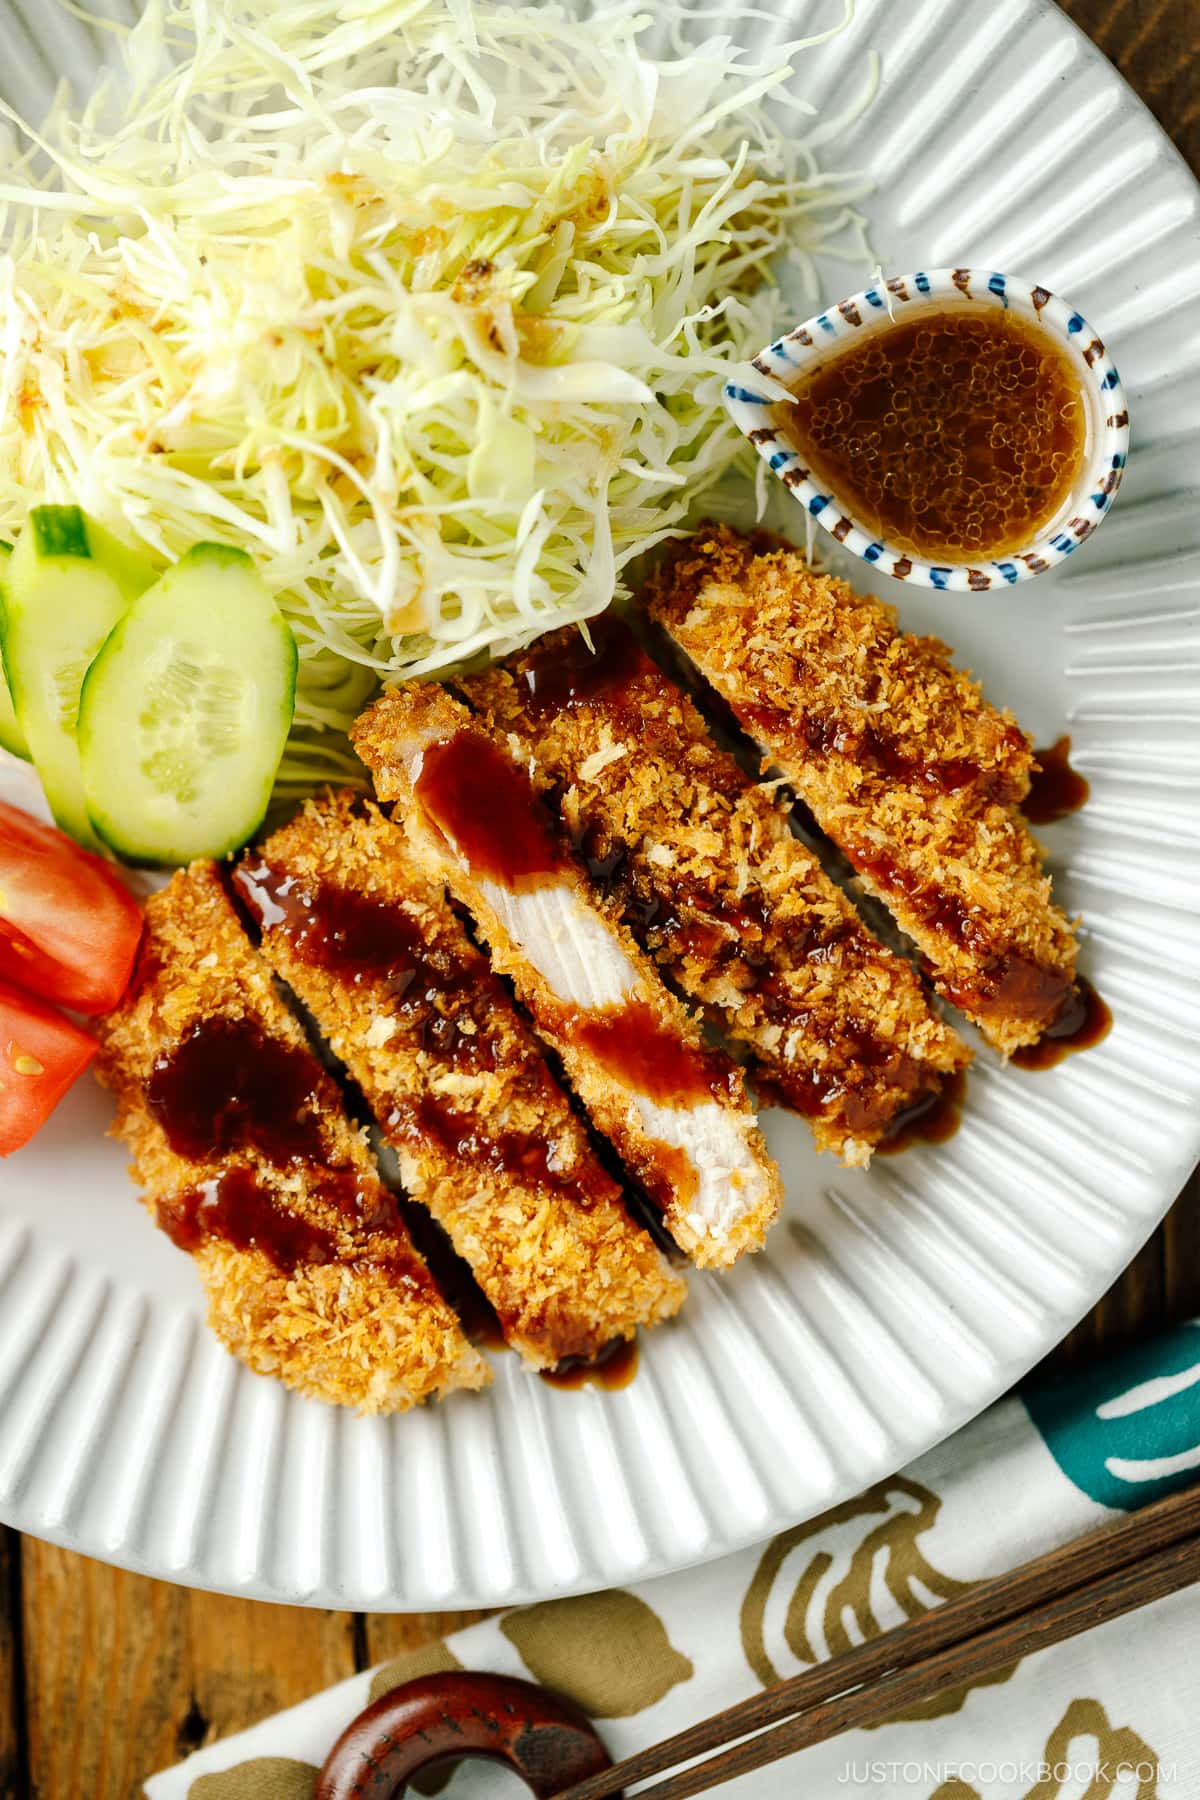
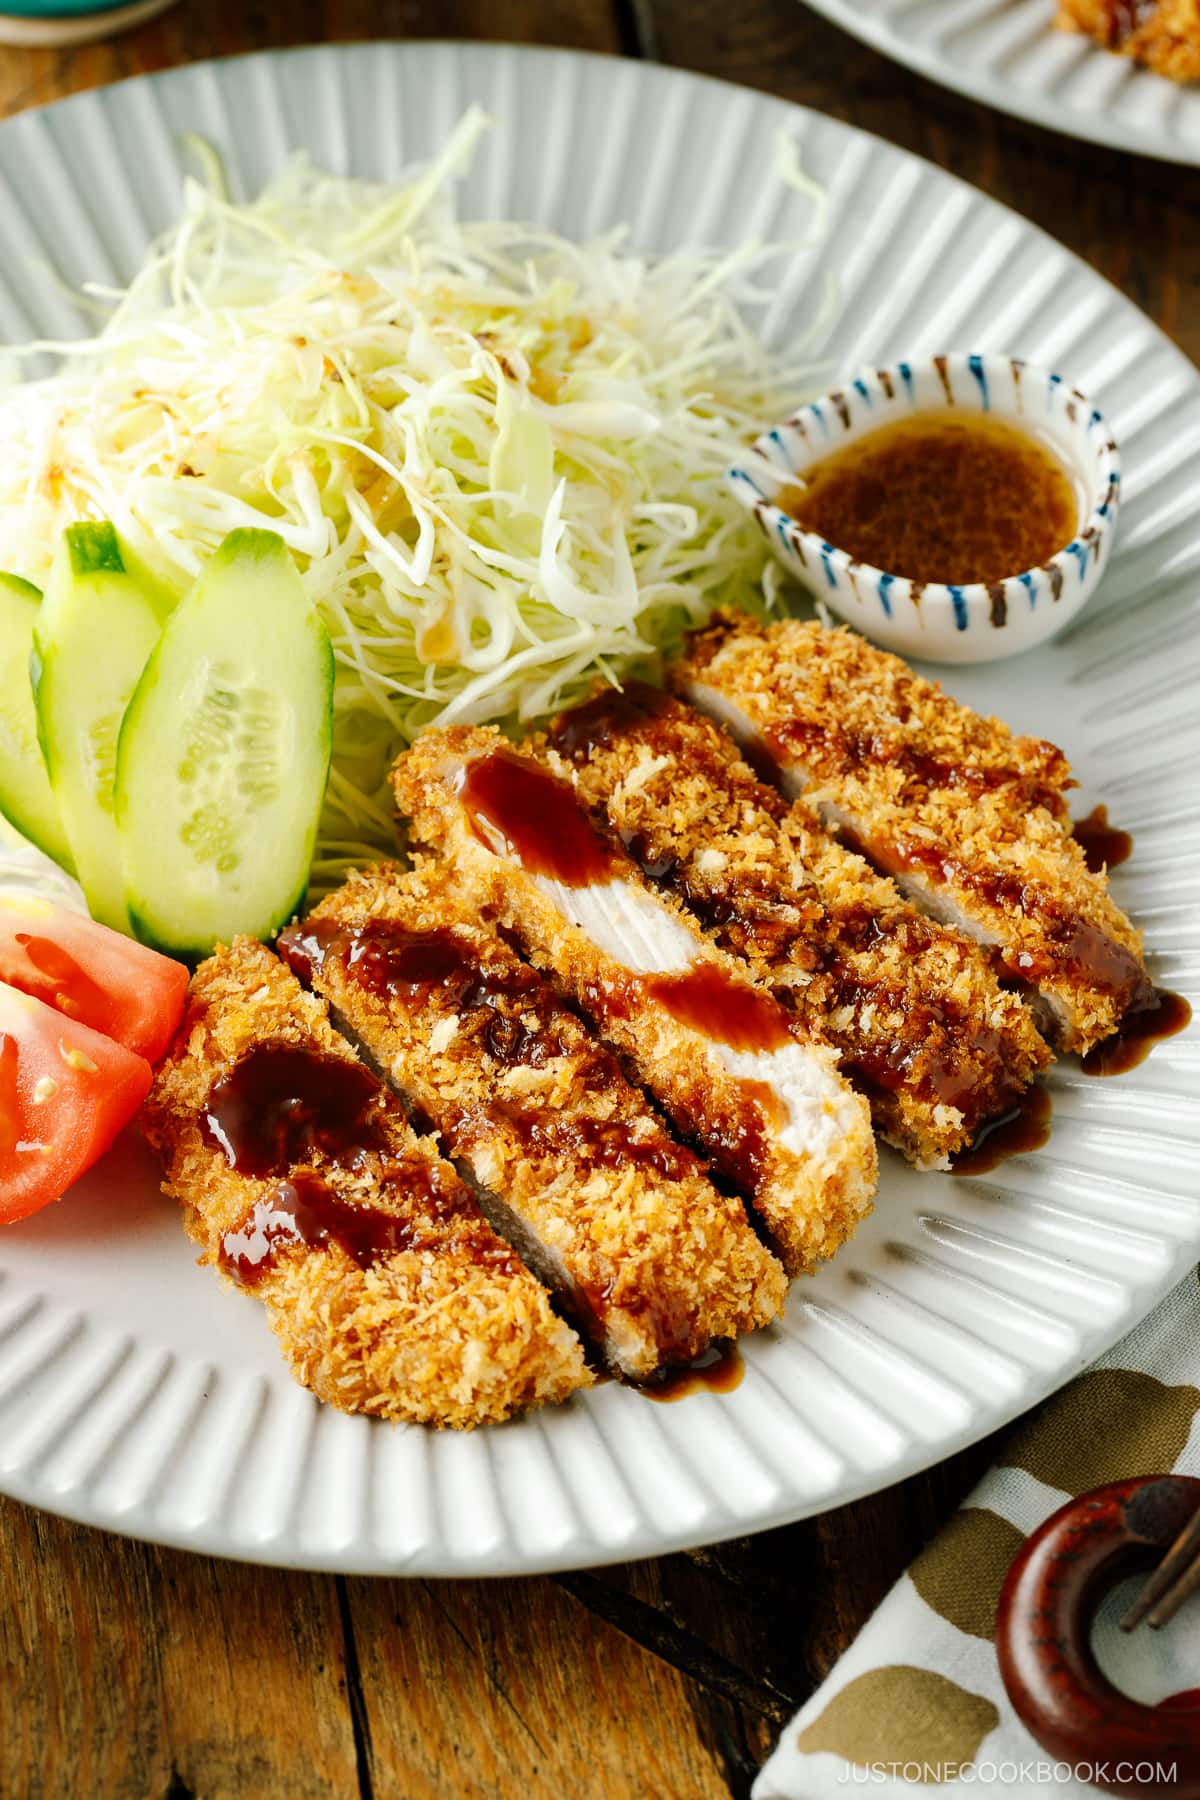
Enjoy the baked-to-perfection tonkatsu with tonkatsu sauce and freshly ground sesame seeds (I like to use both black and white sesame seeds).
In Japan, panko-breaded cutlet dishes are commonly served with shredded cabbage salad, along with a dressing of your choice.
I use this cabbage slicer to thinly shred the cabbage head. You can use a sharp knife, but it’s a lot easier to use this slicer. Unlike a typical mandoline, the cabbage slicer is wide enough for a small head of cabbage to fit.
Prefer Classic Deep-Frying Method?
Here’s my regular deep-fried tonkatsu recipewhich I do indulge in occasionally. Both versions bring different enjoyment, but for a healthier alternative, this baked tonkatsu is AWESOME!
Don’t Eat Pork? Try….
What to Serve with Baked Tonkatsu
Tableware from Musubi Kiln
I’ve partnered with a great ceramic online shop from Japan called Musubi Kiln. You will get 10% off with a coupon code JUSTICE BOOKBOOK for your purchase. In this post, I’ve used:
Wish to learn more about Japanese cooking? Sign up for our free newsletter to receive cooking tips & recipe updates! And stay in touch with me on Facebook, Pinterest, YouTubeand Instagram.
Baked Tonkatsu
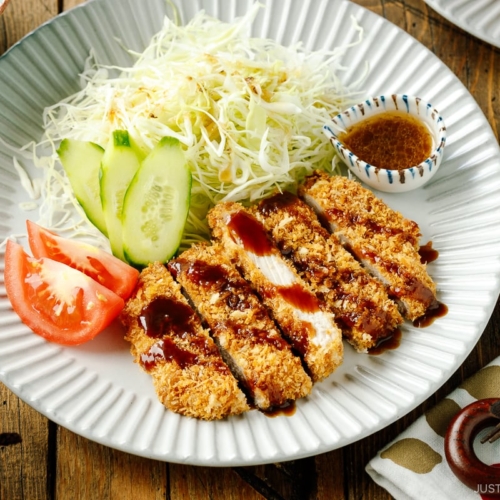
Crispy on the outside and juicy on the inside, this Baked Tonkatsu recipe is a total game changer. All you need are the right techniques and tips to achieve perfection. Served with a special sesame tonkatsu sauce, you can now enjoy this popular dish at home.
Ingredients
For the Sesame Tonkatsu Sauce (Optional)
Prevent your screen from going dark
Instructions
To Toast the Panko
-
Add ¾ cup panko (Japanese breadcrumbs) and 1 Tbsp neutral oil to a frying pan.
-
Turn on the stove‘s heat to medium and stir the panko and toast until golden brown. Transfer the toasted panko to a shallow dish and allow it to cool.
To Prepare the Pork
-
From 2 boneless pork loin chops (½-inch thick)cut off the extra fat and make several slits on the connective tissue between the meat and remaining fat. Tip: Red meat and fat have different elasticities, and they will shrink and expand at different rates when they are cooked. Making a few slits will allow the Tonkatsu to stay nice and flat and prevent the cutlets from curling up.
-
To tenderize the meat, pound both sides of the cutlets with a meat pounder; if you don’t have one, then use the back of the knife. Mold the flattened meat back into the original shape with your hands.
-
Sprinkle the cutlets with ½ tsp Diamond Crystal kosher salt and freshly ground black pepper.
-
Beat 1 large egg (50 g each w/o shell) and ½ Tbsp neutral oil in a shallow dish.
-
Next, add 2 Tbsp all-purpose flour (plain flour) to a shallow dish.
-
Dredge each pork piece in the flour and pat off the excess. Next, dip the cutlets into the egg to coat them completely.
-
Then, cover completely with the toasted panko. Press on the panko flakes to make sure they adhere to the pork. Place the pork cutlets on the oven-safe wire rack (so the air can circulate underneath) or parchment paper in the prepared baking sheet.
To Bake
-
Bake at 400ºF (200ºC) until the pork is no longer pink inside, about 20 minutes. Once it’s done, remove it from the oven.
-
Rest the Tonkatsu for 3 minutes on the countertop. Then, cut the Tonkatsu into 1-inch pieces (so you can eat them with chopsticks) by pressing the knife directly down into the cutlets, instead of sawing back and forth. This way, the panko crust will not come off.
To Serve
-
Flip the middle piece to show the interior of Tonkatsu as some restaurants would do. Transfer to individual plates and serve immediately.
-
Drizzle tonkatsu sauce as you like at the table.
To Make the Sesame Tonkatsu Sauce (Optional)
-
I recommend making this Sesame Tonkatsu Sauce. It’s easy to make and delicious! Grind 2 Tbsp toasted white and black sesame seeds in a mortar and pestle, add the tonkatsu sauceand mix it all together. Dip your tonkatsu pieces to enjoy!
Nutrition
Nutrition Facts
Baked Tonkatsu
Amount per Serving
% Daily Value*
* Percent Daily Values are based on a 2000 calorie diet.
©JustOneCookbook.com Content and photographs are copyright protected. Sharing of this recipe is both encouraged and appreciated. Copying and/or pasting full recipes to any website or social media is strictly prohibited. Please view my photo use policy here.
Editor’s Note: This post was originally published on May 11, 2014. It’s been republished with a new video, new step-by-step and final images, and more helpful content on September 29, 2023.

