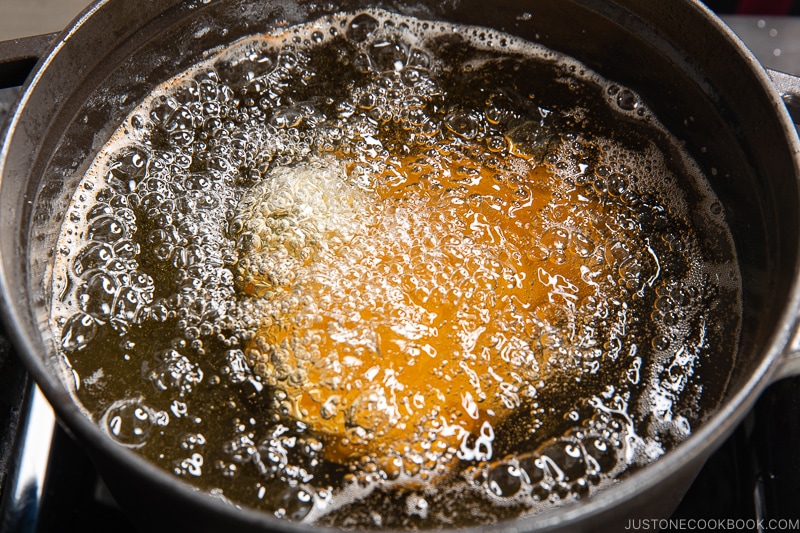
This is the ultimate guide on how to deep-fry food at home safely. Read our tips on how to check the oil temperature with or without a thermometer, and how to dispose of used cooking oil.
Craving that golden perfection of deep-fried chicken or airy yet ultra-crispy Tempura? Look no further! Today, I’m going to dive straight into the art of deep-frying at home. With a few simple steps and helpful tips, you’ll be creating mouthwatering, restaurant-worthy fried treats in the comfort of your own kitchen.
As a Japanese home cook, I embrace deep-frying as a fundamental cooking techniqueand I can attest to the incredible skill it is to master.
While we certainly don’t indulge in fried food all the time, preparing our favorite dishes such as Tonkatsu, Korokke (Japanese Croquettes)or Karaage brings so much enjoyment to the dinner table. The results are truly worth it! Plus, because of the use of fresh oil, making your own fried dishes at home is a lot healthier too!
Benefits of Deep Frying
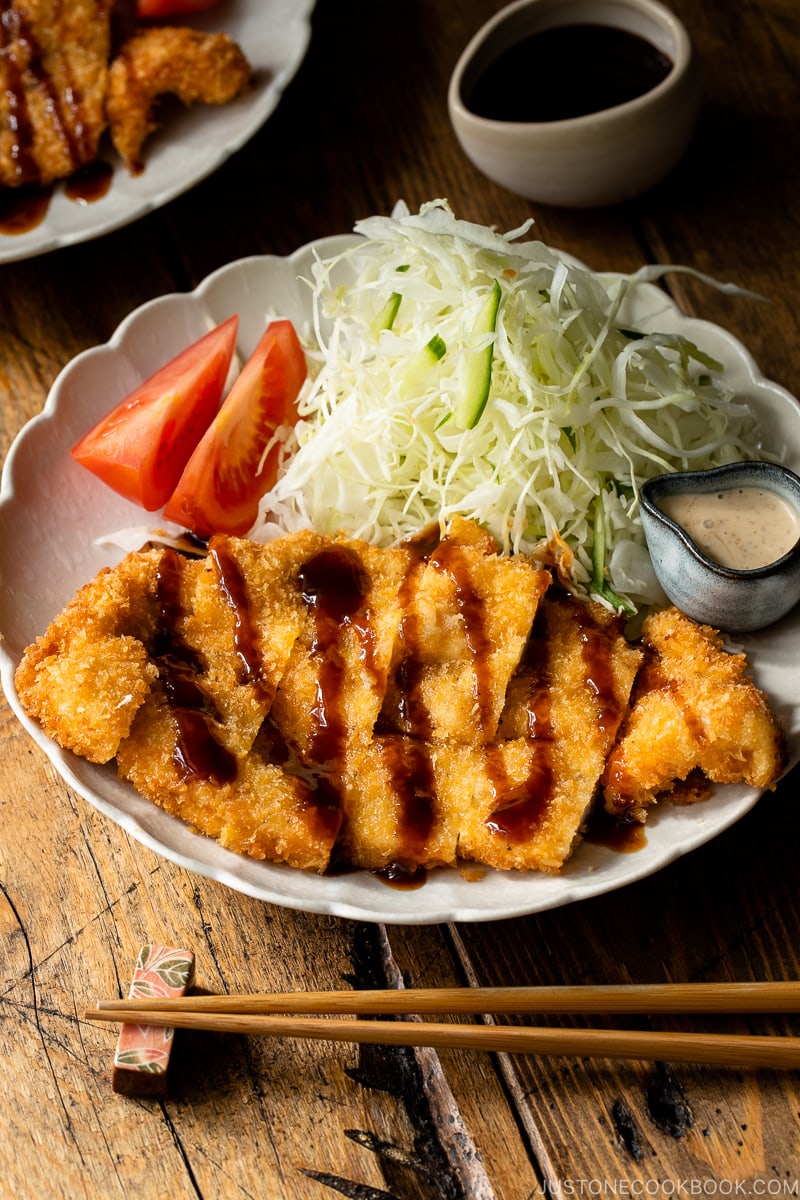
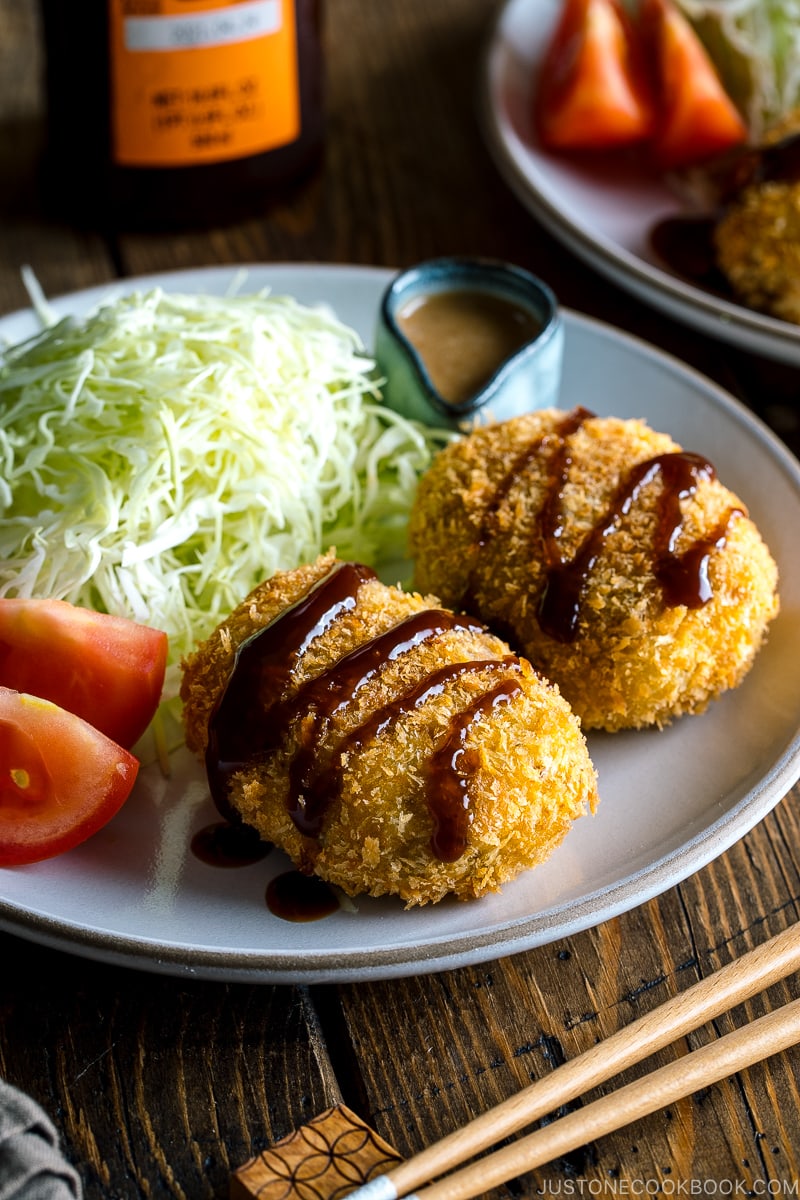
Many readers have asked me why I prefer deep-frying over air-frying, so I wanted to share my reasons here:
- Unbeatable texture: If you truly desire that perfect crisp texture, especially for specific foods like tempura or chicken wings, deep-frying is hands-down the best method! Deep-frying removes any moisture from the food’s exterior, and when the crust is properly formed, the result is less greasy food that retains its shape. As I regularly make tempura or tonkatsu, I could never use an air fryer to achieve the ideal texture.
- Best Taste: The Maillard reaction and caramelization occur more effectively when we fry the food— a quality that can be achieved best through deep-frying.
- Nutrition: I understand that deep-fried foods often get a bad reputation for being deemed unhealthy. However, when you fry your food correctly, it actually doesn’t absorb too much oil at all.
Best Oil for Deep-Frying
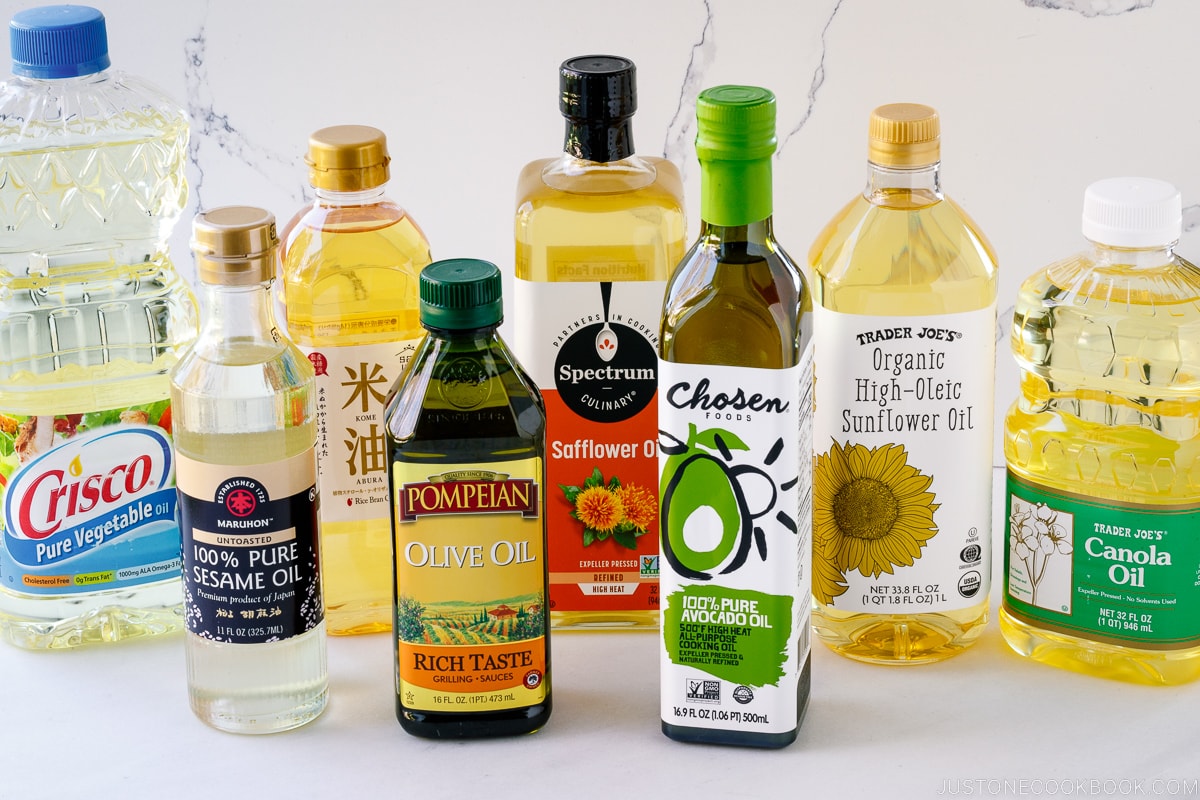
Selecting the right oil is crucial for achieving that perfect crunch. In general, you’ll want to use an oil with a high smoke pointideally at least 400°F, and a neutral flavor that won’t overpower the taste of your food. This ensures you can achieve the perfect golden brown exterior for your fried delights while maintaining the integrity of the oil.
For Japanese food, I recommend neutral-flavored oils such as vegetable oil, canola oil, rice bran oil, corn oil, or sunflower oil. These oils can be heated to high temperatures without burning.
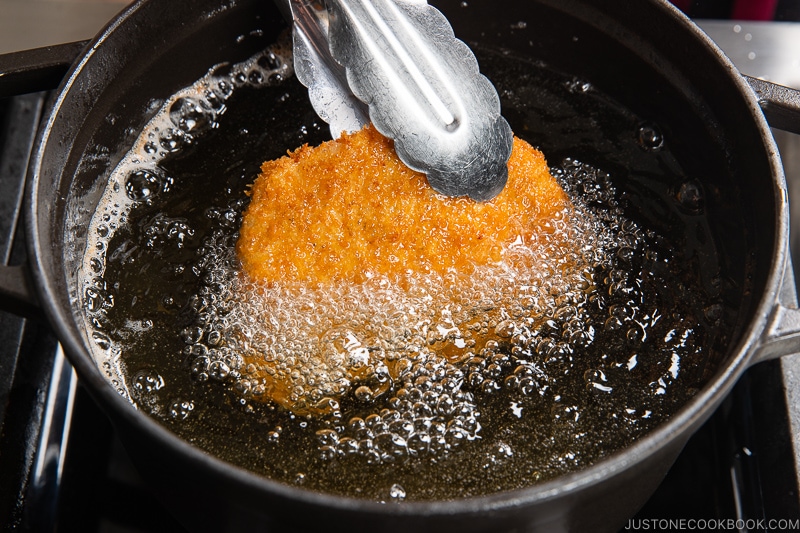
- A deep frying pot. If you have a deep fryer, go ahead and use it. Otherwise, you’ll only need a deep, sturdy pot, like a Cutch oven or stainless steel pot. I love this 2.75-quart STAUB Cast Iron Round Cocotte (11 inches or 28 cm in diameter) in a stylish black matte finish! It’s entirely black inside and out, so you won’t have to worry about any oil stains. Since the pot isn’t too large, you won’t need much oil to fill it up for deep-frying. This pot is perfect for frying food for 2-4 people. If you’re frying a flat food (and a small amount), you can also use a frying pan.
- A pair of long cooking chopsticksmetal tongs, a slotted spoon, or a stainless steel spider strainer.
- A wire rack and baking sheet.
- A fine-mesh skimmer/strainer to pick up fried crumbs between batches.
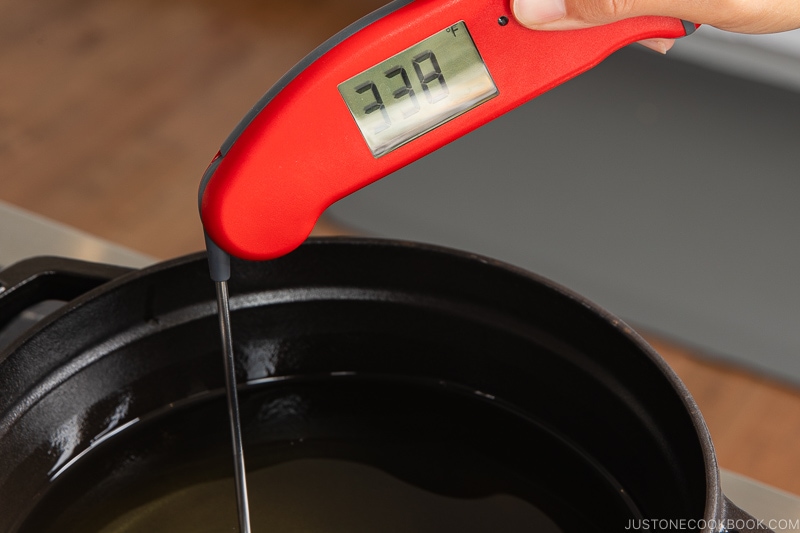
- An instant-read cooking thermometer to see the precise temperature instantly.
Optional but helpful
⚠️Safety Tips
- Remove combustible items around the stove.
- Do not put water (moisture) in hot oil. Wipe all excess moisture off utensils or else it’ll splatter.
- NEVER EVER leave your cooking unattended. NEVER! Oils begin to burn at 400°F (200°C) and catch fire at 500°F (260°C). If you need to step away, make sure you turn off the stove.
How to Deep-Fry Food (Step-by-Step Guide)
Step 1: Add neutral oil to the pot
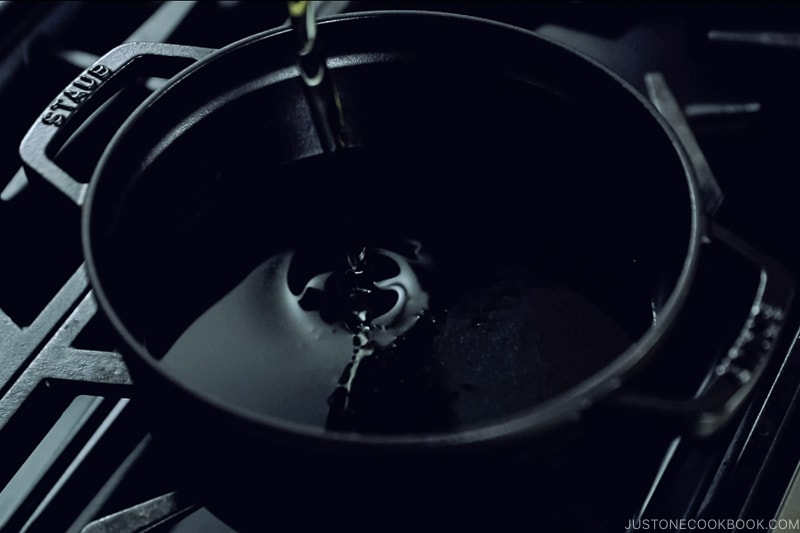
Add neutral oil to your pot and do not put more than halfway full. I recommend adding 1 to 1½ inches (2.5 to 3.8 cm) of oil. For my 2.75-quart STAUB Cast Iron Round Cocotte (11 inches or 28 cm in diameter), it’s about 3-4 cups of oil.
Step 2: Heat the oil + Ideal Temperature
What is the optimal deep-frying temperature? Well, it depends on what you’re cooking. Let’s look at the oil temperature chart below.
| Oil Temp | When you drop the batter… | When you drop Panko… | When you put a chopstick… | Suitable Ingredients |
|---|---|---|---|---|
| 285ºF/140℃ | It sinks to the bottom of the pot and slowly rises. | Spread slowly. | Fine bubbles gently rise from the tip of the chopsticks. | Ingredients for pre-cooking ingredients for Chuka Ryori (Chinese food), etc. |
| 300-320ºF/ 150-160℃ (Low Temp) |
It takes about 6 seconds to rise after sinking to the bottom of the pot. | Spread slowly throughout | Fine bubbles rise from the entire chopsticks. | Thick-sliced root vegetables that are difficult to cook, leafy herbs such as shiso leaves and mitsuba |
| 340-350ºF/ 170-180ºC (Mid Temp) |
It sinks to the middle and rises immediately. | Make fine bubbles and spread throughout | Bubbles constantly rise from the entire chopsticks | General fried foods such as Korokke, Tempura, Karaageand Tonkatsu. |
| 375-390ºF/ 190-120ºC (High Temp) |
It immediately emerges and browns. | Spreads vigorously throughout | Large bubbles rise vigorously from the entire chopsticks | Seafood (shrimp), tofuand eggplantwhich contain a lot of moisture. |
Different foods require different temperatures, so refer to the chart and the recipe for guidance. The ideal temperature is typically between 340-350ºF (170-180ºC)unless you cook root vegetables, leafy herbs, seafood, tofu, or vegetables with high moisture content.
The fastest and most accurate method to check your oil temperature is using an instant-read thermometer.
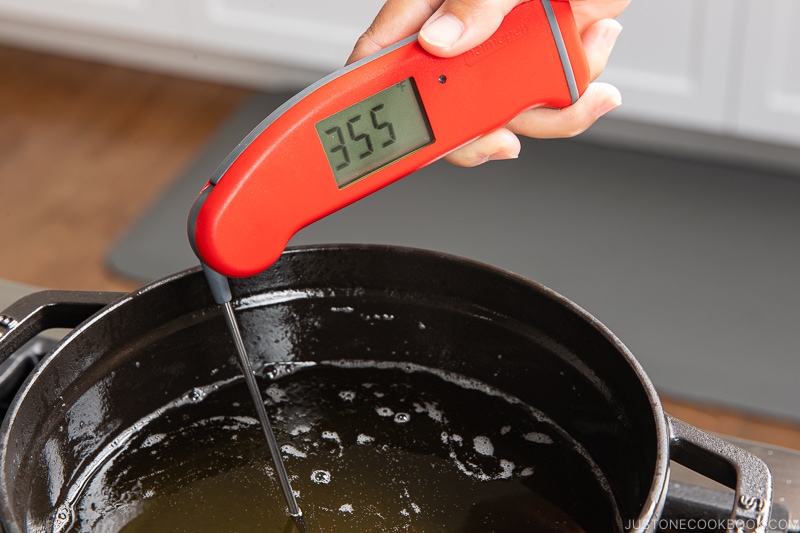
If you don’t have a cooking thermometer, then use these 2 options: panko method and a chopstick method.
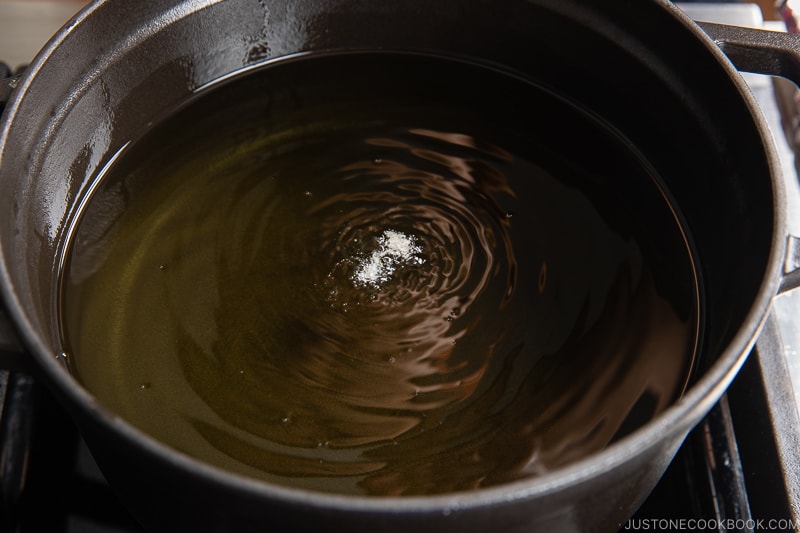
- Panko Method: Put a piece of panko (Japanese breadcrumb) in the oil and observe the reaction. See the chart above.
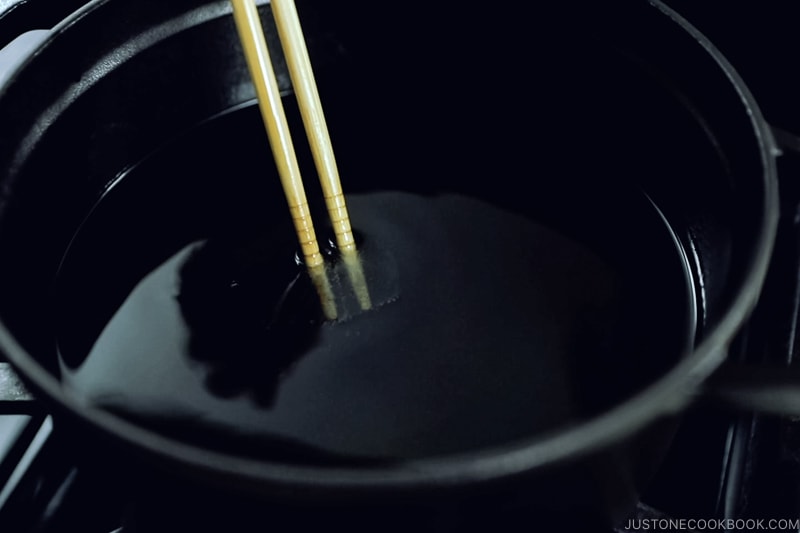
- Chopstick Method: Insert a chopstick into the oil and watch for bubbles to appear around the chopstick. Refer to the chart above.See the chart above.
Step 3: Ready to fry!
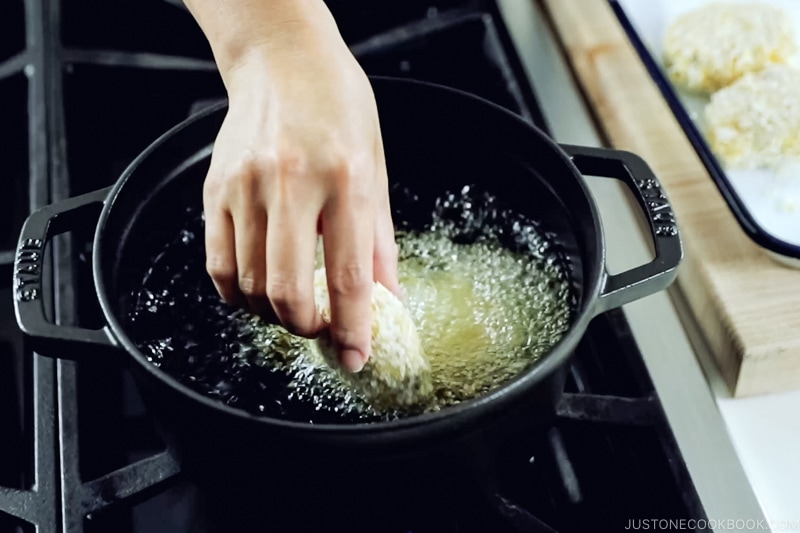
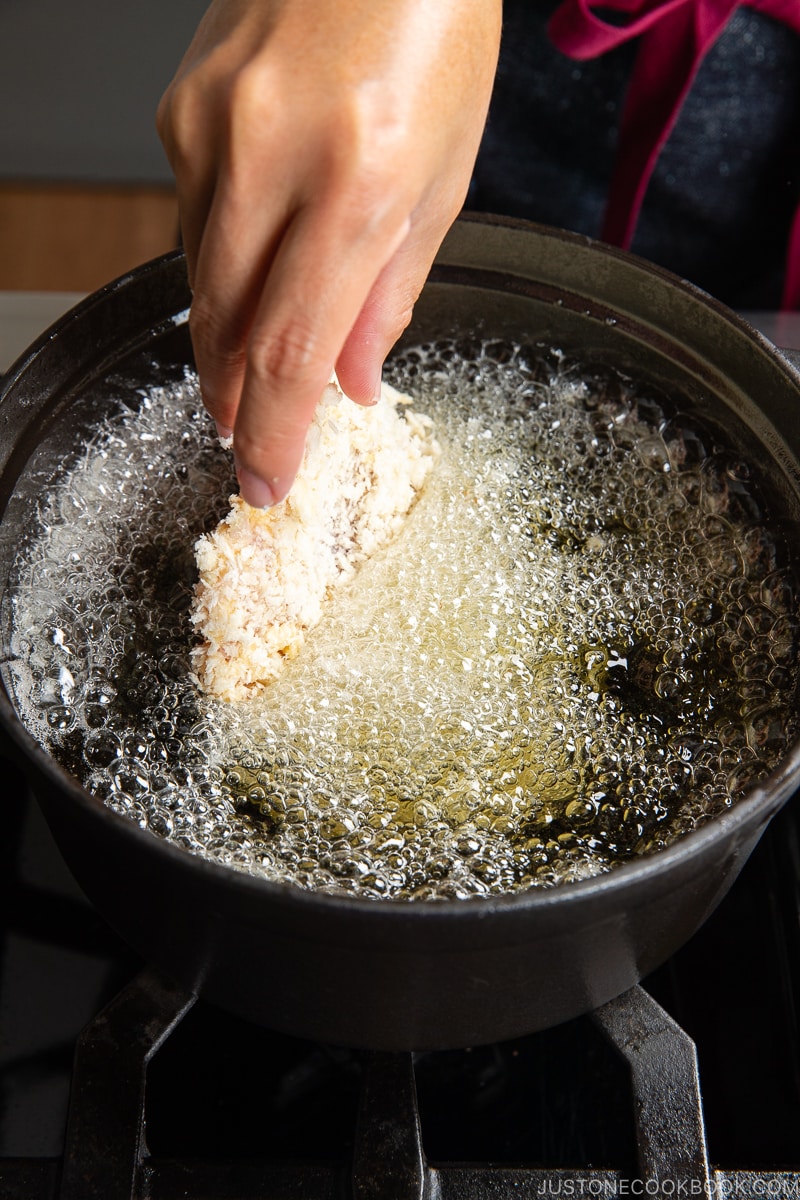
Do not add too many pieces to the oil at the same time. Adding too many ingredients will significantly lower the oil’s temperature, causing your food to absorb more oil.
If you are new to deep-frying, use a deep-fry thermometer to monitor the oil temperature. It’s crucial to ensure a constant temperature so that the food neither absorbs too much oil nor burns. Adjust the heat as needed to maintain the optimal temperature for your specific dish.
Step 4: Drain oil
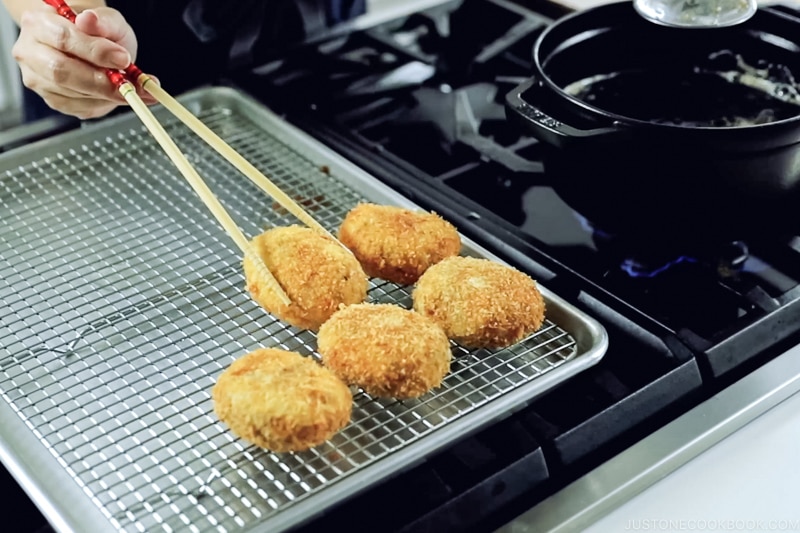
Using long chopsticks or a metal tong, transfer the deep-fried food to a wire rack or plate lined with a paper towel. Allow it to drain excess oil.
Step 5: Clean oil between batches
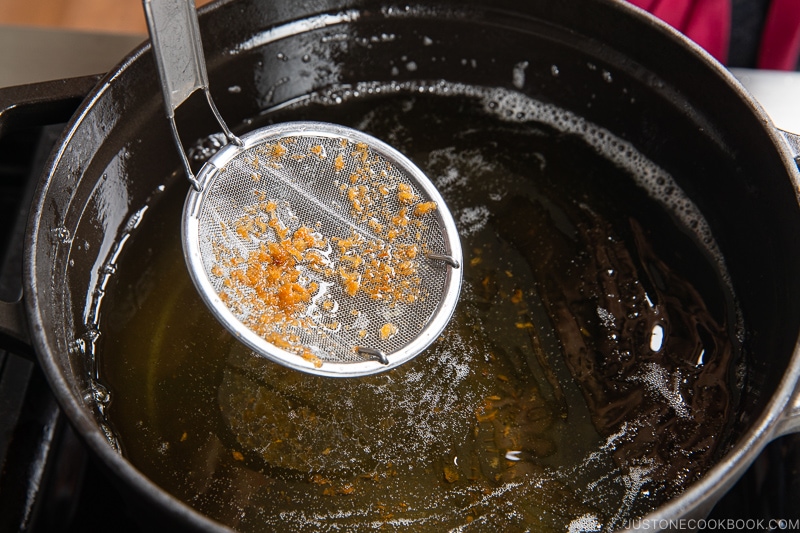
Between batches, use a fine-mesh skimmer/strainer to scoop excess crumbs or fried batter, which will burn and turn the oil darker if you don’t take them out.
Review: Tips for Successful Deep-Frying
- Be sure to remove excess moisture from your food before dipping it into the hot oil. For food coated with batter, allow the excess to drip off.
- Bring the food to room temperature before breading and frying, unless stated otherwise in the recipe.
- Use enough oil to ensure the food is completely submerged, allowing it to cook evenly.
- Keep your oil at a consistent temperature.
- Avoid overcrowding the pot; instead, cook in batches.
How to Reuse Frying Oil
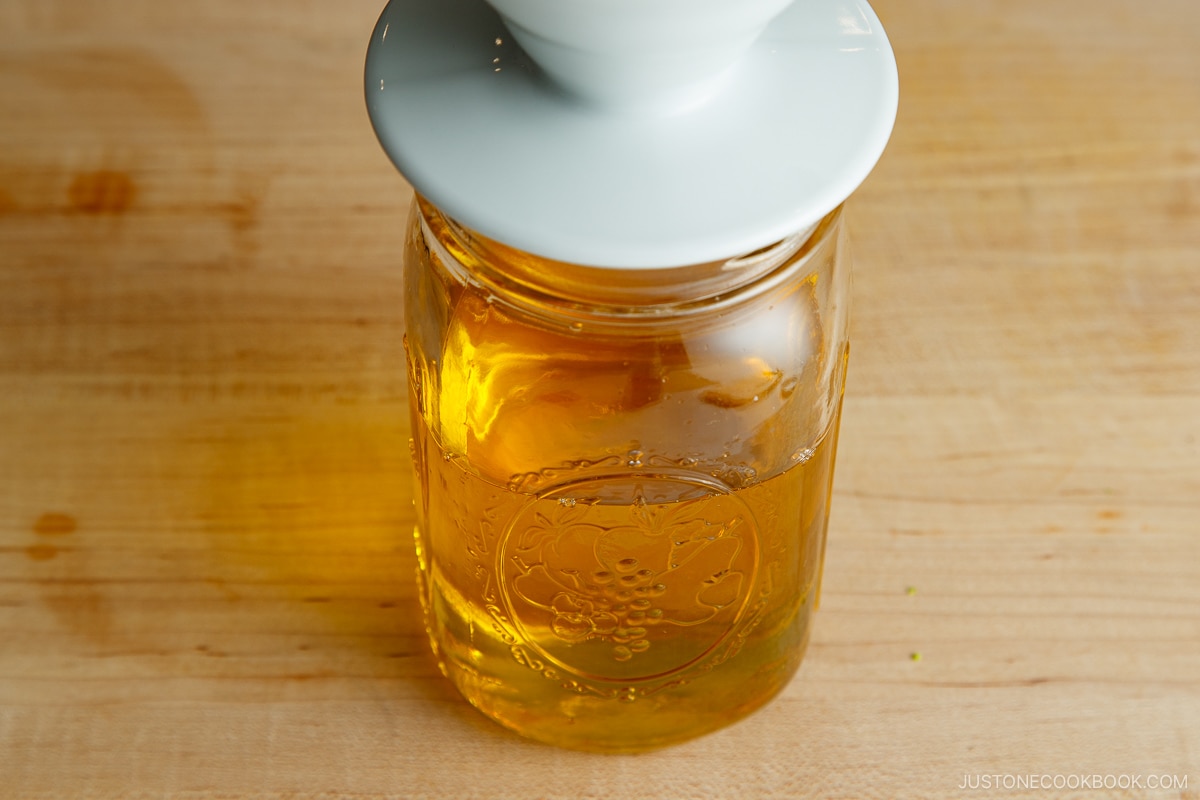
You may wonder if you can reuse frying oil. The answer is yes!
After finishing deep frying, check if your frying oil is worth saving. If it’s clean enough to reuse, let the oil cool completely.
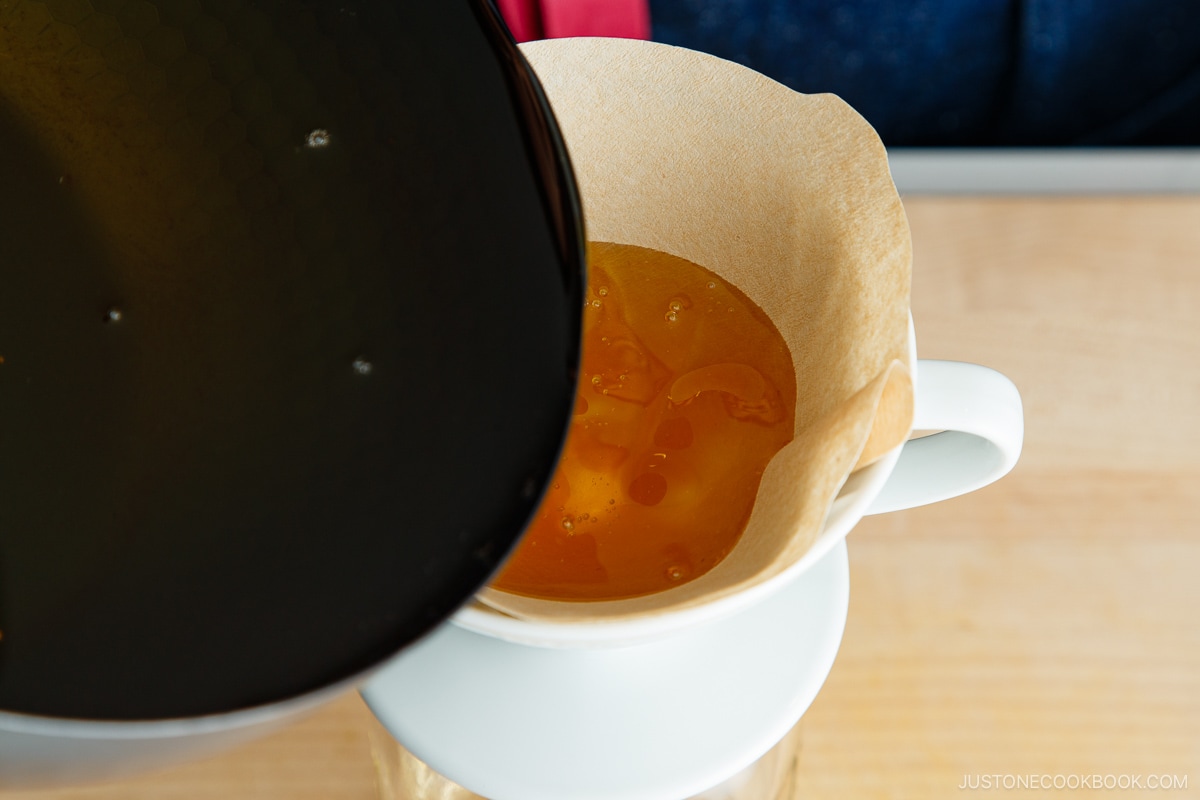
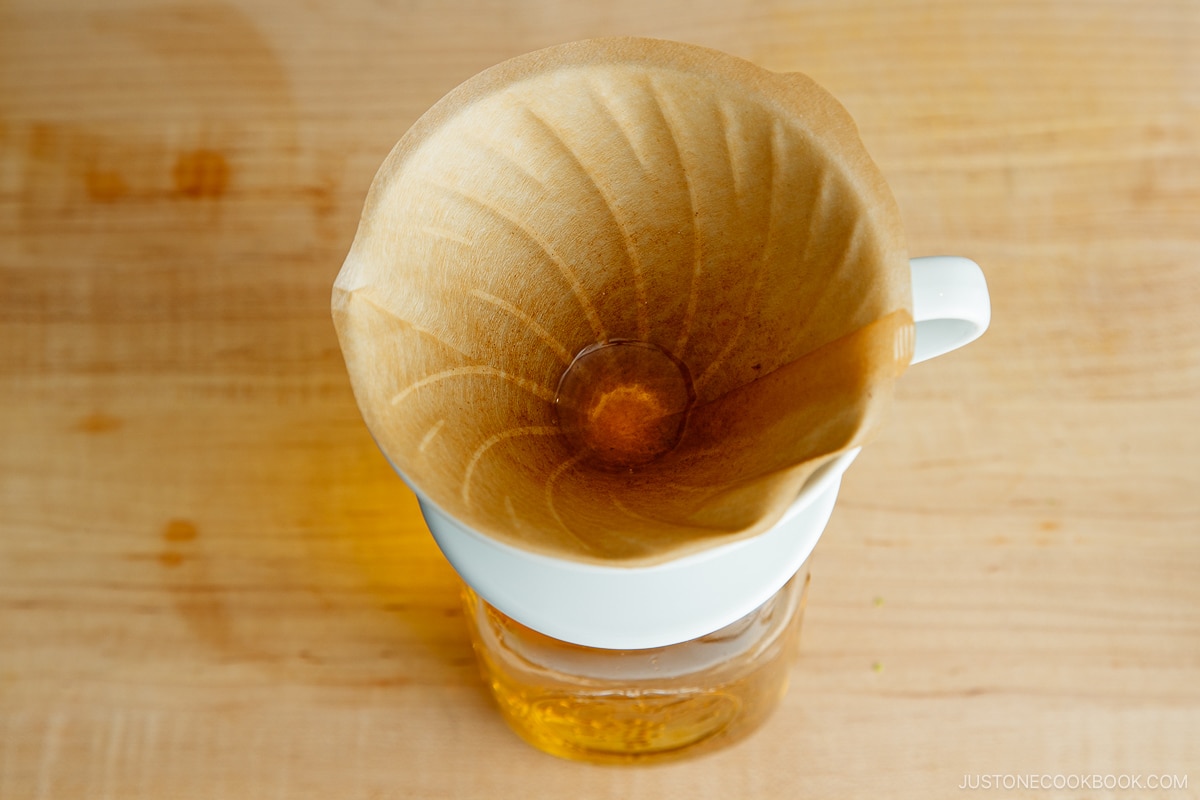
Once it’s cooled, using a fine mesh strainer or coffee filtersimply strain it into a glass container and store it in a cool, dark place. If you want to reuse the original container, I recommend getting a collapsible silicone funnel (my favorite!) for easy transfer.
I recommend labeling the container with the date since you should use it within 2-3 weeks. Oxidation eventually produces rancidity in oil. If the oil is clouded, starts to foam, or has a foul odor, then it’s time to dispose of it.
How many times can you reuse frying oil? If the oil still looks clean, it can be used 1-2 more times. But, this depends on factors such as how much oil you’ve used, what you’re frying in it, how much food you fried, and the type of oil, among other considerations.
How To Dispose Frying Oil
If the oil is still clean, you can strain the used oil through a fine sieve and reuse it within a week. However, if you don’t deep-fry often, I recommend disposing of the used oil.
Option A) After the oil cools down, place it in a sealed glass container and put it in the garbage (or follow your local garbage company’s instructions). NEVER pour it down your kitchen sink drain.
Option B) Use these Japanese “Oil Solidifier” products sold in Japanese/Asian grocery stores and dump the solidified oil in the trash can. You can find them on Amazon: Suwaseru Tempuru or Abura Katameta.
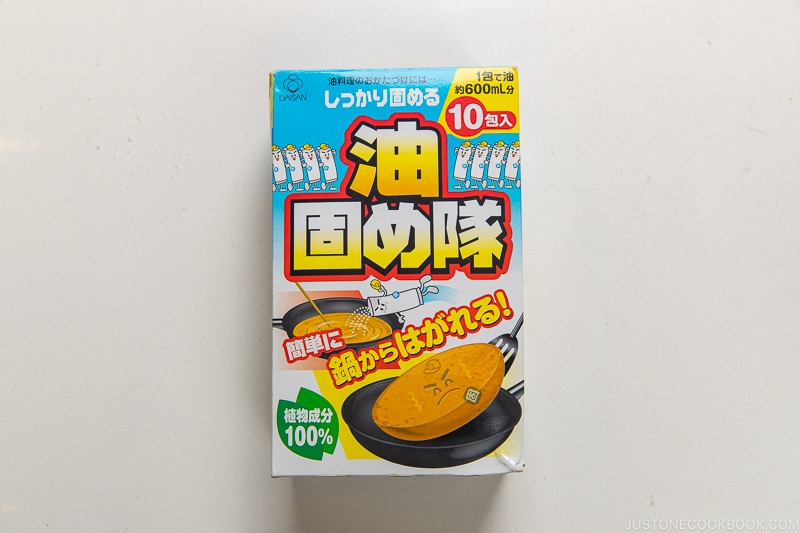
They solidify the oil into a jello-like substance and become semi-solid. See the next section on how to use it.
Option C) Solidify with gelatine. Read Kenji’s method on Serious Eats.
How to Use Oil Solidifier
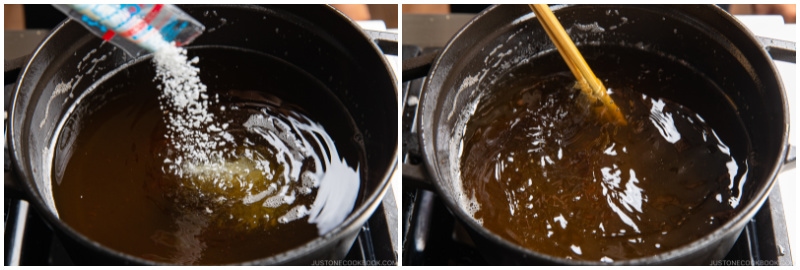
Step 1: Add the powder to the hot oil and mix.
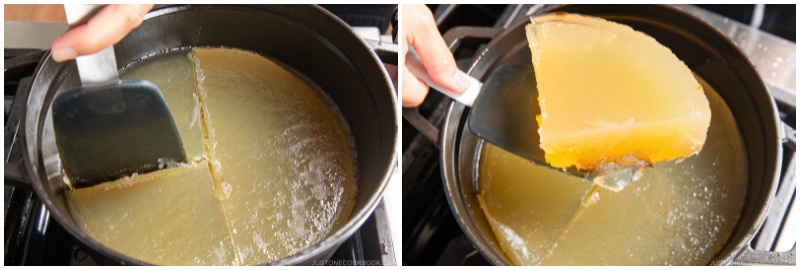
Step 2: After solidifying, toss into the trash.
Delicious Deep-Fried Japanese Food Recipes
Wish to learn more about Japanese cooking? Sign up for our free newsletter to receive cooking tips & recipe updates! And stay in touch with me on Facebook, Pinterest, YouTubeand Instagram.
Editor’s Note: This post was originally published on February 17, 2011. It was republished with more informative content and new images on February 13, 2024.

