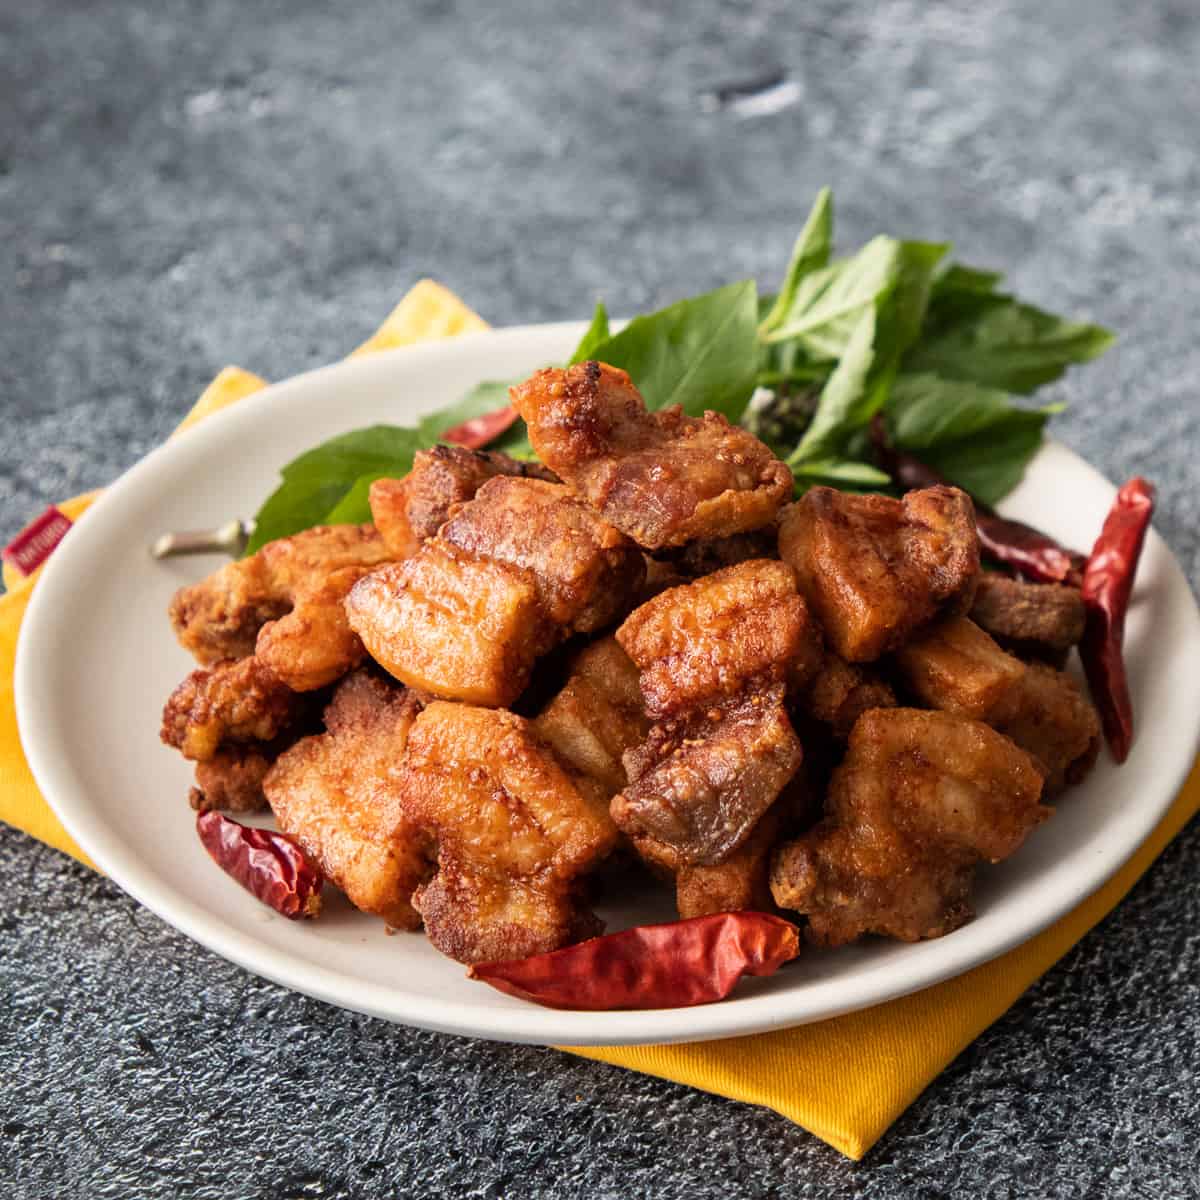
I LOVE me some crispy pork belly, I mean, who doesn’t? But if you’ve ever tried to make the Chinese style crispy pork belly with the bubbly skin, you know it’s not a quick and easy thing. Even with my recipe, which is one of the simplest out there, it’s a 2-day process.
So THIS recipe, is much simpler. It’s a Thai style fried pork belly that is unbelievably good, and it’s only going to take you 30 minutes. I made this for a Thai friend, and after one bite and he said, “You need to sell this!” It was THAT good!

What is Thai Style Crispy Pork Belly?
Most people are familiar with the Cantonese style crispy pork belly or siu yukwhere the crispy part is the skin. The whole piece of pork is meticulously prepped and roasted; and when done well you get puffy, bubbly crispy skin.
This Thai style is called moo saam chun tod nam plawhich means “fish sauce fried pork belly.” People do it in many different ways in Thailand, but the secret to deliciousness here is the fish sauce which goes incredibly well with pork.
It’s coated lightly with flour, and even though it has no skin, there is a light crispness from the flour that gets double fried. It is 100x easier and faster than the crispy skin one, and though not as impressive looking, is no less delicious. In fact, some would even prefer this one!
In Thailand this would be considered a glam gub or “drinking food.” Something munchy that goes very well with a cold drink, such as a beer! You might also find it sold by street vendors with sticky rice, and it makes a great breakfast for folks to grab on their way to work.
Ingredients
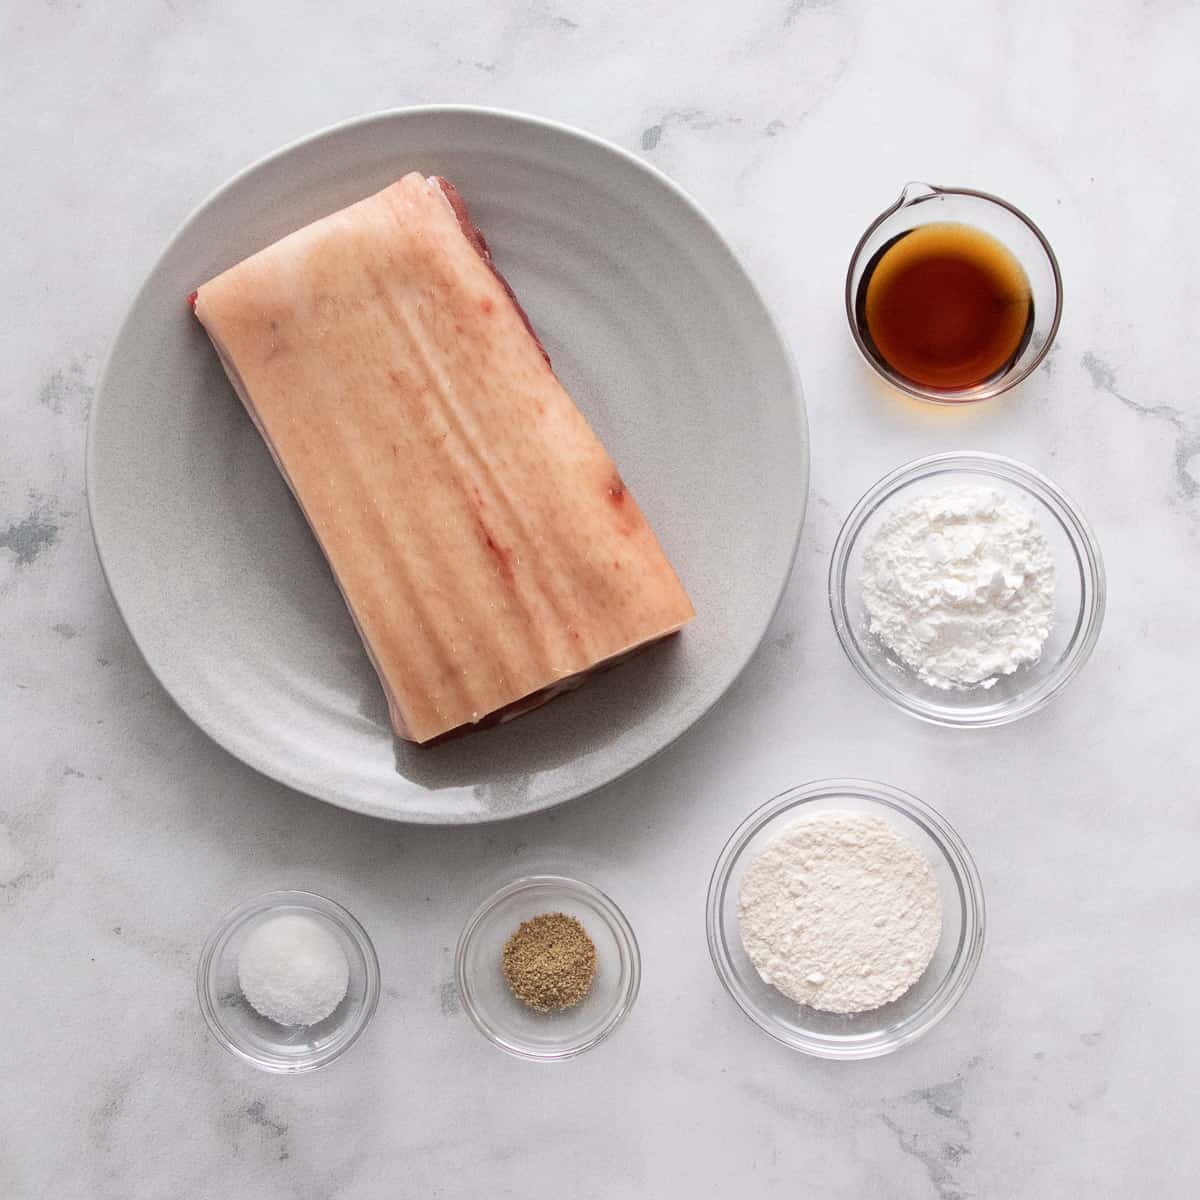
Here are all the ingredients you’ll need with important notes. As you can see you don’t need much at all! For amounts, see the full recipe card below.


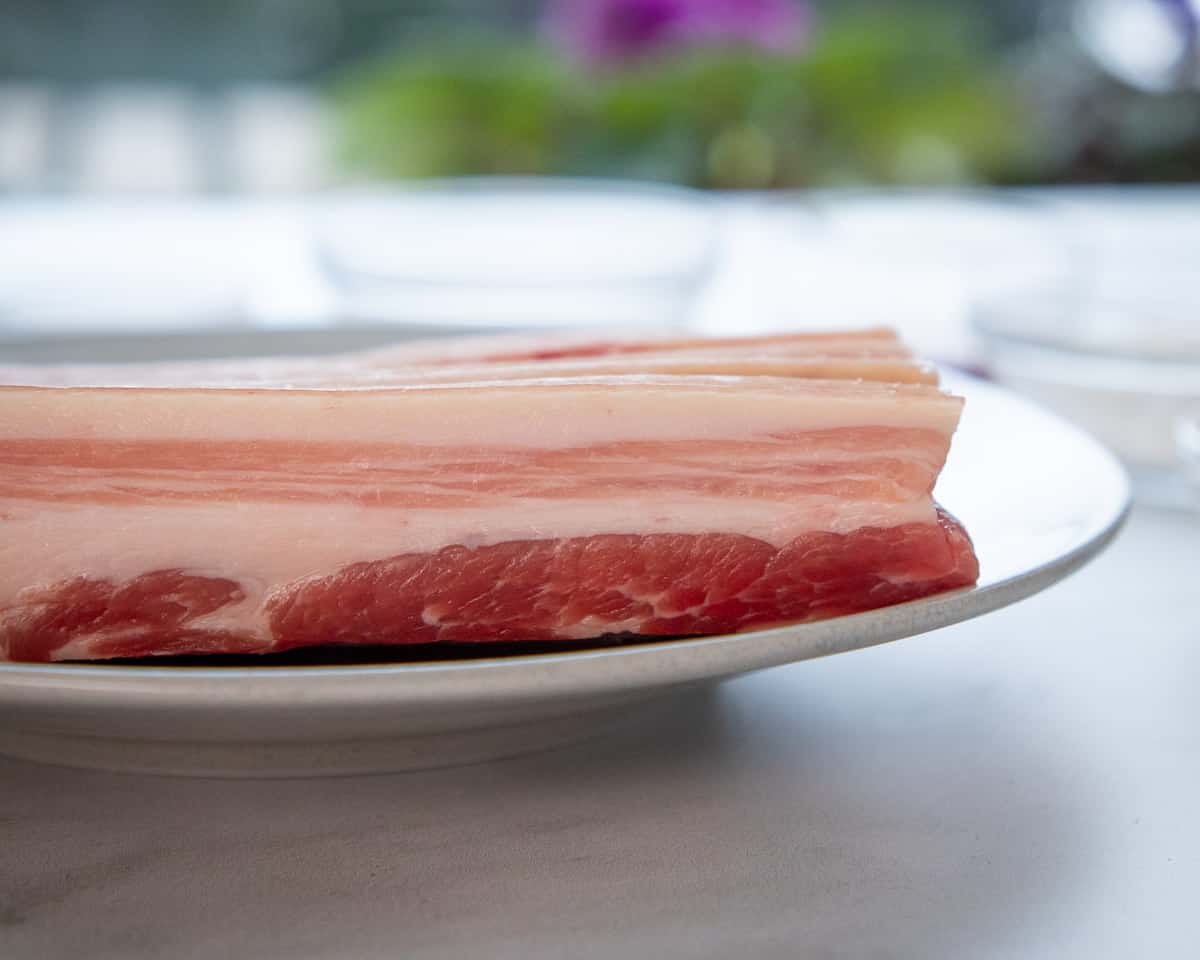
- Pork belly. We don’t need the skin for this recipe, so if your pork has skin, buy a little extra to account for the lost weight of the skin that will be removed. Look for center cut pork belly which has a more even layer of meat throughout. I try to look for pieces with more meat and less fat, but that’s up to your preference.
- Fish sauce. The main seasoning for this and the reason why it is SO good! Here’s my post all about fish sauce and how to choose a good one.
- Sugar. A little to balance the saltiness, and it will also help with the browning.
- Ground white pepper. Black pepper is also fine.
- Cornstarch. For the crisp coating.
- All-purpose flour. If you need this to be gluten free you can use all cornstarch, but the flour does help with the browning as well.


How to Make Crispy Pork Belly
Here’s a bird’s eye view of the process, for the full instructions see the recipe card below. I also recommend watching the video tutorial before you start in order to ensure success!


- Pat the pork dry and remove the skin from the pork belly (if any).
- Cut the pork into 1-inch wide strips, then cut each strip into ¾ inch thick pieces.
- Add the fish sauce, sugar and pepper to the pork pieces and massage for a minute or so until there is no more liquid pooling in the bowl.
- Combine the cornstarch and flour and sprinkle over the pork.


- Toss until all the pieces are evenly coated in the flour. Carefully check that none of the pieces are sticking together! Let it sit while you heat up the oil.
- Heat 1 inch of frying oil to 350°F (175°C) and fry half of the pork for 2 minutes then remove from the oil – the pork will not be done at this point. Allow to cool on a tray while you fry the second batch.
- Once the pork is no hotter than lukewarm, bring the oil temp up to 385°F (196°C) and fry the pork again for about 90 seconds or until the pork is well browned.
- Remove and drain on a paper towel; repeat with the second batch. Allow to cool slightly before eating because the fatty part is VERY HOT!
Tips for Success
There are a couple of things that are important to your success:
- Don’t fry the pork immediately after dredging. The flour needs at least 5 minutes to absorb the moisture on the pork which will help it adhere. If you fry as soon as you dredge, a lot of the flour will fall off the pork as soon as it hits the oil. Your pork won’t have as nice of a crust, and you’ll have a ton of flour in your frying oil. I recommend dredging before you heat the oil, or immediately after the oil starts heating, so the pork can sit while you wait for the oil.
- Let the pork cool before the second fry. If you don’t let the pork cool enough, the pork will overcook during the second fry. The cooler the pork, the larger the window you have for the second fry before the pork overcooks. Room temp is ideal, but lukewarm is fine.
- Don’t make the pieces too big or too small. If you cut the pork too big, you won’t have as high of a crust to meat ratio. If you make the pork too small you’ll overcook it in the time that it takes the crust to crisp. I found that 1 inch x ¾ inch (and whatever height of each pork piece) is ideal.
Advance Prep Tips
This is a crowd pleaser and something I encourage you to make for a party! It’s also very easy to make in advance, and there are a number of things you can do:
- Marinate the pork up to 1 day in advance.
- Do the first frying a few hours before serving, and let the pork sit at room temp. Fry them the second time right before serving.
- If you don’t want to have the oil sitting around, do both rounds of frying, let them sit at room temp, then when ready to serve reheat them for a few minutes in the air-fryer. This re-crisps them back up nicely too.
FAQ
The air fryer won’t get the crust quite as nice and crisp, however, they reheat really well in the air fryer. I recommend oil frying them to cook them initially, but any leftovers can be reheated for just a few minutes in the air fryer at 350°F.
If you’re in Thailand, you’d 100% be given took you along with your pork belly. It is the sauce that we serve with all meats, especially fatty meats, because the acid and heat cuts the grease super well. But if you’re serving these with a cold fizzy beverage, it doesn’t really need a sauce at all!
If you want to make a meal of it, sticky rice is the best and classic pairing!
I’ve kept leftovers for up to 1 week in the fridge, and reheat them in the air fryer for roughly 5 minutes at 350°F and they turn out very well.
Though I have not done it myself, I don’t see why you wouldn’t be able to freeze them, and then reheat them in the air fryer at 350°F, probably for 8-10 minutes.
Without an air fryer, you can bake them to reheat though it may not be as crispy, 375°F/190°C (convection if possible) for about 5-7 minutes from the fridge.


30-Min Crispy Pork Belly Thai-Style
No more tedious hours of prep, this crispy pork belly needs just 30 minutes, and the result is freakishly good. Double fried for a crisp crust, and fish sauce adds umami magic. As my friend said after one bite, “you need to sell this.”
Ingredients
Check Out Ingredients and Kitchen Tools I Use
Notes
- The weight given is for skinless pork belly. So if the pork you buy has skin, buy at least 1.2 lb/550g (add 20%) to allow for the weight of the skin. Also, choose pork belly with an even amount of meat throughout the piece (center cut).
- To make this gluten free, sub the all-purpose flour with the same amount of cornstarch.
All my recipes come with step-by-step video tutorials with extra tips not mentioned in the blog post, so make sure you watch the video to ensure success. If you enjoy them, consider subscribing to the YouTube Channel to not miss an episode. Thank you!
Subscribe to my YouTube Channel
Instructions
-
Pat the pork belly dry as much as possible with a paper towel, then remove the skin with a sharp knife, leaving as much of the fat on it as possible (unless you want to remove some of the fat).
1 lb pork belly, skinless
-
Cut the pork into 1-inch wide strips, and then cut each strip into pieces about ¾-inch thick. (The pork will shrink after frying so the final pieces will be smaller).
-
Place the pork into a large mixing bowl and add the fish sauce, sugar, and white pepper. Use your hand to massage the pork and mix all the seasonings. Keep massaging for a minute or so until you no longer feel the grains of sugar, and there is no more fish sauce pooling at the bottom of the bowl.
1 ½ tablespoon fish sauce, 1 teaspoon sugar, ½ teaspoon ground white pepper
-
In a small bowl, combine the all-purpose flour and the cornstarch and mix well. Sprinkle the flour mixture over the pork and mix well, making sure none of the pieces are sticking together. You want a light and even coating on all the pieces. Let it sit for 5 mins or so while you heat up the oil.
2 tablespoon all-purpose flour, 2 tablespoon cornstarch
-
Add at least 1 inch of frying oil to a wok or a medium pot and heat it to 350°F (175°C) for the first fry.
-
First Fry: Add half of the pork, placing it in the hot oil one piece at a time to ensure they are not sticking together. Fry for 2 minutes (time this). Maintain the heat of the oil between 300-350°F during the frying; on my electric stove I keep it on medium high, but it will vary from stove to stove.
-
Remove the pork promptly and place on a plate to cool until it’s no more than lukewarm before frying them a second time. Repeat with the second batch, being sure to bring the oil temp back up to 350°F before frying.
-
Second Fry: Once the pork is cool, bring the oil temp up to 385°F(196°C) over high heat. Add the pork all at once and fry for 70-90 seconds, or until the exterior is a deep golden brown. You can fry them for a maximum of 2 minutes; beyond this the pork will become too dry. Remove and place on a paper towel-lined plate to drain. Be sure to bring the temp back up to 385°F before frying the second batch.
-
Allow the pork to cool for a few minutes before digging in as the fatty part of the pork is VERY hot out of the fryer!!
Watch my videos AD-FREE and get bonus content on Patreon!

